How to Get the Best Wildlife Photographs on your Photo Tour

How to Get the Best Wildlife Photographs on your Photo Tour
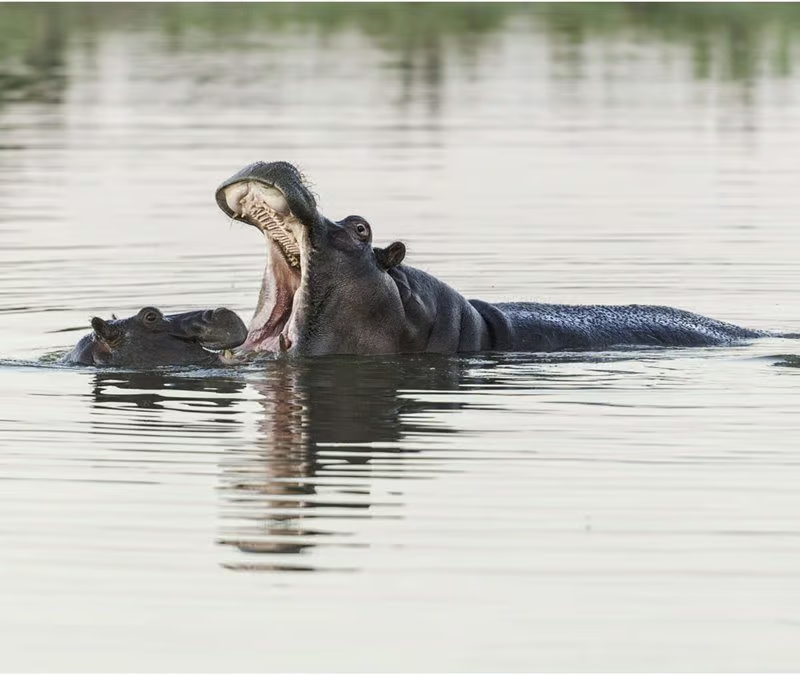
hippo with baby

Photography has become a very popular hobby, particularly in these past few years, mainly because of sophisticated digital cameras. Amateur photographers can now take interesting shots because most camera settings make it easier to get decent results. However, there are times when the overall quality of the pictures that people take aren’t always as good as people want them to be, and this is especially true of wildlife photography. If you want to get the best photographs on your wildlife photo tour, these are the things you should take into consideration:

#1 Get Comfortable with Your Camera

Professional photographers handle their cameras almost instinctively. They’re completely in tune with their equipment and are familiar with all the settings and strengths of the device. This allows them to focus on their subject instead of their camera settings and it can help them take some wonderful shots. Before you go on a photo tour, take some time to familiarise yourself with the settings and characteristics of the camera. Here are some tips worth thinking about:

  • The minimum shutter speed required for hand-holding larger lenses (it is generally recommended to have a shutter speed equal to, or higher, than your focal length)
  • Different focus modes needed for different situations. For example, the continuous focus mode is required for capturing birds-in-flight and other movement.
  • The extent to which you can push the ISO settings before ‘noise’ creeps in. This will depend on the camera you own, as each sensor will show up noise at different ISO settings

#2 Follow Instincts But Also Consider the Rules

One of the most important photography rules is the rule-of-thirds. Using this rule, you need to visualise a grid of three by three and position your subject accordingly in the optimal position. Such photography rules come from the keen observations of experienced photographers who have noticed that certain actions and ways to position the subject leads to the more impressive results in many cases. Most photographers will eventually develop the right instinct and compose shots well, but it does require practice.

However, if you look through your viewfinder and see the perfect shot, don’t focus on the rules. Press the shutter button fast! Sometimes these instinctive pictures are the ones that turn out the best.

#3 Try to Include Two or More Subjects

There are many pictures out there that focus on one animal and capture all their details. This is quite okay, however, there’s something unique and interesting about pictures that showcase animal interaction and socialisation. For example, a single hippo yawning will make for a great picture but if zoom out a little and pull back, you might capture the image of its young as well, as with the featured image.

Animal interaction brings playfulness, intrigue, and mystery to a picture. A person looking at it will often wonder what the animals where thinking at that point. Interaction adds a human element to the pictures that make them more endearing.

If you have a passion for African wildlife, nature or travel photography and would love to go on a specialised small-number, professional African photo safari, please get in touch with Michael Snedic at WildNature Photo Expeditions. You can call him on 0408 941 965 or fill in this Contact Form and he will get back to you ASAP.
Should I Use a Teleconverter While Talking Images of Wildlife?

Should I Use a Teleconverter While Talking Images of Wildlife?

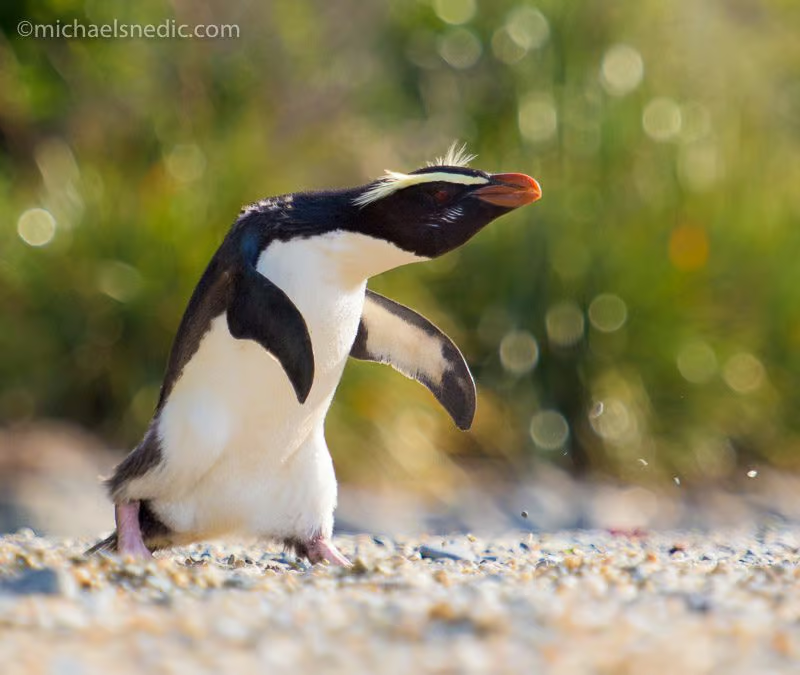
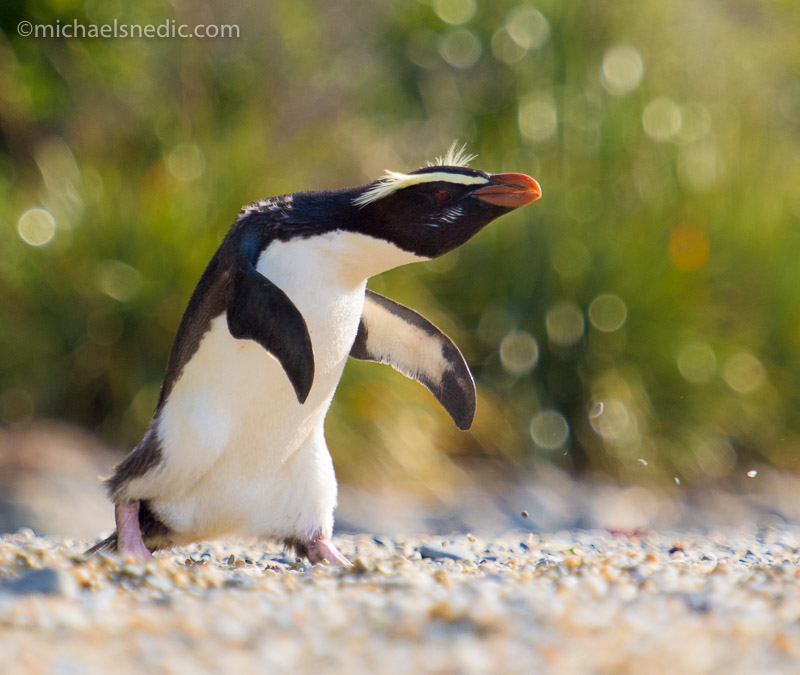
crested fiordland penguin

A teleconverter is a magnifying secondary lens that you can place between the body of your camera and the existing compatible lens. It’s also called an extender and is used to increase the focal length of the primary lens. It’s often used in wildlife photography to capture images of distant subjects with great detail and clarity. One teleconverter can work with multiple lenses and extend their focus length and capacity. So, should you use a teleconverter? They have their advantages and disadvantages and some of these are listed below:

Expense

Teleconverters are relatively inexpensive and are a more affordable alternative to buying multiple lenses of different focal lengths. A good quality teleconverter combined with a high-quality prime lens will capture stunning images and great detail. You don’t have to purchase several expensive prime lenses to get the best focal length range in your photography kit.

For example, you can extend the range of a 300mm f/2.8G prime lens to 420mm f/4, using a 1.4x or 600mm f/5.6 using a 2x teleconverter. There would be a very minimal impact on the performance of the primary lens, but you’ll save a considerable amount of money. I personally use a Nikon 300mm f2.8 lens (VRII) with a 2x Nikon teleconverter (TCIII) and find the sharpness of the resulting images quite amazing.

Disadvantages

Teleconverters have some disadvantages as well, so you should consider them carefully before you purchase these extenders for your kit. Here are some of those disadvantages:

#1 Compatibility

Teleconverters from one brand might not work well with primary lenses from other brands. For example, some Nikon or Canon teleconverters won’t work well with other-brand lenses. You need to check the websites to determine whether the teleconverter will work with your existing camera equipment and lenses. You can easily find the information online but if you’re still uncertain, you can consult with a pro at a camera store and ask them for the best teleconverter/lens combinations.

#2 Sharpness

In some cases, you may sacrifice some image quality as teleconverters can decrease the overall sharpness of the primary lens. The teleconverter may also magnify any lens aberrations and reduce the accuracy and speed of your camera’s autofocus.

#3 Inexpensive Lenses

Teleconverters magnify any flaws in the lenses and compromise the image quality accordingly. If you have a great prime lens, you don’t have to worry about the overall image quality because the compromise would be minimal. However, if you have cheaper lenses, your image quality will be compromised.

If you have a passion for African wildlife, nature or travel photography and would love to go on a specialised small-number, professional African photo safari, please get in touch with Michael Snedic at WildNature Photo Expeditions. You can call him on 0408 941 965 or fill in this Contact Form and he will get back to you ASAP.

Take Stunning Wildlife Photographs Using Back Lighting

Take Stunning Wildlife Photographs Using Back Lighting

Grey Kangaroo - Back lighting

Many amateur photographers are intimidated by backlighting because they’re taught to always shoot with the light above or ‘behind’ the photographer. You want the light to fall on the subject from the same direction as the camera to capture details and the full beauty of the subject. Backlight is when the light source is behind the subject and is moving in the direction of the camera.

You need to take the picture carefully because backlighting can easily overwhelm a subject and cause overexposure. Listed below are some tips that can help you take excellent photographs with backlighting:

#1 All Forms of Light Can Be Used For Backlighting

Backlit pictures look great when they’re taken in natural light but this doesn’t mean they can’t be taken with artificial light. In fact, some wildlife photographers have taken stunning shots with a large spotlight or halogen light in the background to provide the right effect. Artificial light comes into play during the night and can create an interesting contrast of darkness and brightness. The quality of the picture relies on the strength of the source of light. That’s one of the reasons why natural sunlight also works so well and is used so often by professional photographers.

#2 The Angle of Light Matters

During the daytime, when the sun is high in the sky, the entire landscape will be filled with light. In such circumstances, it’s easy to forget just how important the angle of light is. You need to consider how sunlight falls on the subject when you take pictures because that would affect how backlighting shows on your pictures. For example, if the sun is high in the sky, the angle of light faces downwards and would create a top lit as well as a backlit effect. However, if the sun is lower and closer to the horizon, the angle of light would be nearly parallel to the ground, which would create better backlighting conditions.

#3 Consider What Kind of Effect You Want

Backlighting can help you take a versatile range of pictures based on how you position and set the camera. You can capture an amazing amount of detail and still take advantage of the rim-like effect of backlighting if you have enough ambient light. The brightness of ambient light would ensure your subject isn’t overwhelmed by the backlighting and cast in shadow. However, if you do want that silhouetted effect, you can take pictures when the ambient light isn’t as bright as the backlight. This is usually during the golden hours of dawn and dusk.

#4 Exposure is Important

Exposure is the most important factor in backlight photography because it determines just how your camera perceives light. In good conditions with ample ambient light, Evaluative/Matrix/Pattern metering works well. However, if the conditions are less than ideal and there’s a higher contrast between shadows and light, you’ll need different metering settings like spot metering.

You can meter on the dark area and maintain detail in the shadows created by the light and still have the white highlights. This would allow you to capture details like texture, colour, and depth. You can also focus on the bright portion of the frame and let the light overwhelm the subject to create the mysterious-looking silhouette effect. Exposure would determine just how backlighting is utilised in a picture.

If you have a passion for African wildlife, nature or travel photography and would love to go on a specialised small-number, professional African photo safari, please get in touch with Michael Snedic at WildNature Photo Expeditions. You can call him on 0408 941 965 or fill in this Contact Form and he will get back to you ASAP.

Tips to Get the Best Focus with your Camera While Taking Wildlife Photos

Tips to Get the Best Focus with your Camera While Taking Wildlife Photos

lace monitor

Wildlife photography can be quite challenging, as the subject rarely remains static. For example, an animal won’t always sit still and pose for your picture, so you need to be quick and focus well to get the right results. The focus, along with a decent shutter speed, determines how sharp your photograph will be. If the subject moves after the lens has focused, the image can be blurred. Below are some focus tips that will help you get the sharpest pictures possible.

#1 Combine Autofocus and Manual Focus

Even the slightest movement can change the focus; so when you’re on continuous or autofocus (AF) mode, the lens focus can shift just as you press the shutter button. You can avoid this with manual focus, which won’t shift after you’ve set it. However, it’s not always easy to adjust a lens manually, especially if you have a large lens and want to take photos of fast-moving wildlife. A great way to avoid all of these problems is to use both of them. You can use autofocus to find the best focus before you switch to manual and lock it.

#2 Change the Point of Focus

Most cameras allow you the freedom to change the focal point according to your preferences. You can blur the foreground and highlight the background based on what you want to focus on and the aperture you set. If you choose AF, the camera selects a spot to focus on automatically and in most cases, it gets the focus right. However, sometimes you might want to highlight something else so you can adjust. With wildlife, you can try to predict where the subject would be in the following few seconds and then focus on that spot with AF. For example, if you know a bird is going to fly in a particular direction, you can focus on that particular spot and wait until the bird gets in frame before you press the shutter button completely. This ensures the subject is in sharp focus.

#3 Understand Different Types of Autofocus

Modern cameras come with two different types of AF. The Single-Shot AF or SAF (called One Shot in Canon cameras) is used mainly for static, non-moving subjects such as landscapes, macro, buildings or non-moving wildlife or people. This means the focus won’t change after it’s confirmed. The Continuous autofocus or CAF (called AI Servo for Canon cameras) is fluid and will shift as you follow your moving subject. Use Continuous autofocus on conjunction with burst or ‘repetitive shot’ mode.

If you have a passion for African wildlife, nature or travel photography and would love to go on a specialised small-number, professional African photo safari, please get in touch with Michael Snedic at WildNature Photo Expeditions. You can call him on 0408 941 965 or fill in this Contact Form and he will get back to you ASAP.

The Composition Aspect in Wildlife and Nature Photography

The Composition Aspect in Wildlife and Nature Photography

elephant - Okavanga Delta - Africa

Composition is one of the most important aspects of photography and many wildlife and nature photographers struggle with it. When you look at a landscape or animal, you see its beauty in full form and colour.  However, it’s not easy to capture the beauty you see with the camera and this is where composition matters. You need to set up the picture carefully to ensure you get the right shot at the right time and that’s what makes the image interesting. Here are four tips to help with your composition in wildlife and nature photography.

#1 Consider the Lines

Lines might seem insignificant but they have a big impact on the feel and mood of the picture. Straight horizontal lines represent order and calm and can make the picture feel peaceful. A flat, plain horizon is a great example of this so if you use it as a reference point in your picture, the overall effect would be very calming. Vertical lines, on the other hand, represent majesty and power and can leave a person feeling a sense of awe. A great example of such a picture would be a photograph of eucalyptus trees from the ground. Consider the lines in your frame and use them to your own advantage the next time you are out photographing.

#2 Pull Back a Little

If you have a zoom lens, it’s tempting to zoom in and take a close-up, especially of animals you would never dare get close to. However, sometimes it’s a good idea to pull back and capture the animal in its environment. This can be done in many different ways to get many effects. You can showcase how large an elephant is or how small an insect is by including their environment in the picture. Pulling back allows you to put things into perspective and that adds depth to the picture.

#3 Catch the Eye

There are very few things that can be more compelling than direct eye contact with the animal. There’s always a raw, primitive intelligence in the gaze that can make for a stunning photograph. If you’re not sure about how you want to compose the shot and want to take a picture quickly, focus on the eye and click. If you’re lucky, you might get a picture of the animal looking back at you. You might also capture a shot of the animal gazing intently at its prey.

#4 Don’t Place the Subject in the Dead Centre

Most professional photographers will follow this rule and not place the subjects in the centre of the picture. Such pictures are often mundane and don’t show depth or contrast.  It’s safer to place the subject slightly off-centre, when framing your image.

If you have a passion for African wildlife, nature or travel photography and would love to go on a specialised small-number, professional African photo safari, please get in touch with Michael Snedic at WildNature Photo Expeditions. You can call him on 0408 941 965 or fill in this Contact Form and he will get back to you ASAP.

Would you like a FREE copy of my new Ebook?

Download Button

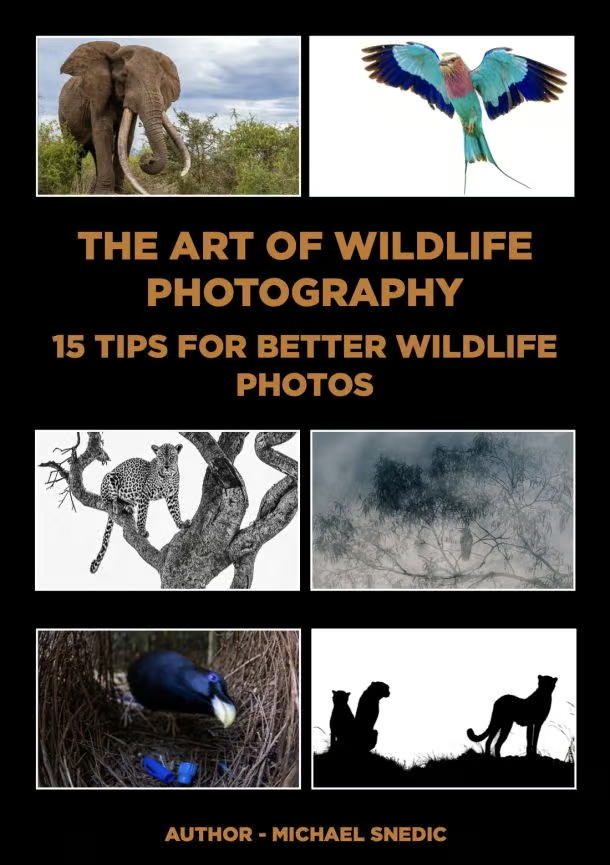
ebook The Art of Wildlife Photography by Michael Snedic July 2026 cover

You have Successfully Subscribed!