Photographing wildlife can be loads of fun, but also very challenging. By following the pieces of advice set out in this article, and backing this up with lots of practice out in the field, you can’t help but take great images.
01 – Watch and Observe
It isn’t just the technical information that will help you get better images of wildlife. Even before you pick up a camera, there are some important things you should do. Getting to know your subject gives you a much higher chance of ‘nabbing’ that shot. Observing an animal before going out to photograph it is very important. In a lot of cases you will see a pattern emerge. It could be a specific movement the animal makes just before jumping away or flying off. Or it could be the fact that each day, at a particular time, the subject (or subjects), turn up briefly at one spot to feed, preen or perform a courtship display. By knowing this daily ‘habit’, you can set yourself up with a camera in hand, and wait….
02 – Aperture Priority or Manual Setting
I strongly recommend using aperture priority when photographing wildlife. That way you are in control of the depth-of-field required and camera’s shutter speed will change accordingly, depending on the light conditions around at that time. If wanting to photograph a moving animal, a higher shutter speed is needed. With aperture priority, this can be done by increasing the ISO, which in turn increases the shutter speed. It is easy enough to increase the shutter speed by increasing the camera’s ISO, but there is another option. If your camera has the feature available, you can also use the ‘Auto ISO’ setting. I suggest setting the ISO parameters so that it won’t allow a high ISO, which can result in images with too much ‘noise’ (or grain, in the old film terms). By using the auto ISO setting, it’s one less thing to think about when out in the field. The camera’s shutter speed will remain at a minimum speed, no matter what the lighting conditions are like. You can also set your camera to manual, choose the aperture and shutter speed you require and select the auto ISO option. By doing this, you are in control of both the depth-of-field you require AND the minimum shutter speed, while letting the ISO change accordingly.
03 – It’s all About the Eyes
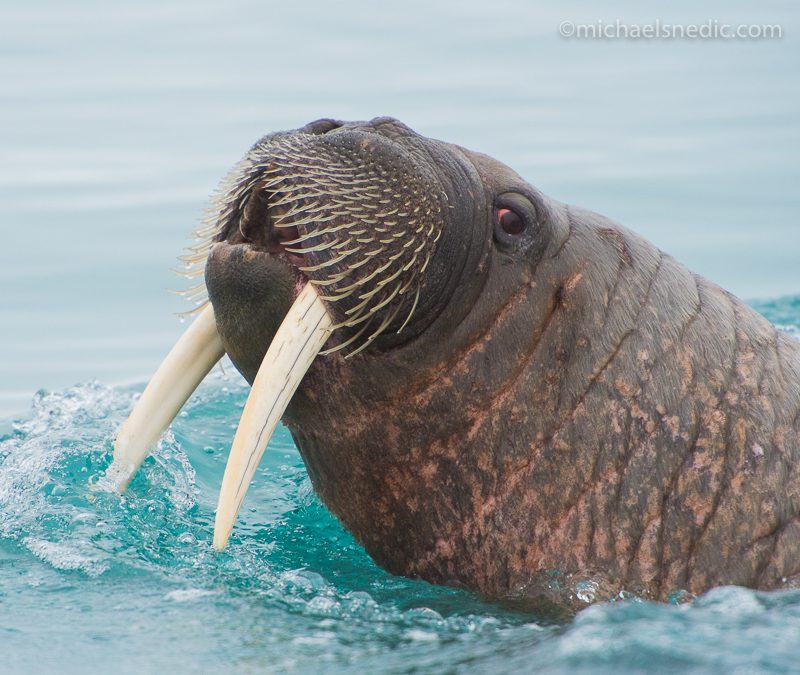
When I started out in wildlife photography over 21 years ago, one of the very first things I learned was to focus on the eyes of an animal. Whether it’s both eyes staring straight at you or just one eye side-on, it’s paramount that the eye(s) are sharp and clear, otherwise the image is ruined. You can do this by choosing the single focus point and moving it around using the camera’s toggle, until it focuses on the animal’s eye. Another option, when using the camera’s single focus style, is to focus on the eye using the central focus point. Follow this by half-depressing the shutter button, keeping your finger on the button, then moving your camera to recompose the image as desired.
If you have a passion for wildlife, nature or travel photography and would love to go on a small-number, professional photography adventure, please get in touch with Michael Snedic at WildNature Photo Expeditions. You can call him on 0408 941 965 or fill in this Contact Form and he will get back to you ASAP.


