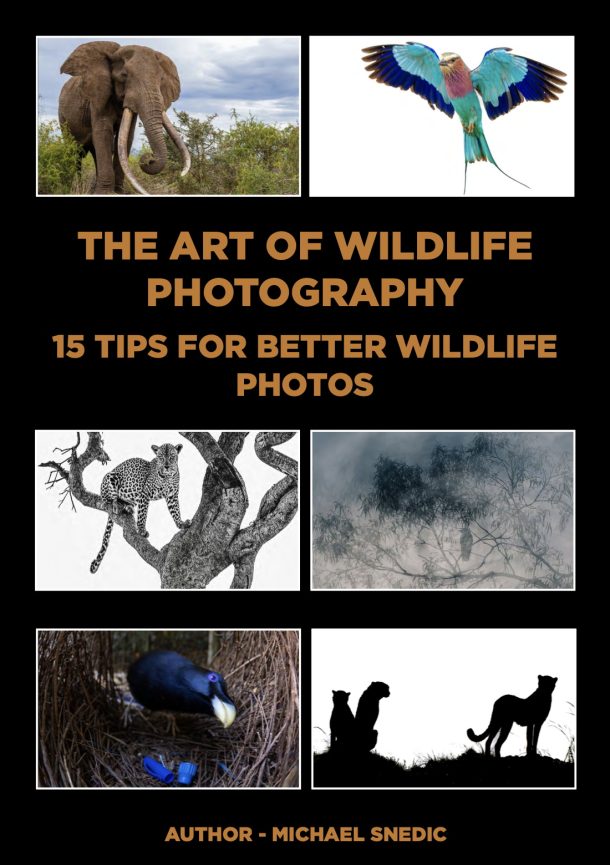
07 – Flash Techniques Explained
Over the years, many of my photo workshop participants have said that they struggle to get decent shots using flash. The settings I’m about to explain here are tried-and-tested and work well. They are my own, personal settings that I have explained to lots of workshop students for many years and they work!
For SLRs, set the camera to manual mode. Use a wide aperture (as you would normally for wildlife), set the shutter speed to 1/125th of a second and the ISO to 100. Connect the external flash to the camera’s hot shoe and select TTL (Through The Lens) or B-TTL metering. Take a shot and check the exposure. As long as you aren’t too far away, you should get decent exposure, as most external flash units aren’t powerful enough over long distances. If quite close to the subject, I recommend adding a diffuser to the flash, which helps to create soft, natural lighting. If the image is still too bright, even with an added diffuser, you can also reduce the power of the flash in increments of one third of a stop, available on most flash models.
There are various ‘twin’ flash arms that can be connected to the hot shoe, which allows for two flash units to be used. The benefit of this is that the image will be much more evenly lit and also minimises the chance of Red Eye, resulting sometimes from attaching a flash directly on top of the camera via the hot shoe. The reason Red Eye occurs in the eyes of your subject is that the direct light from the flash bounces off the animal’s retina and straight through the lens, creating this unsightly effect.
08 – Common Pitfalls
There are a few pitfalls to watch out for when photographing wildlife:
1. One of the most common pitfalls is concentrating so hard on the actual individual being photographed, that your eye misses unsightly distractions in the background. Watch out for trees or other structures sticking out the back of the subject’s head.
2. Photographing a bird straight up a tree from directly below doesn’t look good. Try moving back, giving you a much better angle to photograph.
3. Watch that shutter speed! So often I see people photographing in low-light conditions and hear the sound of a very slow shutter going off. A guaranteed blurry shot!! Either increase the ISO (to increase the shutter speed), stabilise the camera/lens or use flash.
4. Don’t always try and fill your frame with the animal. Sometimes taking a shot of a stunning scene, where the animal is a very small part of it, can make for a great environmental image.
5. When photographing in a zoo or wildlife park through glass and using flash, I suggest positioning the camera/lens/flash at an angle against the glass. This stops the flash bouncing off the glass and straight into the lens, causing unsightly flares and ruining the shot.
09 – Creating Silhouettes
One of the ultimate shots for many photographers travelling to Africa, is to get a shot of silhouetted giraffes against a fiery, orange sunset. This can be achieved by exposing for the background, making for a lovely orange sunset (rather than a totally burnt out background), while at the same time keeping the giraffes totally black.
If you have a passion for African wildlife, nature or travel photography and would love to go on a specialised small-number, professional African photo safari, please get in touch with Michael Snedic at WildNature Photo Expeditions. You can call him on 0408 941 965 or fill in this Contact Form and he will get back to you ASAP.