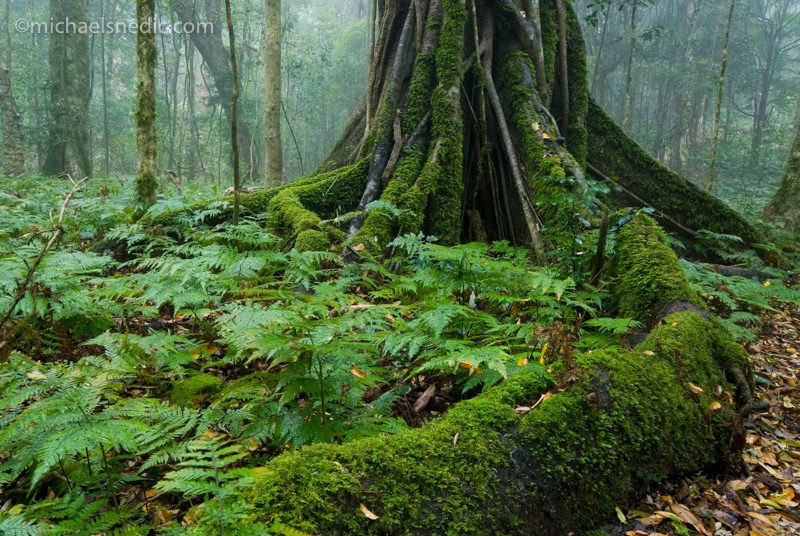
Standing in a rainforest, camera ready, is a wonderful experience. An image taken in a rainforest, taken under the correct conditions and using good photographic techniques, can look absolutely stunning. Below are some photographic tips to help you achieve great images.
#1 Shoot On An Overcast Day
Without exception, shots taken in a rainforest look so much more ‘natural’ when taken on an overcast day. The lighting is very even and diffused and the rich greens usually look their best. Shooting on a bright, sunny day creates images with lots of very harsh light and shadows – not very appealing to the eye. Whether it’s a mossy buttress root, a waterfall or a cascade, I strongly advise waiting for a cloudy day before you venture out with your camera.
#2 Using A Tripod
When using small apertures (high number) such as f11 or f16, it can be near-impossible to hand-hold your camera and get a sharp image, especially if the day is gloomy/dark or there is a thick canopy overhead. A sturdy tripod is an essential piece of equipment for getting great rainforest shots in low light and using small apertures (in size).
#3 Using A Circular Polariser
For the last 20+ years, I have been a strong advocate of using a Circular Polariser when taken shots in a rainforest. The Polariser has a number of different benefits, including reducing glare off water or shiny rocks and leaves, slowing your aperture by 1.5 to 2 stops, giving any running water more of a milky effect and also adding a touch of saturation to your images, without making them too gaudy or fake.
#4 Think Outside The Square
Apart for the obvious landscape rainforest image (landscapes, waterfalls and cascades), think about taking close-up images of patterns on tree trunks, moss on rocks and macro subjects such as ferns or fungi. Along with your landscape shots, these subjects add variety to your rainforest portfolio.
#5 Creating That ‘Milky’ Effect For Waterfalls
On a dark, gloomy day, by using an aperture such as f16, you can usually achieve a slower shutter speed, which gives you a ‘milky’ effect to the water. If you would like the water to me more milky, then using a neutral density filter will slow the shutter speed considerably.
#6 Be Patient
Sometimes, when you arrive at a waterfall, light conditions just aren’t quite right. The sun may still be behind the trees or nearby cliff or the sun may be out, creating harsh light. By being patient, often the conditions change or improve. The sun might end up shining ‘through’ some shrubs, creating stunning rays of light, or clouds might come across and create diffusion. I can’t think of a more relaxing place to sit and wait, than in a rainforest… It will be well worth the wait!
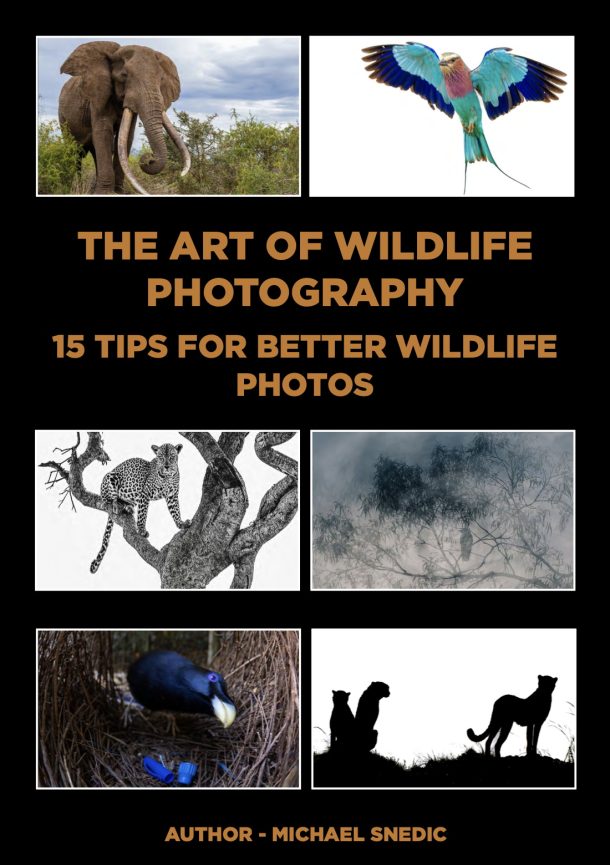
If you have a passion for African wildlife, nature or travel photography and would love to go on a specialised small-number, professional African photo safari, please get in touch with Michael Snedic at WildNature Photo Expeditions. You can call him on 0408 941 965 or fill in this Contact Form and he will get back to you ASAP.