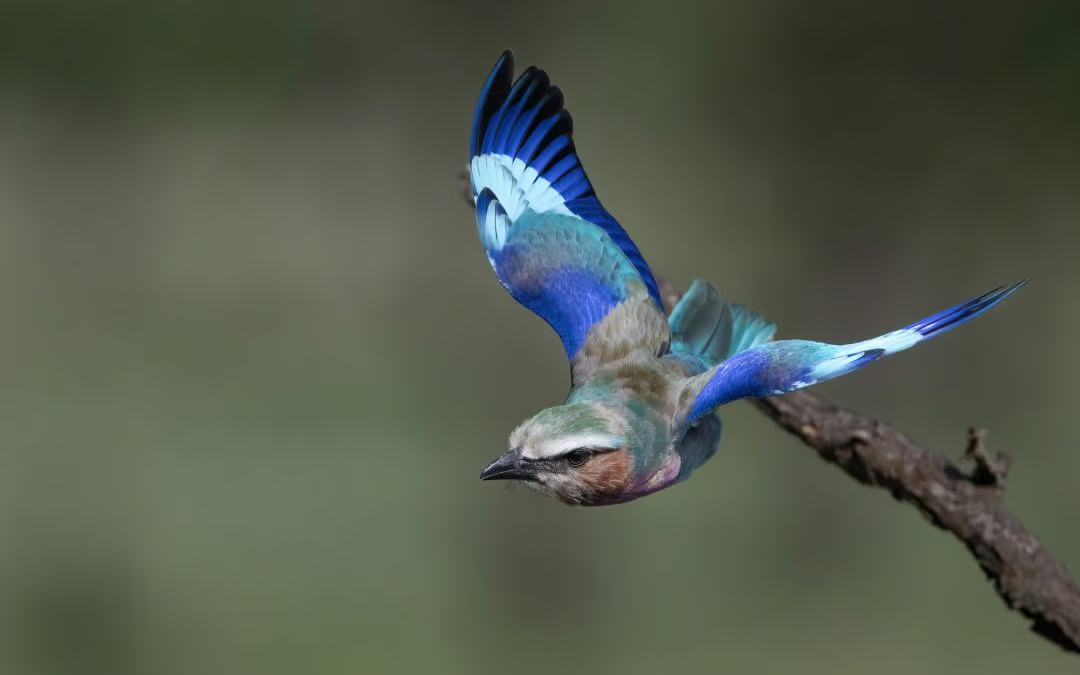
Bird Photography Techniques

Bird Photography Techniques
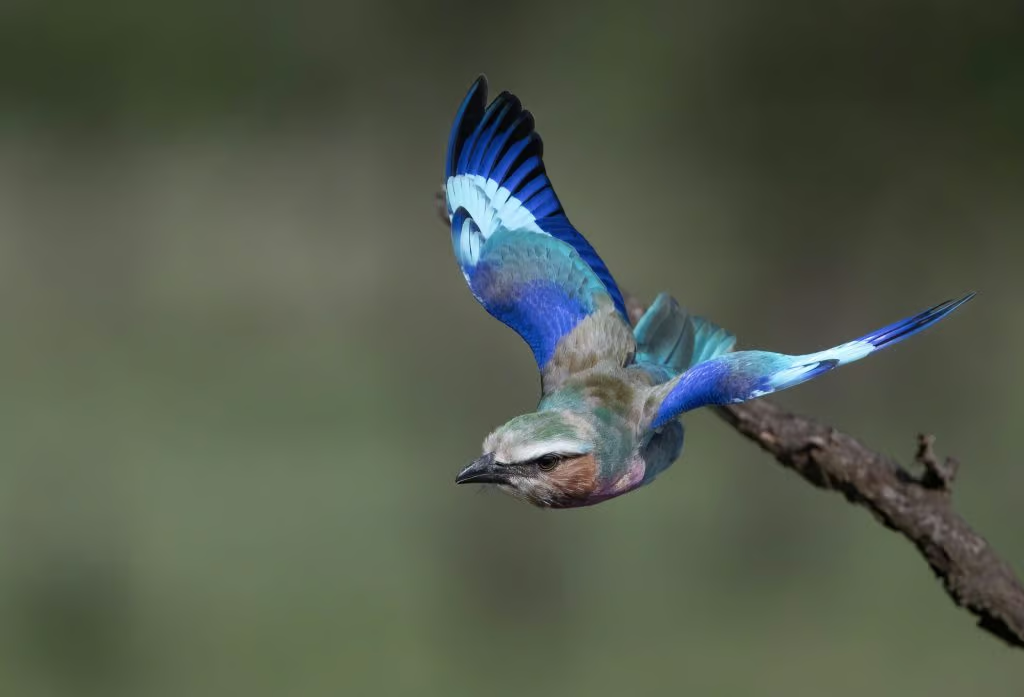
Lilac-breasted Roller

Birds are fabulous subjects to photograph, something I have been enjoying immensely for the past 28 years. Rather than capturing standard portrait shots of well-focused birds, sitting on a stick in nice light, there are other ways you can photograph birds which can be quite pleasing to the eye.

Close Ups

Photographing an area of a bird is one way to achieve interesting shots. People usually don’t get to see, at close range, the feather detail of a bird or a close-up of its eye. This method can accentuate a bird’s feathers or it can show the intricate detail of its eyes. I suggest using a lens with a long focal distance (such as 400mm or 500mm) to hone in on one area, concentrating on that detail. Alternatively, if you have a camera with decent megapixels, take the shot as close as you can, then crop the image during post processing to create the image you want.

Birds in the Environment

Photographing birds as part of a landscape is becoming more and more popular and you don’t need to use a lens with a long focal length. Bird photography competitions such as the Birdlife Australia Photography Awards and Bird Photographer of the Year (UK based) both include the category ‘Birds in the Environment’, where the bird is a small part of the image. Basically, the idea is to find a beautiful landscape and photograph a bird (or birds) in that landscape. Using a wide-angle lens such as a 16-35mm or even a 24-70mm enables you to capture the whole landscape and using an aperture such as f16 allows greater depth of field so that the whole landscape is in focus. When a bird enters the landscape you choose, it is important to focus on the bird as this will be the first object the viewer of the image normally looks at.

Birds as Silhouettes

Rather than seeing the colours of a bird and the texture of its feathers, a silhouette of a bird, when photographed correctly, allows you to identify it simply by its shape or outline. If the silhouette is taken during an amazing sunrise or sunset, it also creates a stunning background for your image.
To be able to create great silhouettes, you need to use certain settings for the shots to work. Firstly, compose your shot by placing the bird in front of beautiful light. This can be a sunrise, a sunset or a bright or overcast sky. The settings on your camera are similar to taking standard bird images but the important thing is to use the correct metering setting. This is Matrix metering for Nikon cameras, Evaluative for Canon, Multi Pattern for Sony, ESP for OM Systems (Olympus), Multi for Fuji and Multi Zone for Panasonic.

By exposing for the background, your subject ends up being black. Basically, you have just created a beautiful silhouette!

Capturing Action

One of my favourite types of bird photography is capturing ‘action’. To me, it’s the ‘thrill of the chase’ that makes this type of photography so exciting. Capturing that split-second moment in time, frozen forever in-camera, is very rewarding. I suggest picking a bird species you would like to photograph, then do some research as to the best locations to photograph them. Doing a reccy beforehand is something I have always done. And thoroughly recommend. This allows you to see where the birds are, as well as observing their behaviour.

Once you have done this, it’s time to start shooting. I suggest using shutter priority, setting the camera’s shutter speed to 2000th of a second. That way if the bird is flying, fighting or any other behaviour where it is moving rapidly, the action sequence can be ‘freeze-framed’. You will also need to set your camera to burst mode, where the camera takes multiple shots while you press down the shutter button. That way you are capturing the full sequence of action.
Different camera brand sand models have different types of focusing modes, so there isn’t one straight answer as to which one to use to capture split second moments in time. If you own a mirrorless camera, especially some of the more recent models, many have bird-tracking focus modes which when used correctly can achieve incredible results. Some models have 3D tracking, which helps you to follow moving subjects and with others you need to use a single focus point based in the centre of your screen and try and track the bird that way. Yes, it can be tricky to ‘nail’ that shot with a single focus point but practice certainly will help you achieve sharp action shots.

Black and White or Monochrome

You can photograph birds in colour with the aim of editing them later as black and white images. Alternatively, most cameras have a black and white mode as a setting. By shooting or editing an image in black and white, it isn’t the colour of the bird that wows the viewer of your images. It ends up being the mood of the landscape the bird is situated in or the behaviour you have captured.
I always shoot using RAW and in colour, then when I’m editing my images I can choose the type of image I want as the end result. There are different black and white settings available in Lightroom, for example, where all you need to do is click on the style of black and white and see which one works best for you. Easy!

Intentional Camera Movement (ICM)

If you like to experiment with your bird photography and prefer the more artistic approach, then Intentional Camera Movement (ICM) is well worth trying. This is where you intentionally capture slowed-down movement of birds in action, especially in flight. The best results are achieved by photographing flying birds on an overcast day. My favourite settings for ICM are anything between 1/10th to 1/30th of a second shutter speed, especially on a cloudy or overcast day. I either pan with the bird as its flying past or let the bird fly past without my moving the camera. If conditions are bright, you can also use a neutral density filter to lower the camera’s shutter speed.

Whatever method of bird photography you choose, the best way to get great shots is by experimenting and practising. Above all, enjoy the process!

If you have a passion for African wildlife, nature or travel photography and would love to go on a specialised small-number, professional African photo safari, please get in touch with Michael Snedic at WildNature Photo Expeditions. You can call him on 0408 941 965 or fill in this Contact Form and he will get back to you ASAP.

5 Day Tarkine Photography Workshop (Tasmania)

5 Day Tarkine Photography Workshop (Tasmania)

Tarkine Photography Workshop and Tour - Tasmania

Sunday 25th to Thursday 29th of October 2026

Date

Sunday 25th to Thursday 29th of October 2026

Price

$AU4495 (plus GST) per person twin share

$AU1100 (plus GST) extra for single room supplement


Please note: WildNature Photo Expeditions will endeavour to find someone to share with you, from the photography group. If no one is available to share, then a single supplement will be added and you will have your own room.

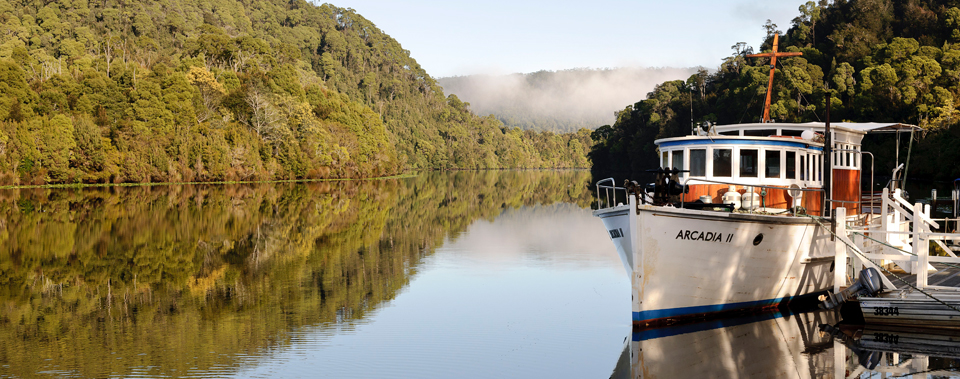
Pieman River

Tutor

Professional Photographer and Tutor, Michael Snedic

Meeting Point

Hotel Grand Chancellor, Launceston

Transport

12 seater bus with luggage trailer

Photography Level

All levels of photography are catered for. You will receive plenty of individual one-on-one time that will be geared towards your own personal skill levels and needs.

Common Wombat

Accommodation

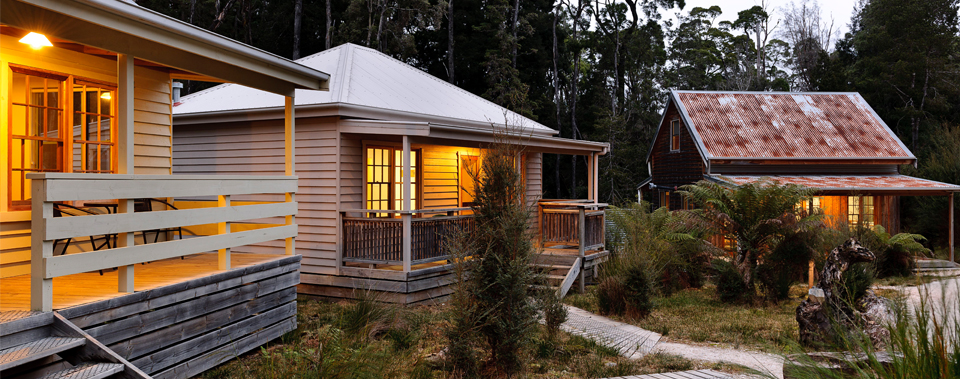
4 nights at Corinna Cabins, surrounded by the Tarkine Wilderness.

Meals

Meals can be purchased at Corinna Wilderness Lodge

Tarkine accomodation

Inclusions

  • Photography tuition by Michael Snedic
  • Four nights accommodation at Corinna Homestead (twin share)
  • All transport during workshop (12 seater bus)
  • Two different river cruises, including a trip to the rugged west coast of Tasmania

Pieman River Cruise

Exclusions

  • Meals
  • Alcohol
  • Accomodation at the Grand Chancellor Hotel on the 25th of October 2026
  • Transport to/from Launceston
  • Hotel “in-room” expenses
  • Other personal expenses

Maximum 8 Participants

This workshop is capped at 8 participants, giving you maximum tuition time with Michael and Georgina

Highlights


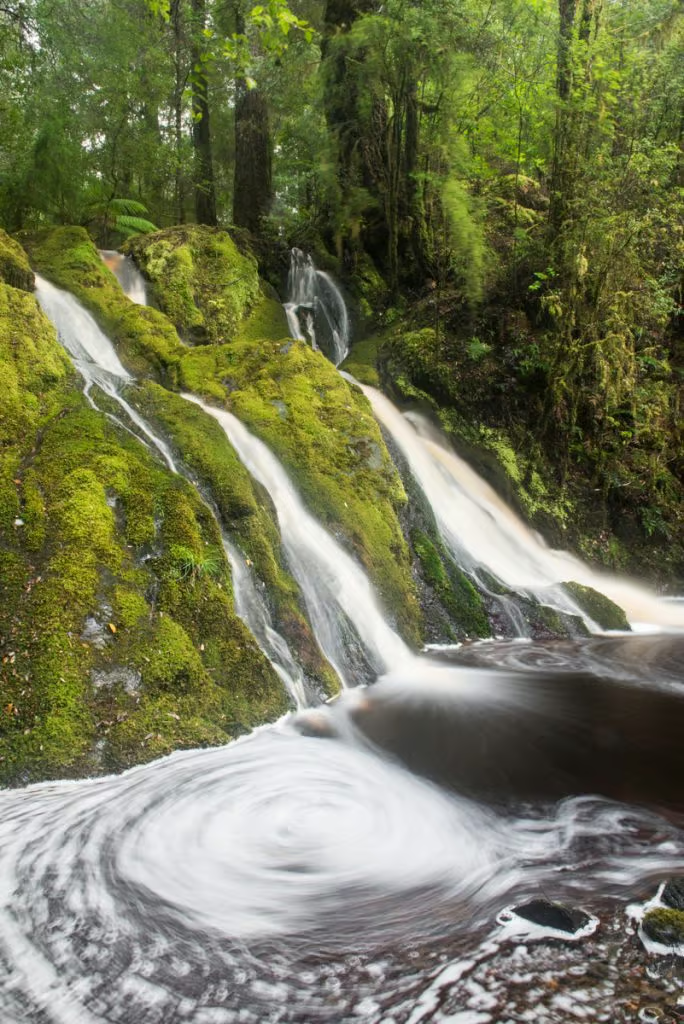
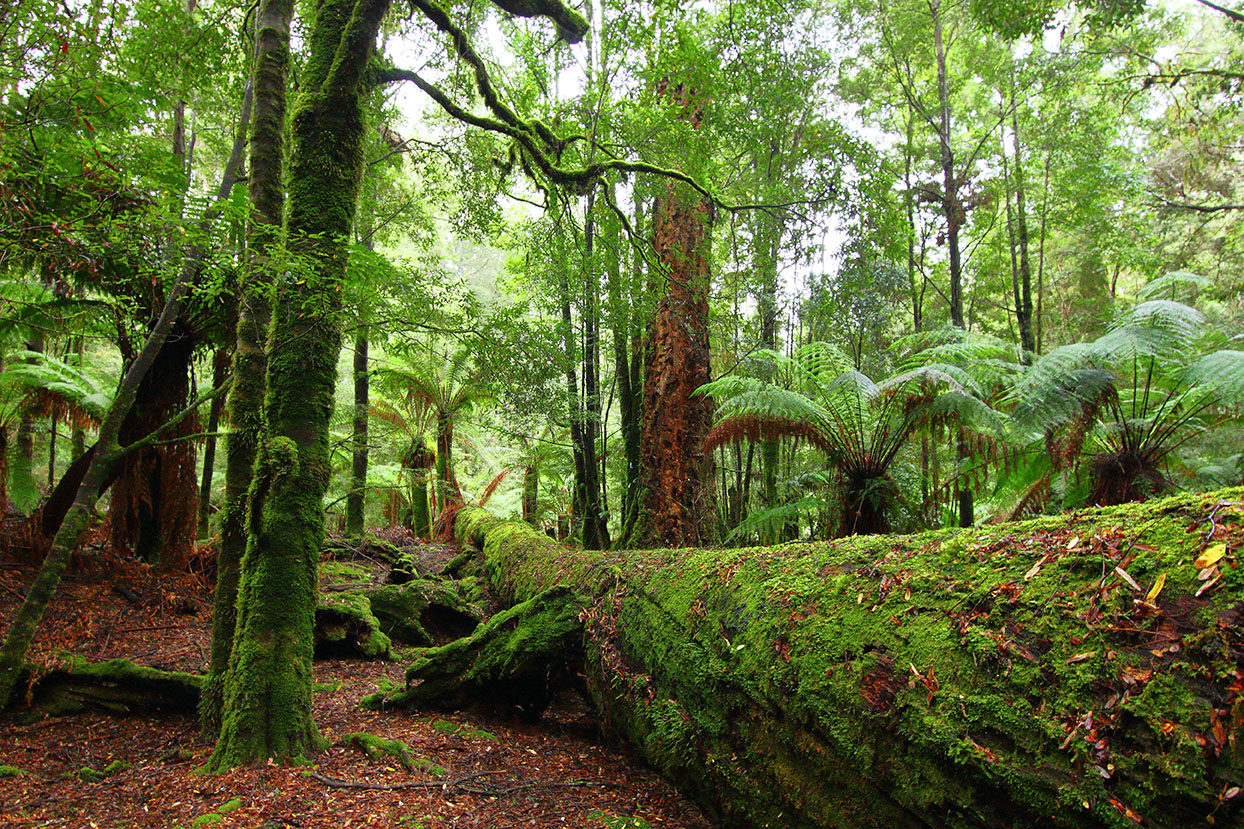
  • Rainforest photography including moss covered forests
  • Pieman River Cruise on Arcadia ll to the Pieman heads on Tasmania’s wild west coast
  • Sweetwater cruise on the Savage River, including a visit to Lover's Falls
  • Landscape shoot over the plains of Mt Donaldson
  • Image critique session
  • Audiovisual presentation

Copyright - Michael Snedic

About Michael

Michael is a widely-published photographer. He has authored many articles over the years, for magazines such as BBC WildlifeAustralian Photography, Australian Geographic, Australian Birdlife and Wildlife Australia. His images have featured in calendars, diaries, books and billboards and has had his own photographic books published on Australia’s wonderful wildlife. His work has also featured at Tasmania’s own Wilderness Gallery at Cradle Mountain. Michael is also a Nikon School tutor. He is passionate about photography and loves sharing his knowledge and enthusiasm with workshop participants.

Michael Snedic bio

Itinerary & Other Important Information

  • Day 1:   Depart Launceston approx 10:00am, with a rainforest walk along the way.  Arrival at Corinna Homestead at approx 6:00pm.
  • Day 2:   Photography around the numerous rainforest trails around Corinna. ASfternoon landscape shoot overlooking Mt Donaldson.
  • Day 3:  Cruise along the Pieman River, including beach walk to the 'Heads'.
  • Day 4   An early morning cruise to photograph the stunning Savage River, including a hike to Lover's Falls. Landscape shoot in the afternoon, then more fungi and macro photography.
  • Day 5:  Early morning bird photography session. Depart Corinna and transfer to Grand Chancellor Hotel in Launceston, with photographic stops on the way.

Philosophers Falls

Bookings and Contact:

To reserve your place or just to ask more questions about this photo expedition, please contact Michael either via his CONTACT FORM or by calling +61 408 941 965.

Your position on this workshop will be guaranteed immediately upon the receipt of a AU$1100.00 (plus GST) non-refundable deposit. The balance will be required 90 days before the workshop commencement date.

Tarkine landscape

Cancellation Policy:

Cancellation up to 90 days before departure - deposit non-refundable or transferable. Cancellation between 90 and 60 days before departure - 50% of total workshop price forfeited. Cancellation less than 60 days before departure or during tour, no refund available.

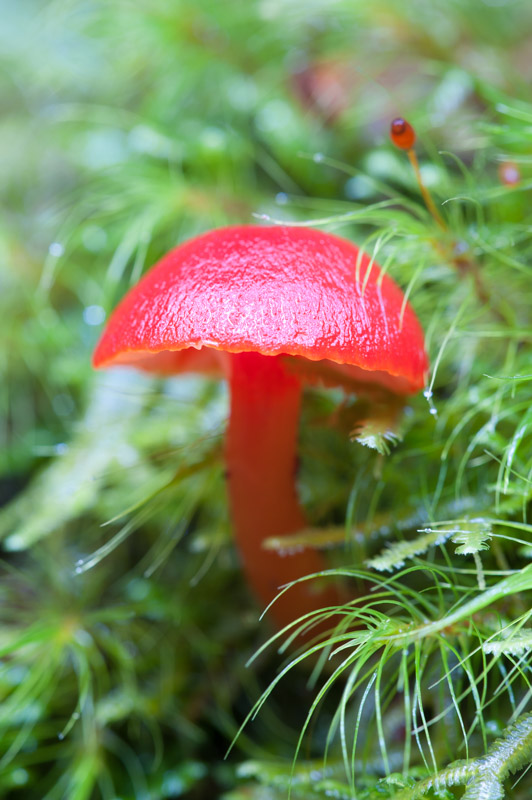
Red Fungi

Misty Tarkine

Tarkine

How To Best Photograph Auroras

How To Best Photograph Auroras

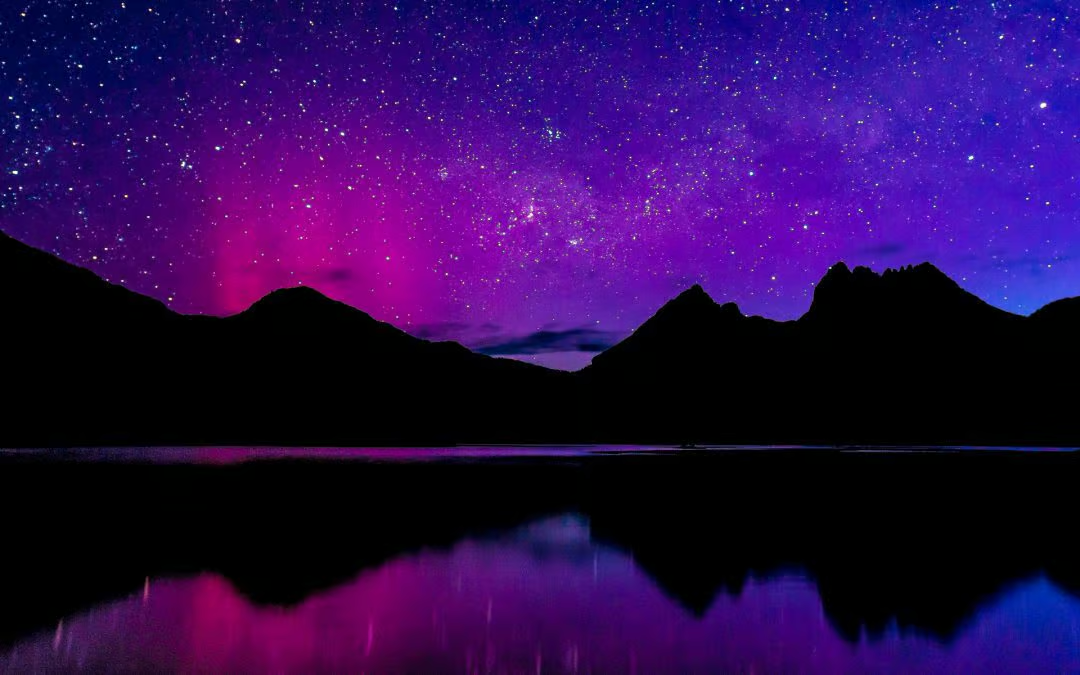
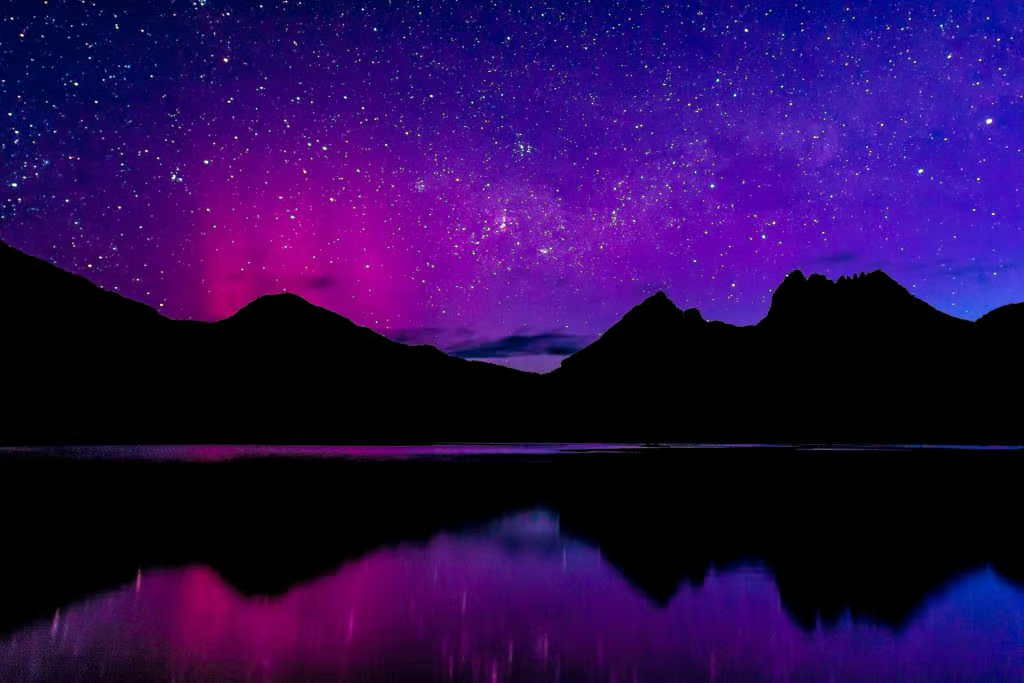
Aurora Australis - Cradle Mountain

Text and Images By Michael Snedic

Recently, aurora activity has been ‘off the charts’! Less than two weeks ago, aurora activity across Australia (and the world) was the best in at least 20 years (Northern auroras are called Aurora Borealis and southern ones are called Aurora Australis). Auroras were seen and photographed in locations that you previously couldn’t imagine – Uluru in the Northern Territory, Mackay in Queensland, Christmas Island and many more locations. Those in the southern parts of Australia, especially Tasmania, are used to auroras but to have them right across Australia was simply awesome. The unbelievable colours and patterns made those nights recently very special moments indeed. I saw a huge number of aurora images posted across social media and there were many great images. There were, unfortunately, quite a few that could have been amazing but the photographers didn’t necessarily know the correct settings and techniques to use. In this article, I will show you the best ways to photograph auroras.

Essential – Using A Tripod

To end up with great shots of an aroura, you need to use a tripod. Sure, there are shots out there with phones and hand-held cameras but by using a tripod for stabilisation is the preferred method. I highly recommend using a sturdy tripod, rather than a Joby GorillaPod or similar. The tripod needs to be on firm ground to minimise camera shake.

Remote or Cable Release

Apart from using a sturdy tripod, it is best to use a remote or cable release to take aurora images. This eliminates any movement that may be created by physically pressing the camera’s shutter button with your finger, especially since we are using quite slow shutter speeds. If you don’t own a remote or cable release, you can use the camera’s timer or, if your camera make and model has the feature available, connect it to an App where you can press the shutter button via your phone.

Recommended Camera Settings

The main problem that arises when photographing auroras arises when photographers who aren’t familiar with the correct settings use ‘normal’ landscape settings (i.e small aperture size, 100 ISO and a reasonably fast shutter speed). For auroras, the settings are opposite to landscape photography. My suggested starting point when using a digital SLR or mirrorless camera is to set your camera to manual mode. Set the camera’s shutter speed to around 15 seconds, the f-stop set to the widest (lowest number) aperture your lens allows, such as f1.8, f2.8 or f4 and the ISO at 1600. Take a few test shots to see the result and if needed, you can tweak the settings for optimal images. If your images are a tad dark, you can either reduce the shutter speed by one stop to 30 seconds or increase the ISO by one stop to 3200. An important point to remember is to not set your shutter speed for longer than 30 seconds, as this can create small arcs in your images due to the movement of the stars.

It takes a bit of ‘trial and error’ but well worth experimenting with your settings in order to capture great shots.

Best Way To Focus

Autofocus won’t work when shooting an aroura, so you need to focus manually. Focus to infinity (furthest away) or manually focus on a star and when it is sharp, you have perfect focus. There’s nothing more frustrating than finding out there is an aurora alert, travelling long distances to get there, waiting for hours for the aurora to be at its best, then realising after you get back home that all of your shots are blurry due to incorrect focusing! As far as lens focal lengths go, I recommend anywhere from 14mm to approximately 50mm. Lenses with a focal length of 14-18mm will give you a wider field of view and preferred if you are wanting to capture quite a large expanse. By the way, don’t forget to pack a headlamp so that you can see what you are doing with your camera!

Find A Foreground Feature

Aurora images can be more interesting by having a foreground feature. This may be a mountain range (such as in the two images shown with this article), an old building, a jetty or a monument. It is definitely worth scouting locations during the day when you can see where you are going and what features you have around you. That way you aren’t fumbling around at night trying to work out where things are.

How To Find Out When The Next Aurora Is Due

There are a number of Aurora Facebook groups worth joining. I personally recommend the Aurora Australis Tasmania group of which I have been a member for many years. They will usually have posts letting people know if there is any activity happening and where. There are also websites such as www.spaceweather.com you can visit that let you know if there are auroras due and what ‘strength’ the solar flares are. One important thing to remember is that even if there is a high alert for an aurora, your best chances for seeing and photographing one is when there is no rain and the skies are clear. That doesn’t mean you can’t photograph one when its cloudy (see my shot featured taken in Coles Bay, Tasmania as an example) as this can add interest in your shot.

More than anything, enjoy the experience and if you achieve great photos of an aurora, that’s simply a bonus!

If you have a passion for African wildlife, nature or travel photography and would love to go on a specialised small-number, professional African photo safari, please get in touch with Michael Snedic at WildNature Photo Expeditions. You can call him on 0408 941 965 or fill in this Contact Form and he will get back to you ASAP.

Five Macro Photography Tips and Techniques

Five Macro Photography Tips and Techniques

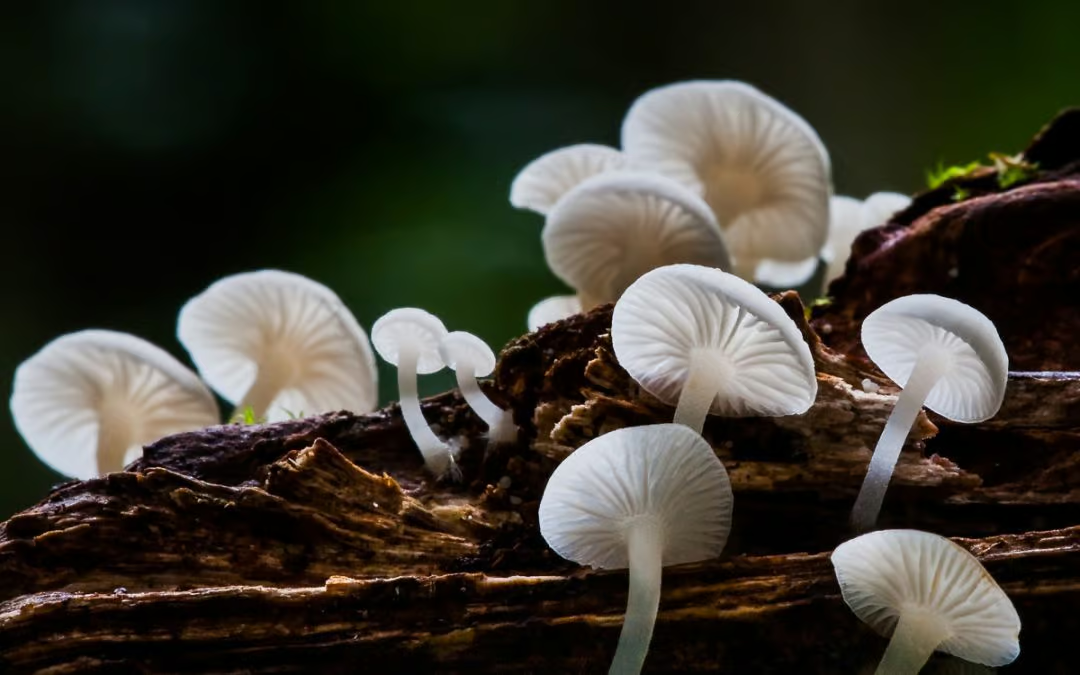
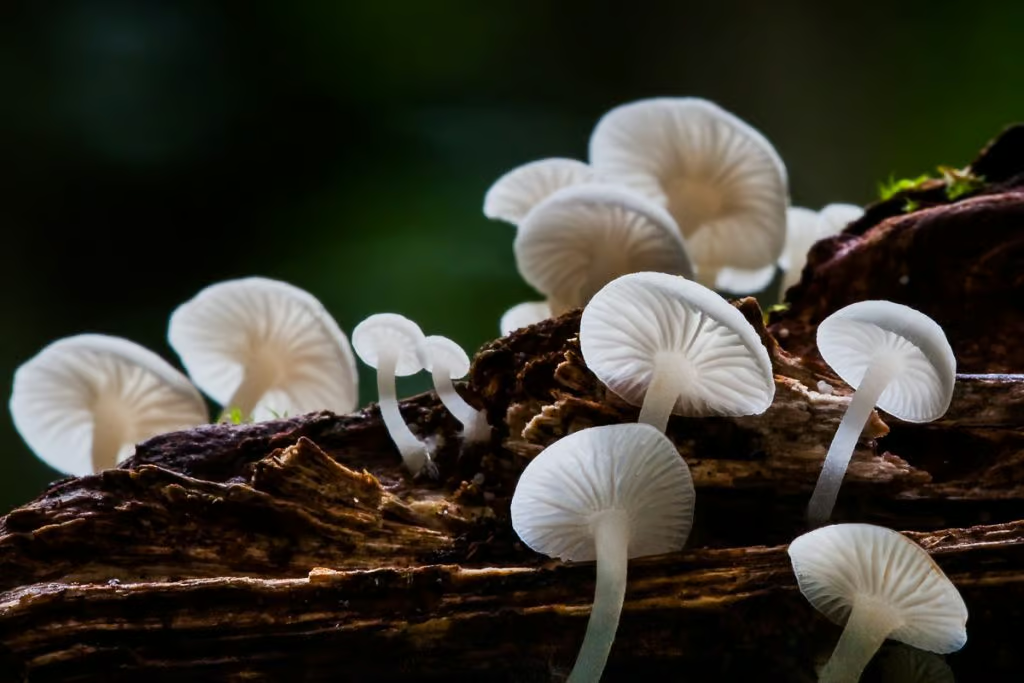
Gilled-Fungi

Photographing the ‘tiny things’ in the natural world can be both enjoyable and rewarding. Below are some tips and techniques that will help you achieve better macro photos.

1. Dedicated Macro Lens

If you love your macro photography, using a macro lens is always preferable. Whether your lens has focal length of 50mm, 200ml or anything in between, a dedicated macro lens allows for closer focusing and incredibly sharp images. Yes, some zoom lenses have a ‘macro’ setting but they aren’t true macro lenses.

There isn’t a perfect focal length for a macro lens. The most popular focal lengths seem to be between 60 mmto 100mm. Lenses with a focal length of 180 or 200mm macro lens are a tad heavier to use and don’t have as close a minimum focal length as the smaller sizes. One advantage , however, is that you are able to focus further away, which can have its advantages when photographing insects such as dragonflies or butterflies which can be a bit kittish when approaching them too close.

2. Extension Tubes

Using extension tubes with SLR or Mirrorless cameras allow for much closer focusing to your macro subjects (they fit in between the camera and lens). The downside is that depth of field becomes a real issue and even at an aperture of f22, only a fraction of your close-up image will be in focus. Generally, extension tubes are best when using a tripod, as this allows for greater stability. Hand holding a lens with an extension tube can be quite tricky since adding them reduces your aperture size and therefore decreases your shutter speed.

3. Macro Flash

By using a macro or ring flash attached to your lens negates the use of a tripod, especially in low light scenarios. You are, quite simply, carrying around your own light source. Using a flash has the advantage of you being able to capture insects such as bees buzzing over a flower, which a slower shutter speed will struggle to capture in poor light. Also, for insects that fly or move, the fact that you aren’t connected to a tripod means you have much more flexibility focusing on the moving subject.

Apart from using a macro flash, there are also numerous macro lights available on the market. Rather than a flash being fired when you take a shot, a macro light uses a continuous light source that usually can be adjusted according to the amount of light you require on your subject.

4. Using a Diffuser

Sometimes when you head on out with your camera with the aim of photographing plants, insects, fungi or frogs, lighting may be harsh. There are ways of reducing your exposure in-camera but harsh lighting can create unsightly images, especially if the subject is shiny and reflective, or white and yellow. By setting up on a tripod and using a portable hand-held diffuser between your intended subject and the lens, this creates much smoother lighting. Sure, photographing during overcast weather is ideal, but we can’t choose what mother nature will do! I have often gone out to shoot macro subjects on an overcast day when the lighting is sublime, only to have the clouds replaced by harsh sunlight!

5. Watch Your Background

I regularly see beautiful macro shots posted, including insects, plants or wildlife such as geckoes or frogs. Unfortunately, some of these images are ruined by unsightly twigs, grasses or overblown leaves in the background. Photographers are often so into getting the perfect exposure or composition of their intended subject(s) that they are oblivious to the distracting background which only show up once the images are downloaded and viewed on a computer.

Overall, I encourage you to get on out there and experiment with different subjects, lighting conditions and compositions. The more you practise, the easier macro photography becomes and the process can be loads of fun : -))

If you have a passion for African wildlife, nature or travel photography and would love to go on a specialised small-number, professional African photo safari, please get in touch with Michael Snedic at WildNature Photo Expeditions. You can call him on 0408 941 965 or fill in this Contact Form and he will get back to you ASAP.
8 Day Bird Photography Workshop – Victoria

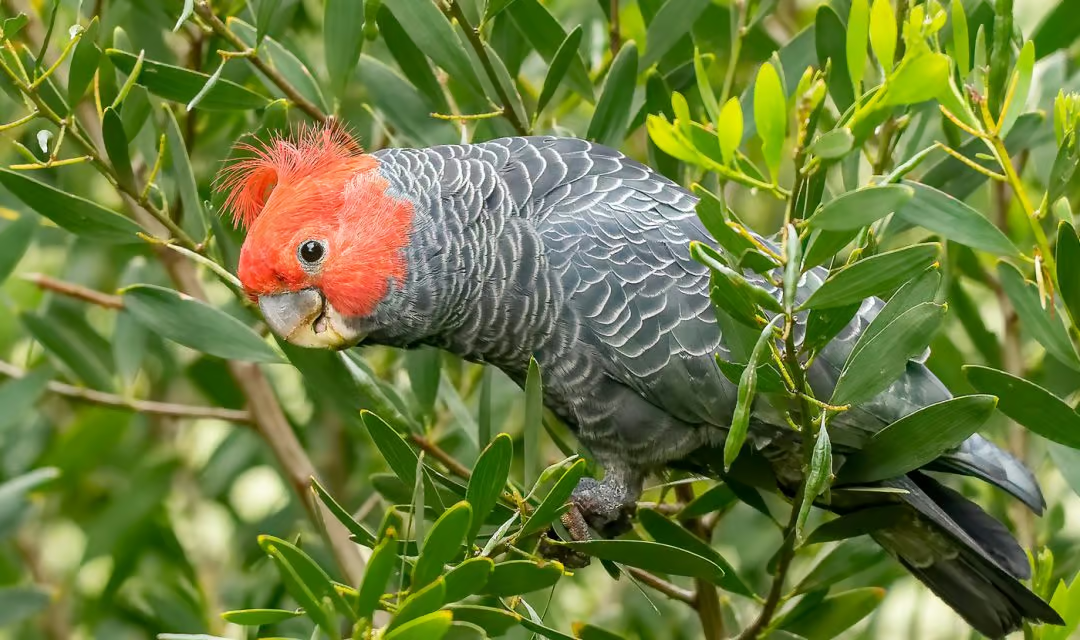
  • Male Gang-gang Cockatoo (Callocephalon fimbriatum) identified from the female with his a red head and crest.

With Bird Photographer and Tutor Michael Snedic
and Birding Guide Barry Davies

3rd to 10th of October 2024

Fully Booked!

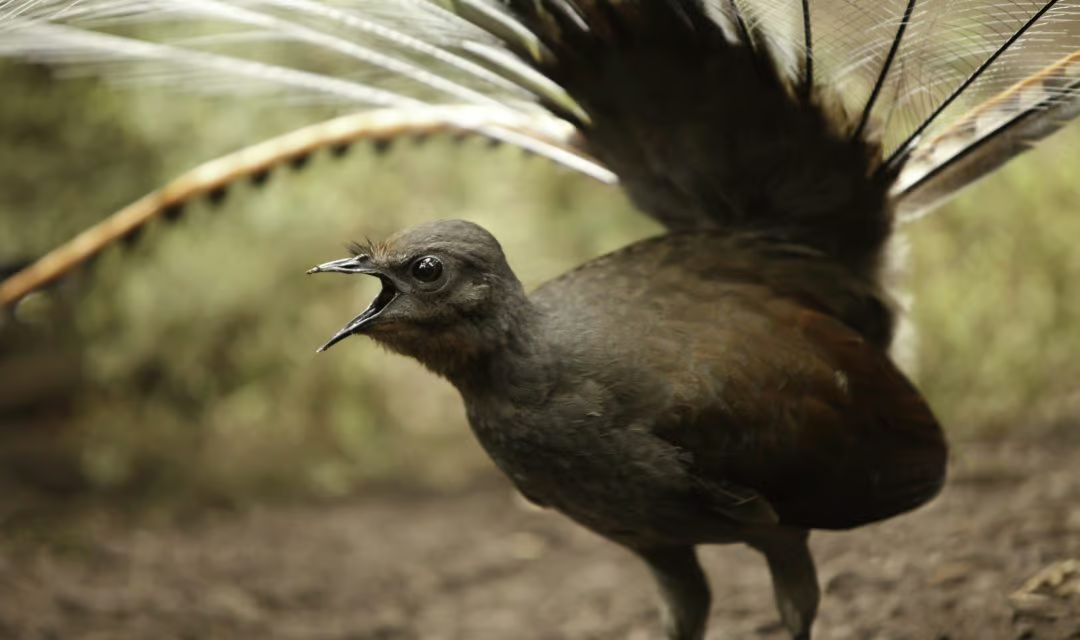
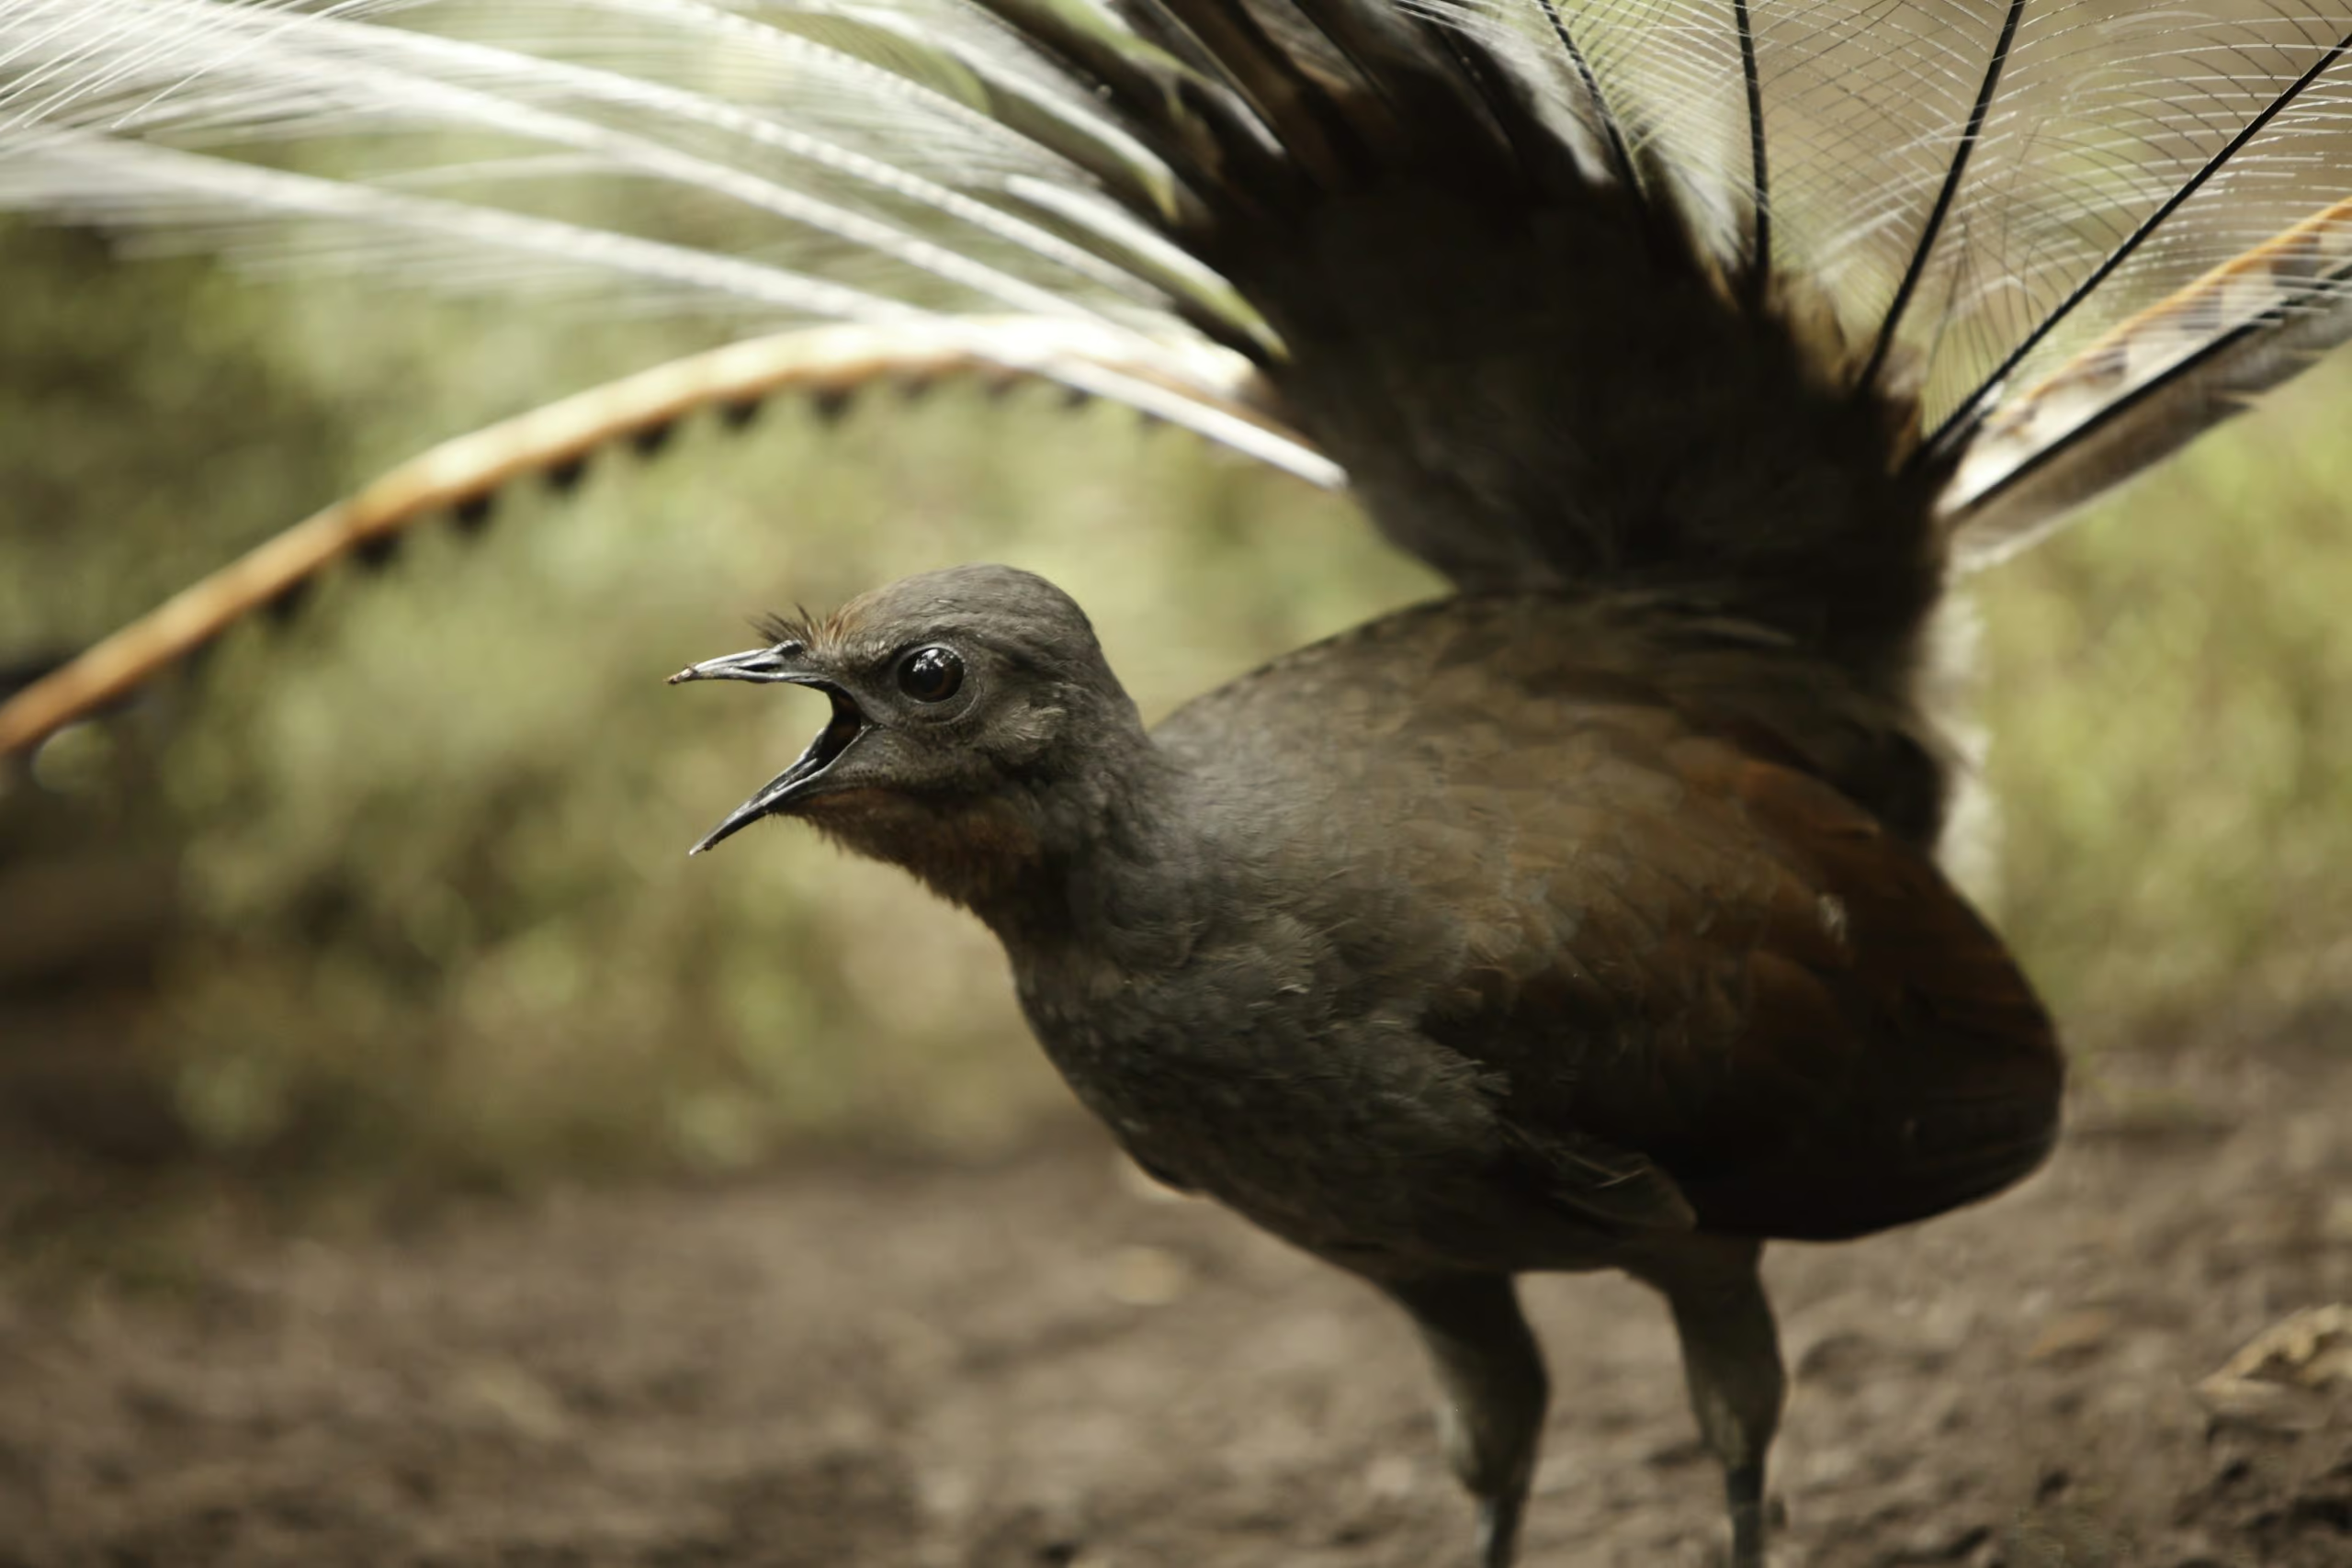
NEWWe will leave Melbourne and head to Healesville to our base for two nights. From there to Badgers Weir and Toolangi State Forest, we will marvel at the ancient Mountain Ash forests of the Yarra Ranges. We will find ourselves surrounded by beautiful wet forests, laden with large ferns in the understory and towering canopy trees, with some Mountain Ash over three hundred feet tall! The great attraction is the Superb Lyrebird, indisputably the world’s most remarkable songster and mimic. While walking the forest tracks, we should see the delicate Rose Robin, Pilotbird, and Olive Whistler.

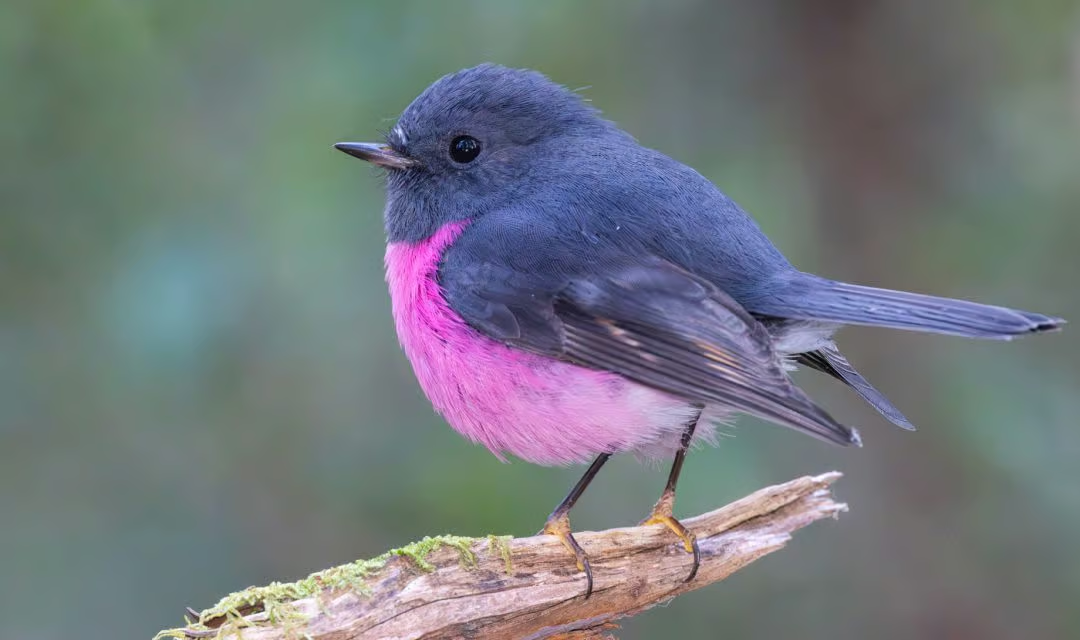
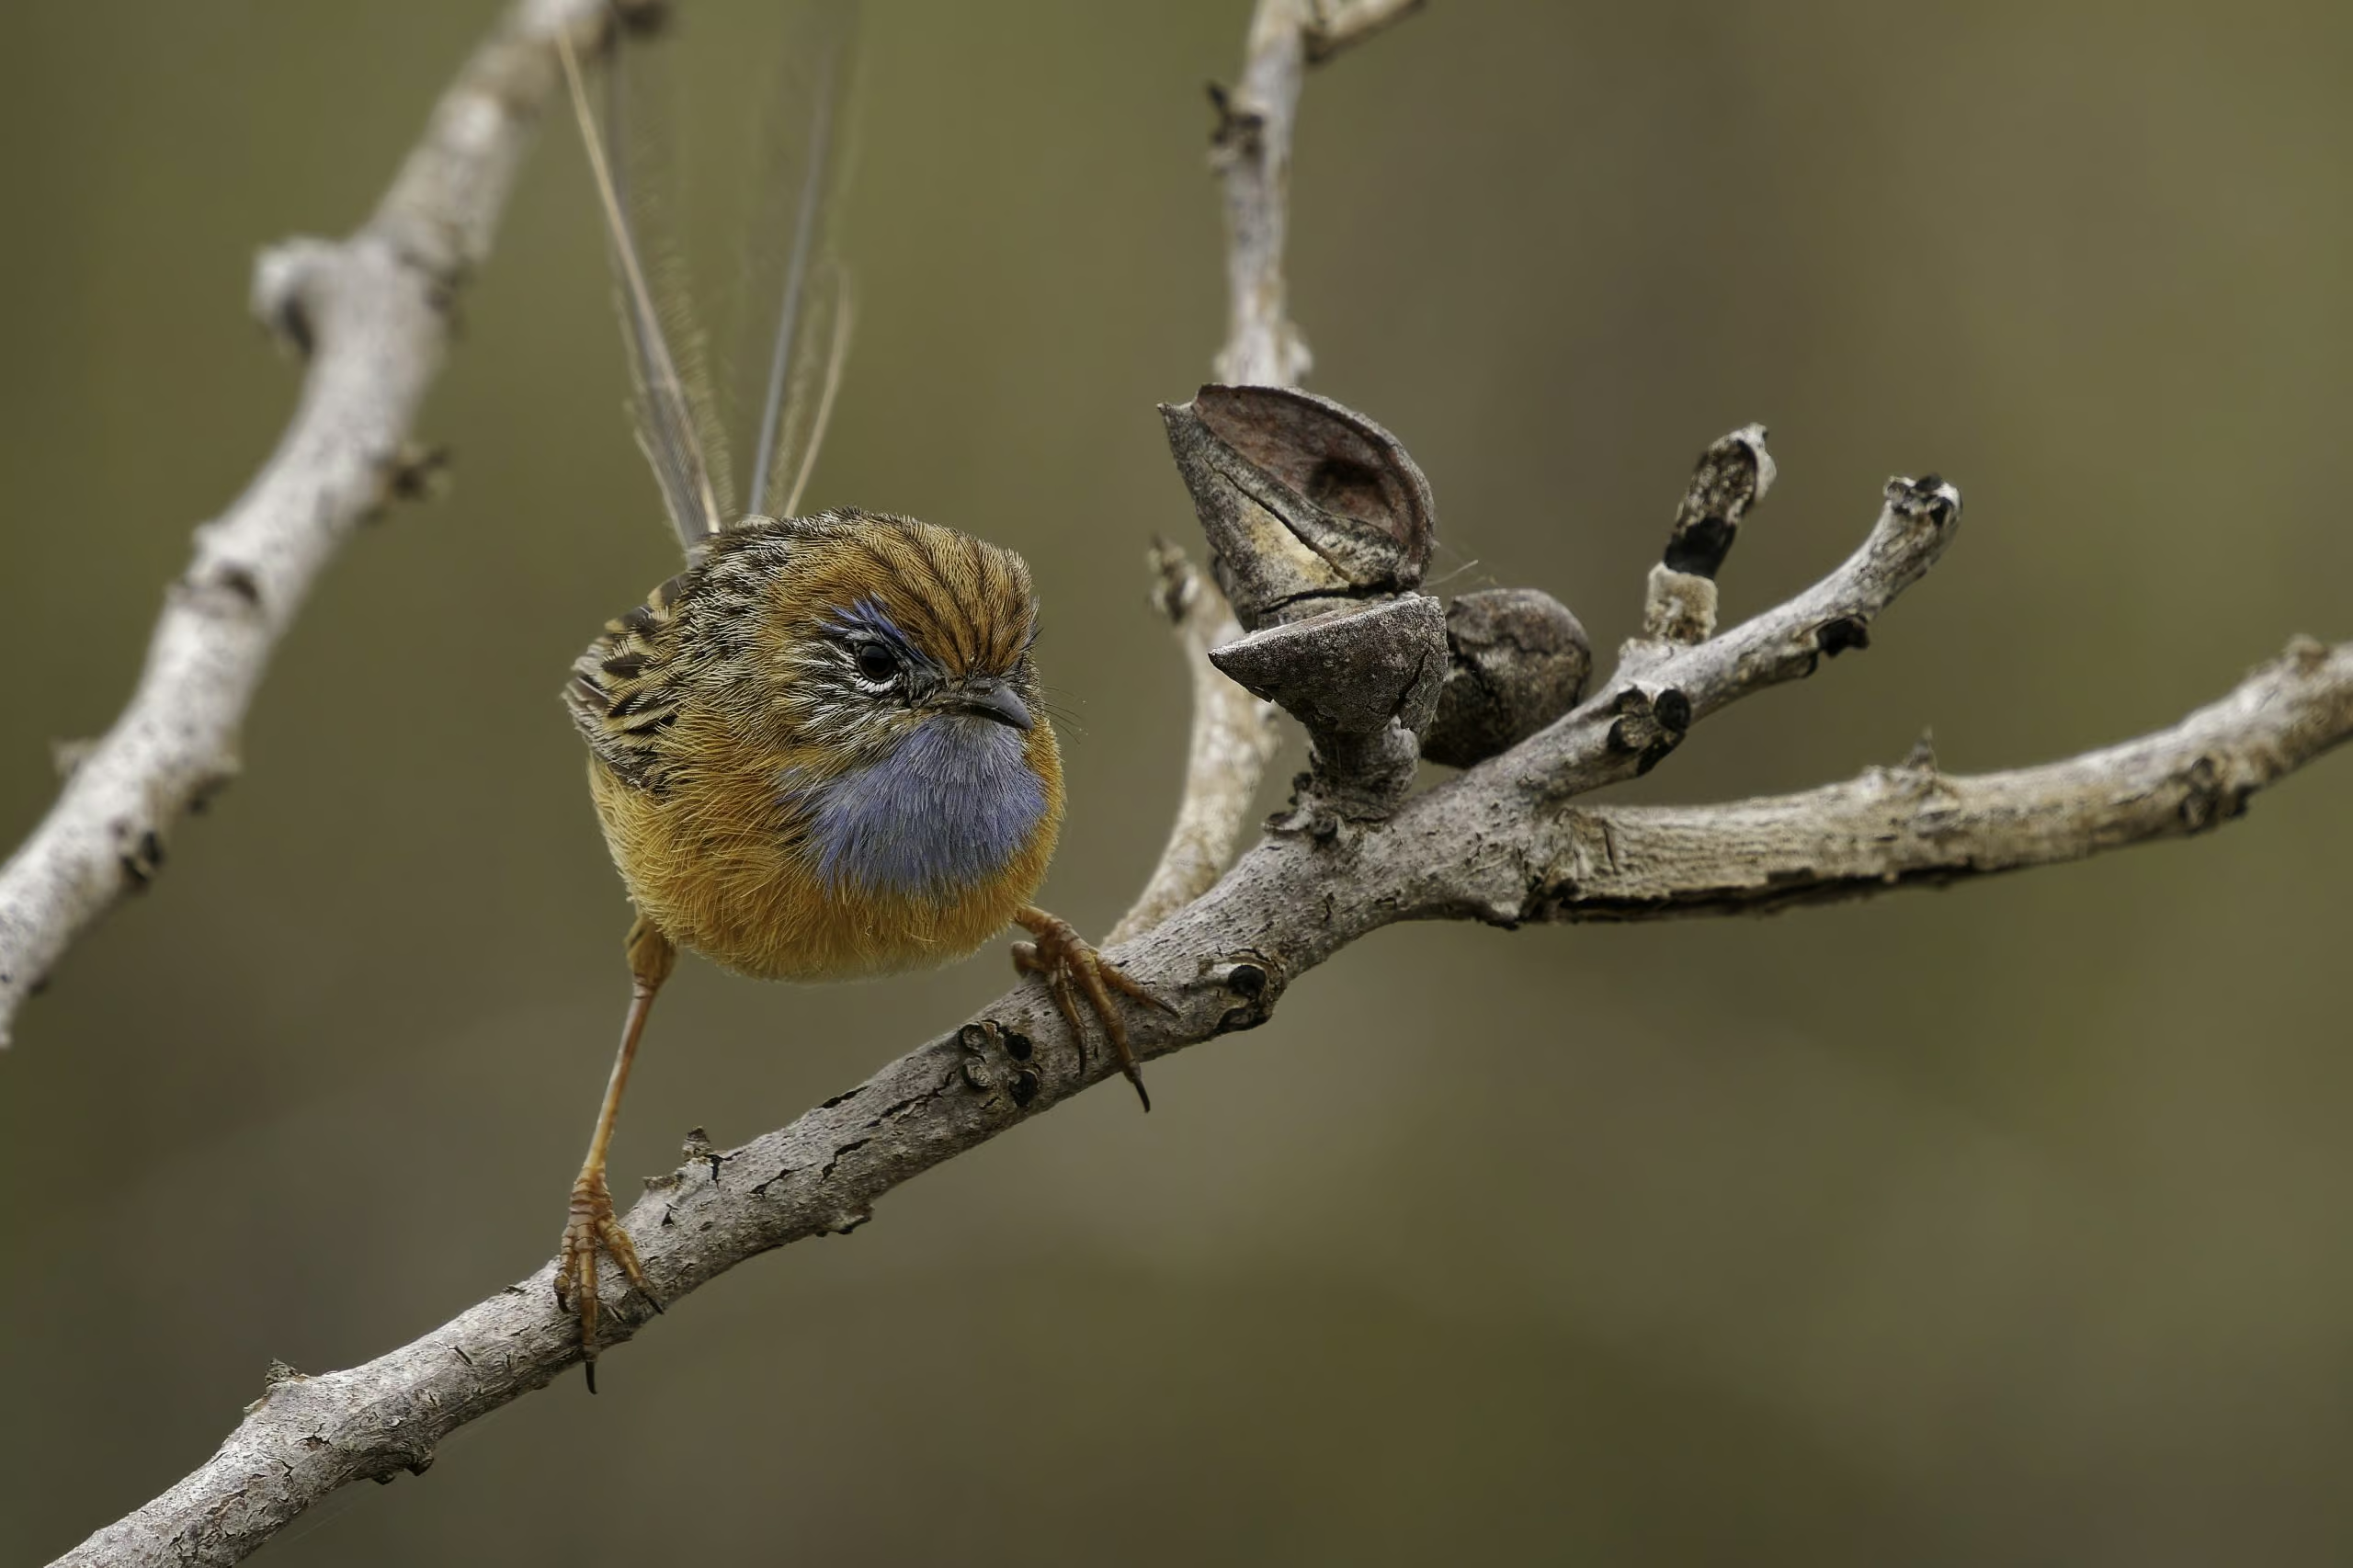
The following two nights, we will be based on the Great Ocean Road, widely regarded as one of the most scenic drives in the world. Around Aireys Inlet and Anglesea, we will spend time investigating this stunningly scenic coastline. We will seek out the region’s special birds, such as the endangered Hooded Plover, Rufous Bristlebird, Southern Emu-Wren, and Striated Fieldwren. From Lorne, we will visit the coastal rainforest of the Otway Ranges, looking for Gang-gang Cockatoo, Crescent Honeyeater, Pink Robin, and Olive Whistler.

Musk lorikeet

Musk lorikeet

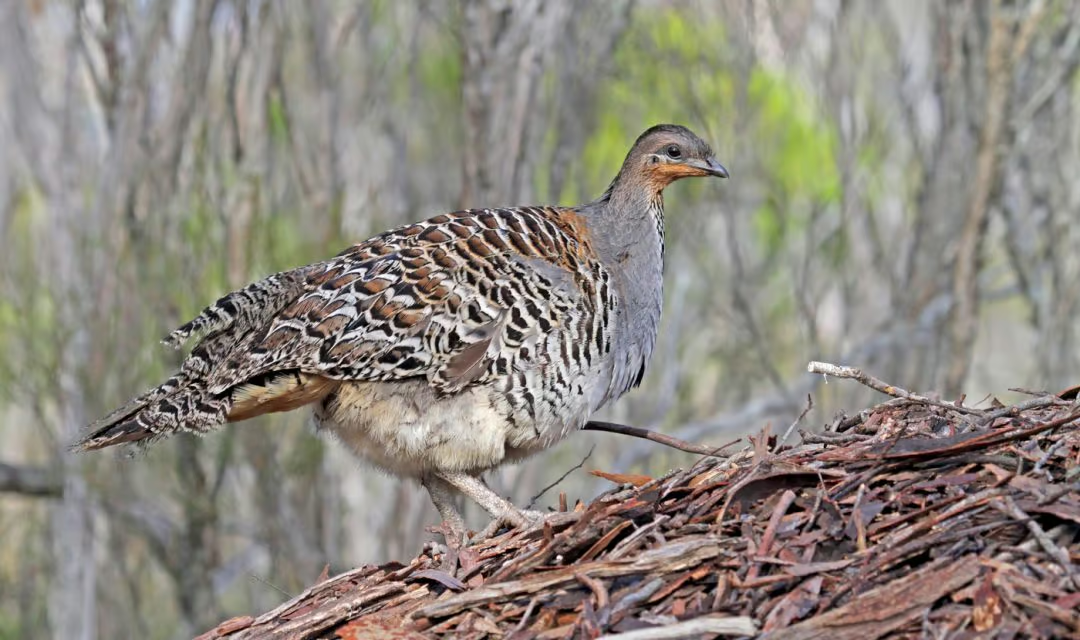
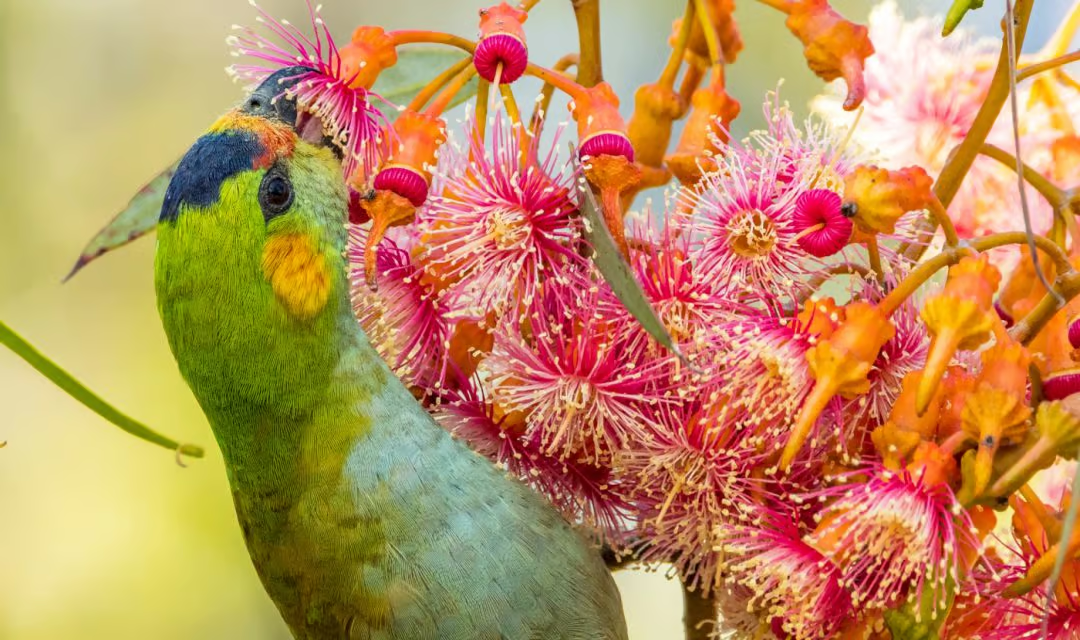
Finally, we head to the Little Desert National Park for three nights, a vastly different environment from the forest and coastlines of the days before. We will be staying at the Little Desert Nature Lodge, which specifically caters to birdwatching and photographic groups. The Mallee around Little Desert National Park hosts the stately and shy Malleefowl, the world’s southernmost megapode, and there will be an array of spring-blooming ground orchids. Other special species that we will track down include the small Slender-billed Thornbill and skulking Rufous Fieldwren, as well as other sought-after species such as Blue-winged Parrot, Western (Golden) Whistler, Southern Scrub-robin, and the gorgeous Tawny-crowned Honeyeater. Patches of Stringybark Eucalyptus should hold Purple-crowned and Musk Lorikeets, along with the handsome White-fronted Honeyeater. In the afternoon of the last day, we will head back to Melbourne.

Malleefowl, Bake Ocellata
Malleefowl

Date

3rd to 10th of October 2024

Cost

$AU3845 (plus GST) twin share. Single supplement - $AU895 (plus GST) 

Please note: WildNature Photo Expeditions will endeavour to find someone to share with you, from the photography group. If no one is available to share, then a single supplement will be added and you will have your own room.


Maximum 8 passengers with two experienced tutors/guides.

Lyrebird

Superb Lyrebird

Contact Michael Snedic directly
on +61 408 941 965

Your Photography Tutor: Michael Snedic

Michael Snedic, based in Brisbane, Queensland, Australia is an award-winning bird/wildlife and nature photographer, tutor, writer, presenter and photo competition judge. His photos have been published in numerous publications both in Australia and internationally, since the year 2000. He has been photographing across Australia (and overseas) for the past 27 years and he has loved every minute of it!

Michael is a Nikon School tutor In Queensland (but knows all brands quite well) . He is a writer of photographic articles for magazines such as ‘Australian Geographic’, ‘Wildlife Australia, ‘Australian Birdlife’ as well as ‘BBC Wildlife’, ‘Nature TTL’ and ‘WildArt’ (all based in the UK). Michael has also been a regular feature writer for Australia’s highest-selling photography magazine, ‘Australian Photography’, since 2006. He was also a judge for the Birdlife Australia Awards in 2022 and 2023. He is very passionate about wildlife and nature photography and loves sharing his images and photographic knowledge with others.

Michael Snedic bio shot

Your Birding Guide: Barry Davies

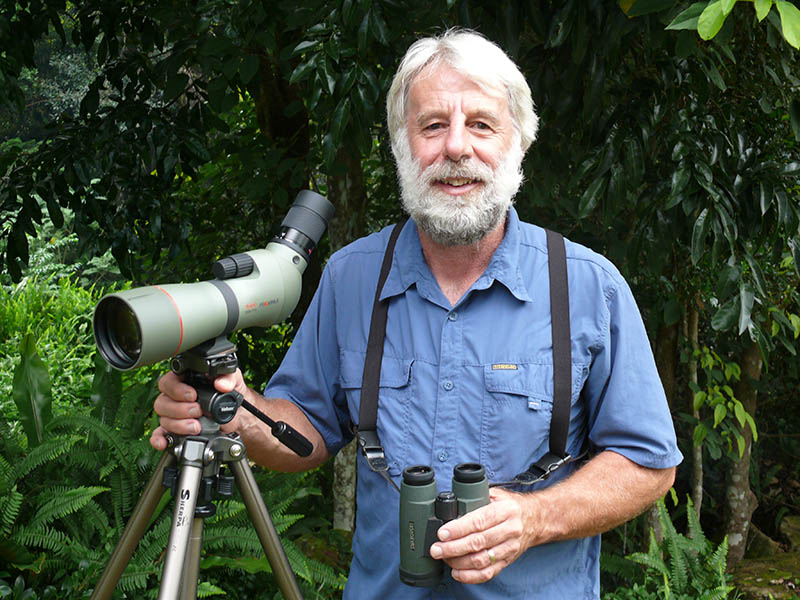
Barry Davies is an experienced Naturalist, Environmental Interpreter, Tour Guide and Tour Leader with a speciality in birds and is a Certified EcoGuide with Ecotourism Australia. In 2005 and 2009 he was Australian EcoGuide of the Year. In 1993 he won the prestigious Gold Coast Supreme Hospitality Award. In 2004 he started Gondwana Guides, where he has lead countless birding tours across Australia and the world. Barry and Michael Snedic have worked together on at least 15 birding/bird photography tours over the past 10+ years.

Barry Davies

Itinerary

Day 1

Leave Melbourne and drive to Healesville via:

  • Masons Falls
  • Wirrawilla Rainforest Walk

Day 2

  • Badgers Weir
  • Cathedral Ranges

Rufous Bristlebird (Dasyornis broadbenti)
Rufous Bristlebird

Day 3

  • Drive to Otways via Serendip Wildlife Sanctuary 
  • Point Addis
  • Ironbark Walk
  • Point Roadknight

Day 4

  • Anglesea Heathland
  • Airey Inlet Wetland
  • Lorne Sheoak Picnic Area

Intermediate Egret
Intermediate Egret

Day 5

  • Apollo Bay Rainforest Walk
  • Drive to Little Desert 
  • Little Desert Nature Lodge
  • Little Dessert Mallee Walk

Day 6

  • Campground Track
  • Heathland Track
  • Wimmera River

Purple-crowned Lorikeet in Australia
Purple-crowned Lorikeet

Day 7

Wyperfeld National Park:

  • Discovery Walk
  • Heathland Walk

Day 8

  • Snapes Reserve (Trust for Nature reserve - Little Desert)
  • Drive back to Melbourne

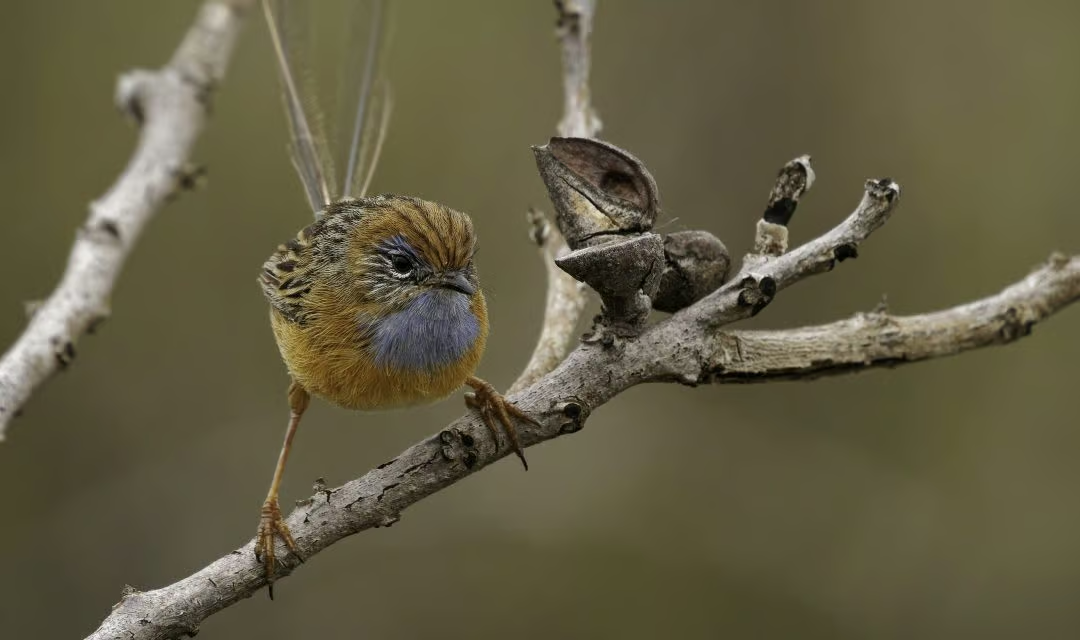
Southern Emu-wren - Stipiturus malachurus brown bird with long tail and blue throat in Maluridae, endemic to Australia, natural habitats are temperate forests, Mediterranean-type shrubby vegetation
Southern Emu-wren

Inclusions

  • Seven nights accommodation including two nights at Sanctuary House Resort Motel, two nights at Great Ocean Road Resort and three nights at Little Desert Nature Lodge
  • Farewell Dinner (all other meals at participant's expense)
  • Transport via 12 seater bus
  • Photography tuition from Michael Snedic and birding from guide Barry Davies

Exclusions

  • Meals (except Farewell Dinner)
  • Items of a personal nature
  • Alcohol
  • Flights to and from Melbourne 

Pink Robin, Hobart, Tasmania, Australia
Pink Robin

Bookings and Contact:

To reserve your place or just to ask more questions about this photo expedition, please contact Michael either via his CONTACT FORM or by calling +61 408 941 965.

Your position on the tour will be guaranteed immediately upon payment of non-refundable deposit of AU$900.00 (plus GST) The balance will be due up to 90 days prior to the start of the workshop.

Cancellation Policy:

Deposit is non-refundable. Cancellation between 120 and 90 days before departure - 50% of total workshop price forfeited. Cancellation less than 120 days before departure or during tour, no refund available.

Bird photo workshop participants

Would you like a FREE copy of my new Ebook?

Download Button

ebook The Art of Wildlife Photography by Michael Snedic July 2026 cover

You have Successfully Subscribed!