Photography Tips – The Importance of Research and Practice

Photography Tips – The Importance of Research and Practice
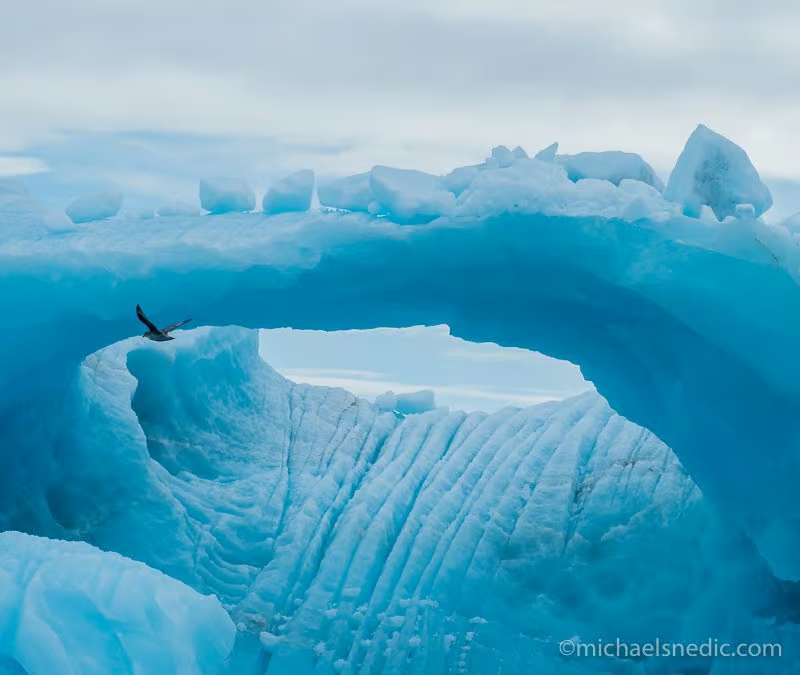
Svalbard Arctic
When I first started photographing wildlife and other nature, 21 years ago, I clearly remember being a ‘sponge’ for information. This was in the pre-internet days, so I did my research and learning in other ways. Firstly, I had a mentor, Glen Threlfo, who is one of Australia’s foremost wildlife and nature photographers and documentary-makers. I asked lots of questions, wrote down the answers in a notebook and then practiced and practiced some more. It was a huge learning curve but I relished all the new photographic techniques I was learning.

I purchased different photography magazines, both Australian and from the U.K. and the U.S.A. and also bought and borrowed books, many which I reread a number of times.


Apart from magazines and books, of which there are lots of in the market, we of course have the internet, with a HUGE amount of articles to read, including lots of ‘How To’ YouTube videos. These can be invaluable, but be careful to sort the ‘trash’ from sites with real information.


One thing I really enjoyed was finding out about professional wildlife and nature photographers from all over the world, whose work inspired me. I had quite a list of photographers and would spend countless hours researching their work and looking at their images, especially the shooting data. That way I was able to get a sense of various photographers whose work I liked, I could see what gear they were using and what camera settings they used.


There are numerous Facebook groups available which deal solely with photography, where members can post images, ask for critique, find out about what type of gear to purchase, ask about locations to photograph etc. Once such group in my very own Facebook group ‘Michael Snedic’s WildNature Photographers’, which you can join by clicking HERE


There are also plenty of photography workshops and tours on offer nowadays, but please do your research before you join an unknown one. ‘WildNature Photo Expeditions’ is owned and operated by me and I pride myself on my reputation I give plenty of professional photography tuition at each workshop and tour, imparting 21 years of knowledge as a wildlife and nature photographer and 15 years as a tutor.


Above all, make sure you enjoy the learning process and don’t forget my motto: “Practice Makes Perfect”

If you have a passion for African wildlife, nature or travel photography and would love to go on a specialised small-number, professional African photo safari, please get in touch with Michael Snedic at WildNature Photo Expeditions. You can call him on 0408 941 965 or fill in this Contact Form and he will get back to you ASAP.

Landscape Photography Tips – Sunrise Photography

Landscape Photography Tips – Sunrise Photography

Sunrise Photography

For the past 21 years, I have been photographing sunrises across Australia and the world. Each and every one is different and you never know what type of sunrise will occur on the day. It could be a ‘fizzer’ or it could be one the most mind-blowing sunrise you have ever seen and photographed. The important part is to make the effort to get out out there and take your chances.

Research Your Location

If time permits, I recommended you do a ‘reccy’ and check out your sunrise photo location beforehand. This gives an idea of the terrain you will be in, especially in the dark when waiting for the sun to rise. This is very important in rocky environments or on clifftops, as it can potentially be quite dangerous (i.e. tripping, breaking camera gear) while wandering around in unknown territory and in the dark.

Work Out Where and When The Sun Rises

It helps to know exactly where the sun will rise and at what time. This will help you in setting up in the optimal location to achieve the best sunrise shots. Also, sunrise times constantly change. Even though you may have done a reccy previously and the sun rose at a certain time, only a few months later the time will be completely different.

Get There Early

One common mistake that many photographers have made is to arrive at a location just before the official sunrise time, only to find they have missed the best pre-sunrise colour. I always get to a location quite a bit earlier, as often a magical glow appears in the sky well before the official sunrise time. There are quite a number of Apps available on the market that show you exactly where and when the sun will rise – I use the ‘Photographer’s Ephemeris’ which is very user-friendly.

Always Use A Tripod

No matter how good your camera’s ISO capabilities are, you should always use a tripod when photographing sunrises. That way you can choose a low ISO setting (no camera ‘noise’), plus a smaller aperture such as f16, without getting blurry images. I strongly suggest using a sturdy but light tripod, such as carbon fibre. Using a cable release or remote will also minimise the chance of camera shake.

Foreground Detail

Depending on the location, I try to place some sort of foreground detail in many of my sunrise shots, such as rocks or plants. This can give the image a bit more ‘interest’.

Seascapes

When photographing seascapes, I regularly use a Graduated Neutral Density (ND) filter. This helps to reduce the glare in the sky and lightens a dark foreground. Brands such as Lee, Nisi and Singh Ray are three brands that are of the highest quality and ones I can recommend.

Yes, it can be hard work getting up at some crazy hours but once you are out there, it’s always so rewarding. Not only is it enjoyable to be out in nature early in the morning, witnessing a sunrise, but the bonus is that you may end up with the shot of a lifetime!

If you have a passion for African wildlife, nature or travel photography and would love to go on a specialised small-number, professional African photo safari, please get in touch with Michael Snedic at WildNature Photo Expeditions. You can call him on 0408 941 965 or fill in this Contact Form and he will get back to you ASAP.
Landscape Photography Tips – When To Use A Circular Polarising Filter

Landscape Photography Tips – When To Use A Circular Polarising Filter

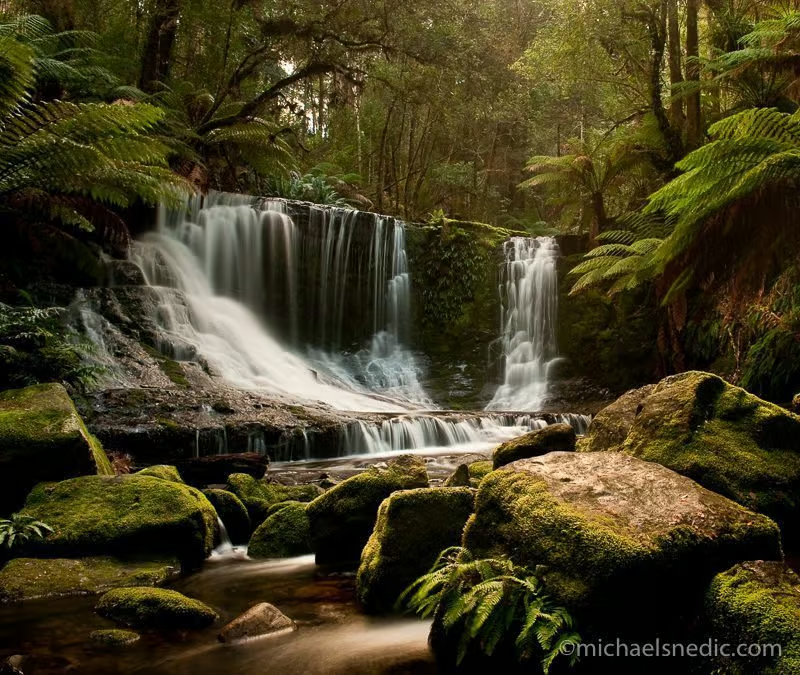
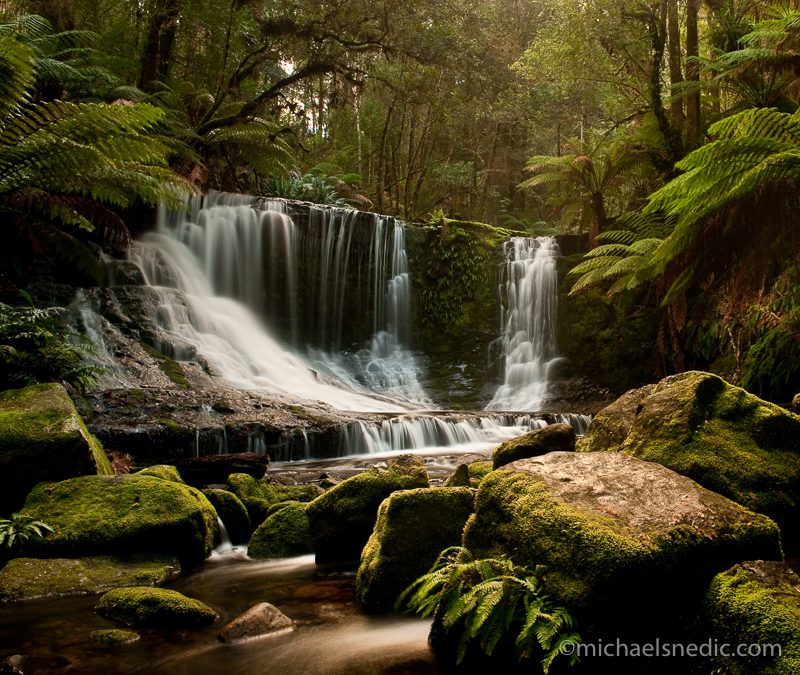
Horseshoe Falls - Tasmania, Australia
One of the most beneficial filters to use when photographing landscapes is a Circular Polariser and this is one filter I would never be without. Below are some of the benefits of using one.

Getting Rid of Glare

I predominantly use a Circular Polarising (CP) filter when photographing in rainforests, as the filter helps reduce glare shimmering off the water, rocks and greenery. Some CP filters have a dot or triangle on the ring, which when pointed at 90 degrees to the sun, are perfectly positioned to reduce glare. If there is no dot or triangle, simply turn the ring until the glare is reduced the most.

Increase Contrast and Reduce Haze

A CP filter filters out polarised light. A polariser minimises scattered light and allows for greater contrast (i.e. white clouds and blue sky) and also helps to reduce haze.

Milky Water

Photographers often try and create that ‘milky effect’ when photographing waterfalls, cascades etc. A CP filter can reduce your shutter speed by 1.5 to 2 stops of light, slowing down the water.

Saturated Effect

I have never been a big fan of over-saturated images. By using a CP filter, your images will have a bit more of a saturated look, but not over-the-top.

Don’t Buy Cheap!

When looking to buy a CP filter, I strongly advise you not to but cheap, online ‘no name’ brands. Brands such as Singh Ray, Lee and Nisi are all recommended and are of the highest quality.

If you have a passion for African wildlife, nature or travel photography and would love to go on a specialised small-number, professional African photo safari, please get in touch with Michael Snedic at WildNature Photo Expeditions. You can call him on 0408 941 965 or fill in this Contact Form and he will get back to you ASAP.
Top 6 Photography Tips for Great Macro Shots

Top 6 Photography Tips for Great Macro Shots

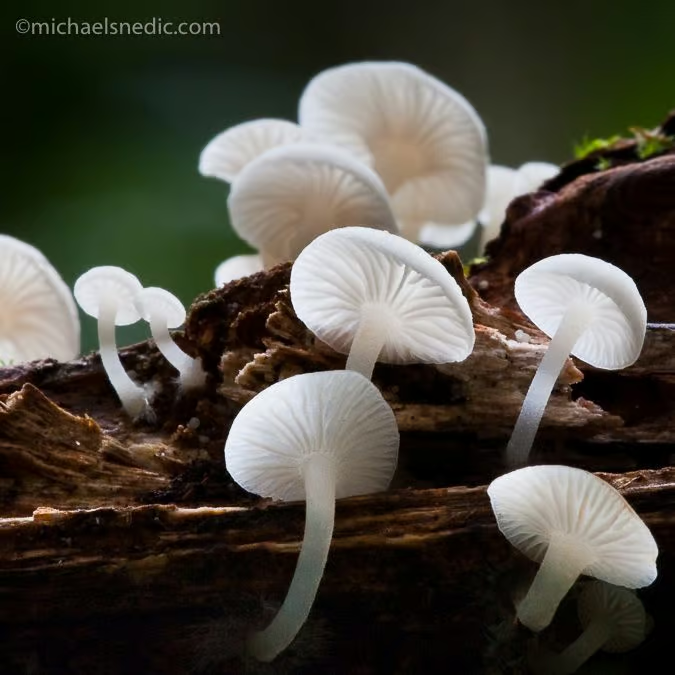
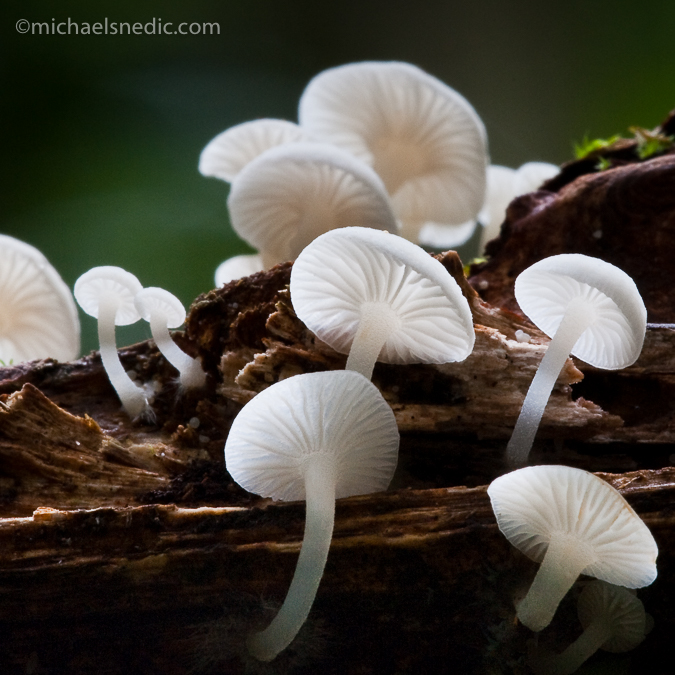
Gilled Fungi

Photographing the tiny things in life can be loads of fun and very rewarding. Some photographers find getting decent macro shots quite daunting, so below are 6 tips to help you achieve better images.

  1. Macro Lenses Recommended

Without doubt, using a dedicated macro lens is the best way to go. They are usually very sharp and allow for quite close focusing. Lens focal lengths range from 50mm to 200mm. Although many lenses have a ‘macro setting’, they aren’t true macro lenses.

  1. An Alternative – Extension Tubes

Extension tubes fit between your camera and lens and are available in various sizes. They can be used individually or stacked on top of each other. The advantage of using extension tubes is that they allow for much closer focusing than your standard lens allows. There is no glass involved, so there is no quality loss whatsoever.

  1. Controlling Depth of Field Using Various Apertures

Using smaller apertures (in size) such as f 16 or f22 will allow for better depth of field. In some cases, such as when you are wishing to photograph the stamen of a flower, for example, and blur out the background, a wider aperture such as f2.8 or f4 can be used. The advantage of this is that you can completely blur out the background, making the area you are focusing on stand out.

  1. Using A Macro Clamp

Macro clamps, such as the ‘Wimberley Plamp’, are highly recommended when photographing plants, especially in windy conditions. One end of the clamp is attached to your tripod while the other holds the plant still.

  1. Focal Point

It’s very important to choose a focal point when photographing macro subjects. This is often known as the ‘leading edge” and is the first part of the image that the eye is usually drawn to.

  1. Manual Focus

I have always been an advocate of using manual focus when photographing macro subjects, as you can control exactly where you want to focus. Using a tripod with manual focus is also recommended.

If you have a passion for African wildlife, nature or travel photography and would love to go on a specialised small-number, professional African photo safari, please get in touch with Michael Snedic at WildNature Photo Expeditions. You can call him on 0408 941 965 or fill in this Contact Form and he will get back to you ASAP.
Photographing Wildlife: Best at Eye-level and Watch for Distractions

Photographing Wildlife: Best at Eye-level and Watch for Distractions

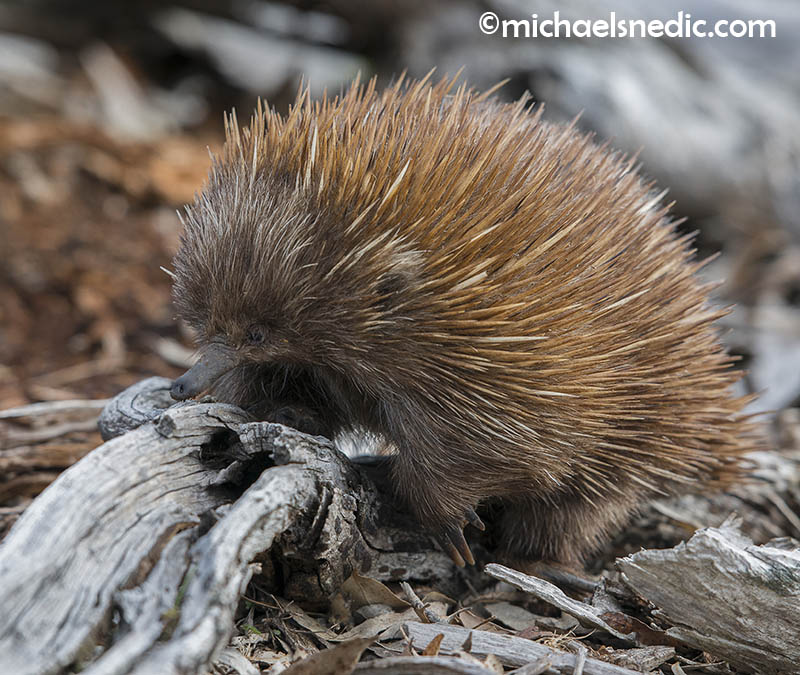
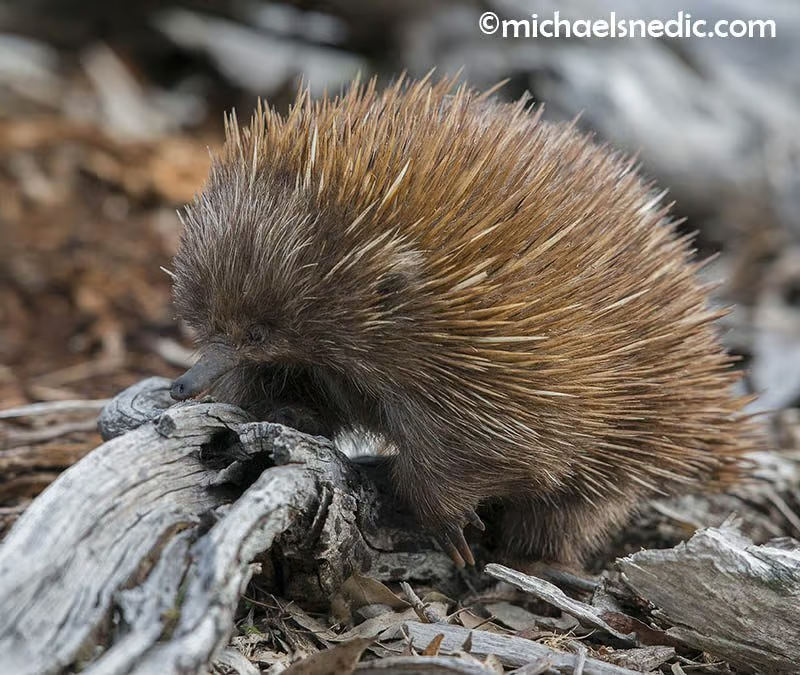
Echidna

One of the most important aspects of wildlife photography is getting shots as close to eye level as possible. Unless you are photographing a bird flying in the sky, generally looking up at wildlife or down over the top of them, simply doesn’t look right.

Over the last 15+ years of presenting wildlife photography workshops and courses, I have always told participants to get down low when taking shots of birds and other wildlife. Either lie on the ground, or at least squat down to a position that’s comfortable. Shots taken at eye level look so much more natural and appealing to the eye.

If an animal is up a tree, the angle can be quite severe, so one trick is to step back to reduce the steep angle. Also, depending on where you are, if there is a nearby hill or steps, head on up and get as close as you can to the height of your subject.

Backgrounds are important as well. Nobody wants to see a shot of an animal that has a busy, distracting background. Before I take photos of wildlife, I regularly look at the background to see if it’s busy. If so, and the situation allows, I will move around until I have a clear background. This, coupled with a wide aperture (i.e. small number) will help separate the animal from the background and make it stand out.

Lastly, it’s very important that there aren’t any distracting trees, poles, buildings or other objects sticking up directly behind the subject you are photographing. There is nothing worse that a tree ‘growing’ out of the head of the subject you are photographing!

If you have a passion for African wildlife, nature or travel photography and would love to go on a specialised small-number, professional African photo safari, please get in touch with Michael Snedic at WildNature Photo Expeditions. You can call him on 0408 941 965 or fill in this Contact Form and he will get back to you ASAP.
Would you like a FREE copy of my new Ebook?

Download Button

ebook The Art of Wildlife Photography by Michael Snedic July 2026 cover

You have Successfully Subscribed!