How To Photograph Birds in Lamington National Park (Green Mountains section)
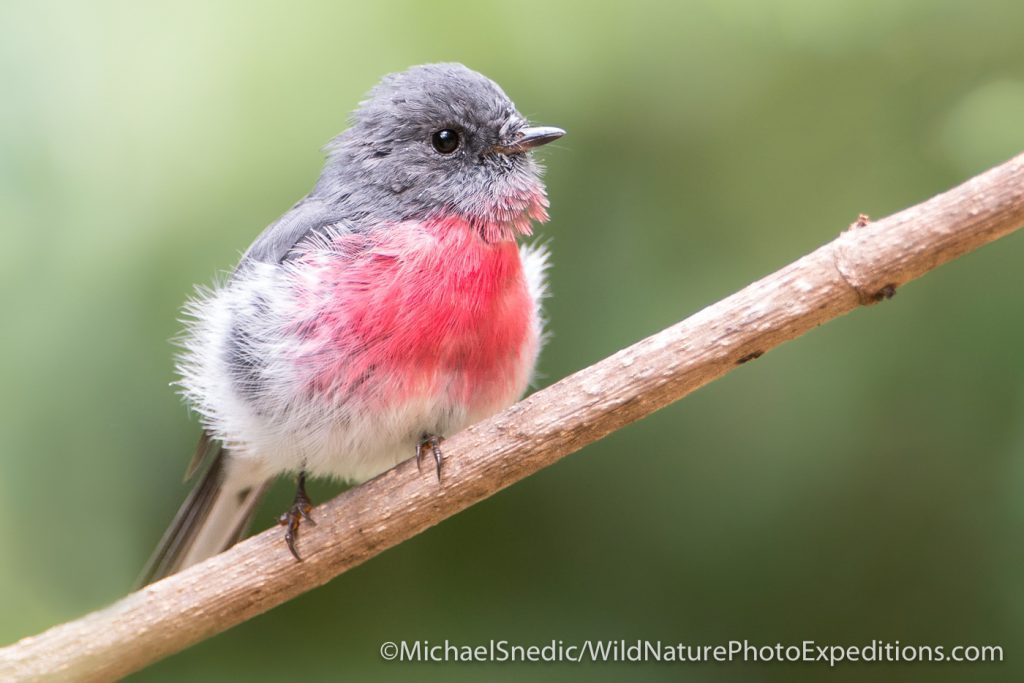
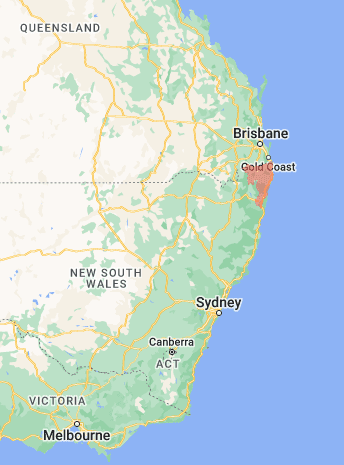
World Heritage Listed Lamington National Park, in Queensland, Australia, is an approximate two-hour drive from Brisbane or a one-hour fifteen-minute drive from the Gold Coast. Habitats within the park vary from subtropical and remnant rainforest, ancient Antarctic Beech forest, as well as some sclerophyll and eucalyptus forests. The variety of bird species, therefore, is quite numerous. Many of the birds are used to the presence of people, so they can often be photographed at close range. There are around 245 or so species of birds found within the park, so it is easy to see why so many bird photographers travel there with their cameras from across Australia and the world and why I run my bird photography workshop in Lamington National Park.
Where To Find Different Bird Species in Lamington National Park
Ground Dwelling Birds
It is a good idea to pick up a track map of the national park from the local Parks and Wildlife Service office and familiarise yourself with the different tracks within Lamington National Park. Once you choose a track, I suggest spending a bit of time there, letting the birds get used to you being there. The Border track, which has its starts right across the road from O’Reilly’s Rainforest Retreat entrance, is a perfect place to begin. Here you will find a number of ground-dwelling birds, including the Bassian and Russet-tailed Thrush, Australian Logrunners and the elusive Whipbird. These birds spend most of their time on the ground, searching for food and interacting with each other. By keeping still and silent, you will be surprised how close the birds will come to you.
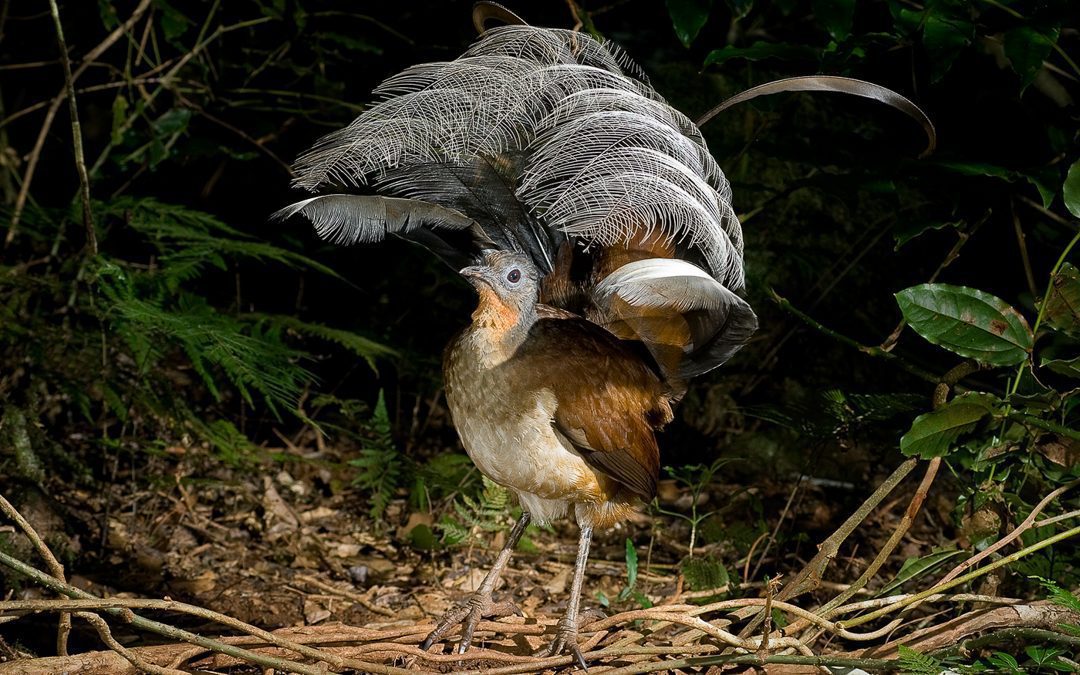
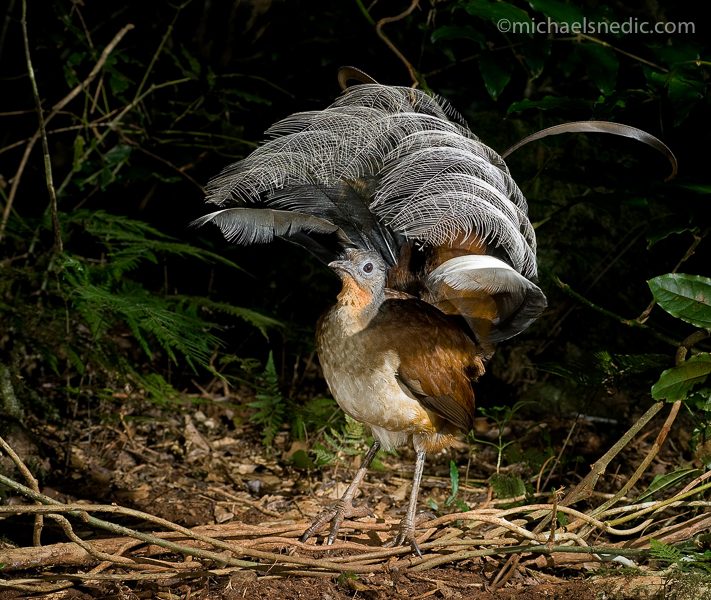
Two ground-dwelling species which are high on the list for bird photographers to try and photograph in Lamington N.P. are the Albert’s Lyrebird and the Noisy Pitta. The Albert’s Lyrebird is only found within an approximate 100-kilometre radius of the park. There are none in captivity, and they aren’t found anywhere else in the world. The males of the species, once they mature, produce an incredible array of sounds. They are quite proficient at mimicking many of the different bird species in their territory and do so with amazing accuracy. By walking along the boardwalk that takes you towards the tree-top walk, you will sometimes see a lyrebird scratching the leaf litter, searching for insects. This is the time to take a few shots – while the bird is ‘preoccupied’.
The second species mentioned, the Noisy Pitta, is one of the most beautifully-coloured birds in Lamington National Park. They hop along the ground and are rarely seen flying. They will often land on the large buttress roots of trees, making for a perfect background. Their call is quite distinct – it sounds like ‘walk to work’ but in a high pitch, which they repeat over and over.
Identifying Birds in Lamington National Park
It can be quite daunting to turn up to a new area such as Lamington National Park and to know where to find birds. I recommend photographers purchase one of a number of Australian bird identification Apps that are available for download. Personally, I am a fan of ‘Michael Morecombe’s Birds of Australia (iOS / Android)’. This app has every Australian bird featured as paintings (male, female and juvenile), the regions where they are found, the nest and eggs, as well as the various calls each species of bird makes. I wouldn’t be without it!
Best Way To Photograph Birds in Lamington National Park
Monopod or Tree
Quite a number of the birds in Lamington National Park can be seen around the edges of the rainforest or along the rainforest tracks. Some of these tracks include the Border, Elabana Falls, Python Rock, and Moran’s Falls tracks. As it can be relatively dark in these areas, the issue you may encounter is your camera’s shutter speed will be too low. Sure, you can raise your camera’s ISO to a much higher setting, but that inevitably leads to images with too much noise. What I have been recommending to my photography workshop participants for many years is to look at how you can stabilise your camera and lens in low-light situations. I am quite a fan of using a monopod and specifically designed monopod head to help minimise movement that is caused by hand-holding a camera with a larger lens in low-light environments. The monopod allows you to swivel your camera and lens around from left to right (or vice versa), while the monopod head allows you to swivel the camera and lens back and forth. If you don’t own a monopod and are out and about shooting, you can also rest your lens against one of the many trees that grow along the various tracks within the park. This alone will greatly reduce any camera shake.
Suggested Metering For Rainforest Bird Photography
If it’s overcast and you are in a rainforest such as Lamington N.P., I suggest using Evaluative Metering (for Canon users), Matrix Metering (for Nikon users) and Multi-pattern or Multi-segment Metering for all other brands. This metering is recommended as your ‘general’ metering for bird photography, especially in overcast rainforest conditions. If, however, there is bright light behind the bird, Spot Metering (all brands) is recommended. By using Spot Metering, you are metering on the bird itself rather than the whole scene, therefore greatly reducing the chance of the bird ending up as a silhouette.
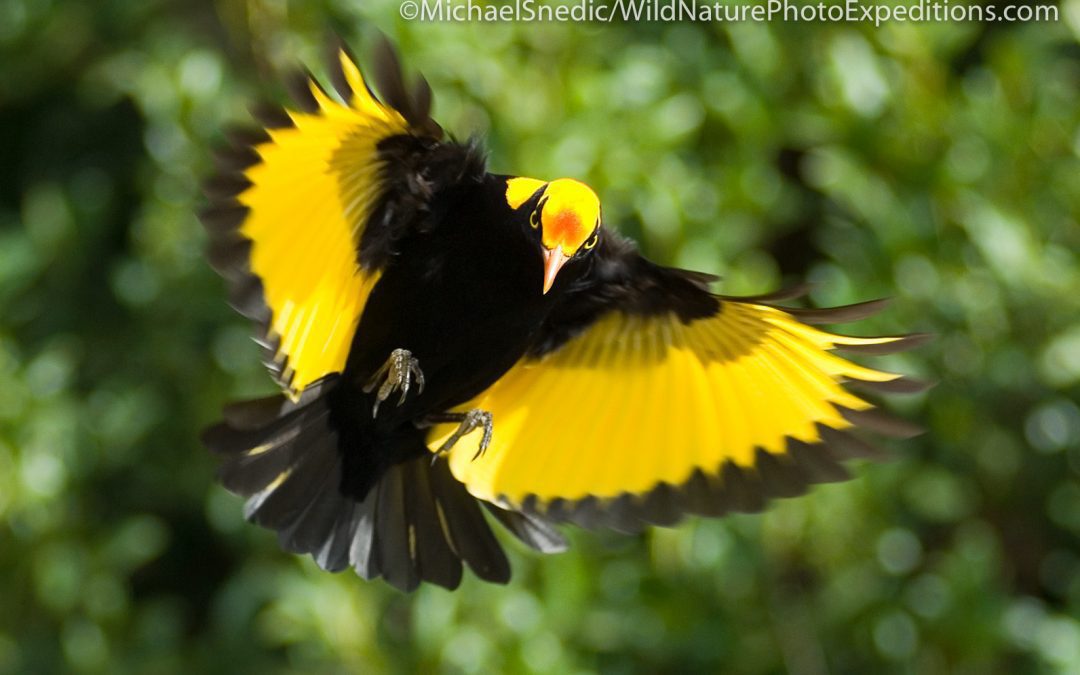
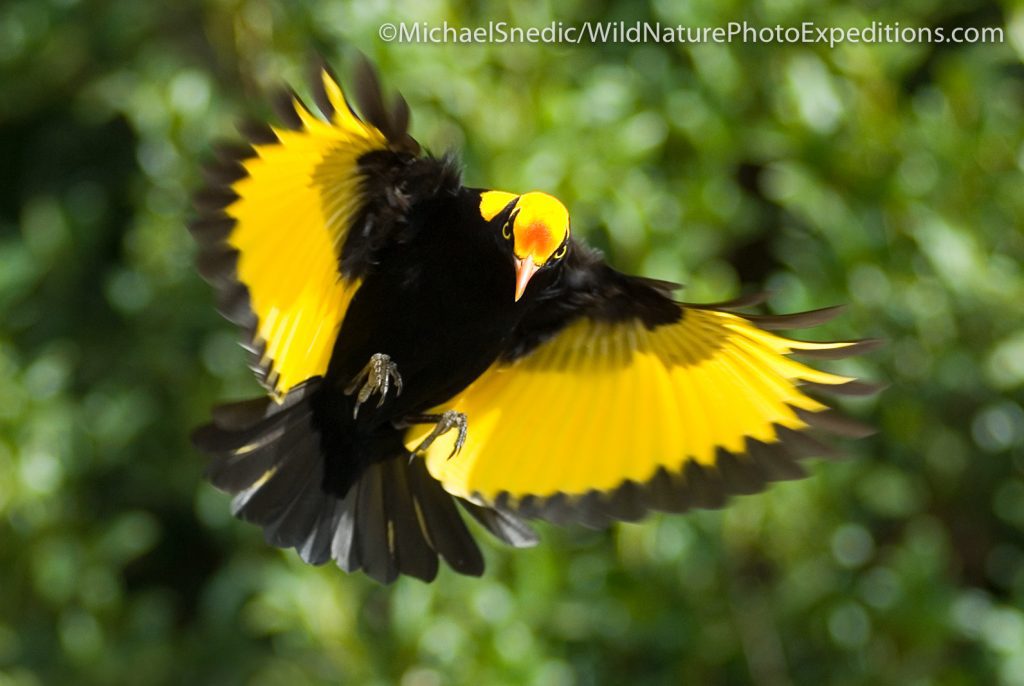
Practice Your Bird In Flight Techniques
Once a day, O’Reilly’s Rainforest Retreat (situated within Lamington National Park) offers a ‘Free Flight Bird Show’. With a backdrop of trees, a stunning valley below and photogenic mountains in the distance, you have an incredibly beautiful backdrop to shoot the birds against! Some of the birds on display in the show include the Barn and Barking Owl, Nankeen Kestrel, Black Kite and Wedge-tailed Eagle. Being such a large and fairly slow-flying bird, the Wedge-tailed Eagle (for example) is the perfect species to practise your birds-in-flight techniques. By using the Continuous Focus setting on your camera, coupled with burst shutter mode, your chances of success in capturing that split-second moment are much greater. Species such as the Barn and Barking Owl will happily sit in one spot, so you have plenty of time to properly compose your image and adjust your camera’s exposure settings.
Best Time To Visit
The best time to visit Lamington National Park for optimum bird photography opportunities is spring (September, October, November here in Australia). There is so much activity going on – birds are calling for mates, displaying regularly or raising chicks. It is no wonder that this park is one of my favourite places to visit in Australia for bird photography. Other times of the year are quite decent for photographing birds, but it’s spring where you will find the most number of birds.
Other Species To Look Out For
Satin and Regent Bowerbirds
Both of these stunning birds frequent the area in front of reception at O’Reilly’s Rainforest Retreat. The males take approximately 6-7 years to colour up, and once they do, their plumage is quite striking! The native grevilleas that grow on either side of the reception entrance are favourite ‘landing sites’ for the bowerbirds. This means you are close to eye level with the birds and it makes for the perfect angle to photograph them. As there is a building where the birds land, care needs to be taken to not to include this distraction in your photo. By simply moving a metre or two to the left or right, you can end up with foliage in the background, that makes for a much more pleasing image.
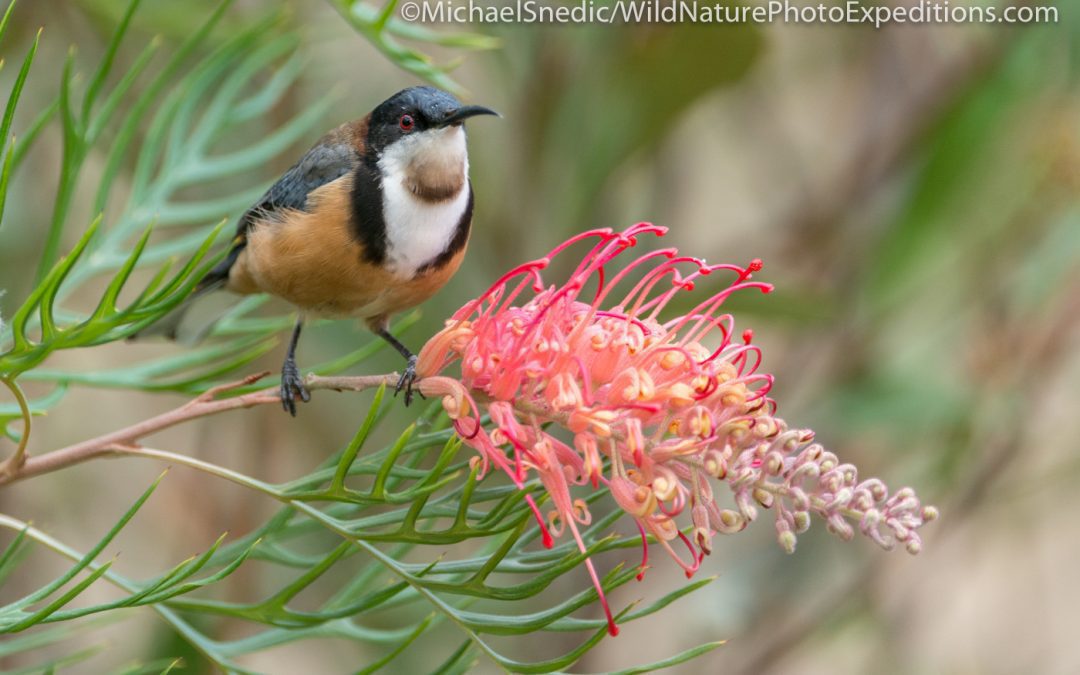
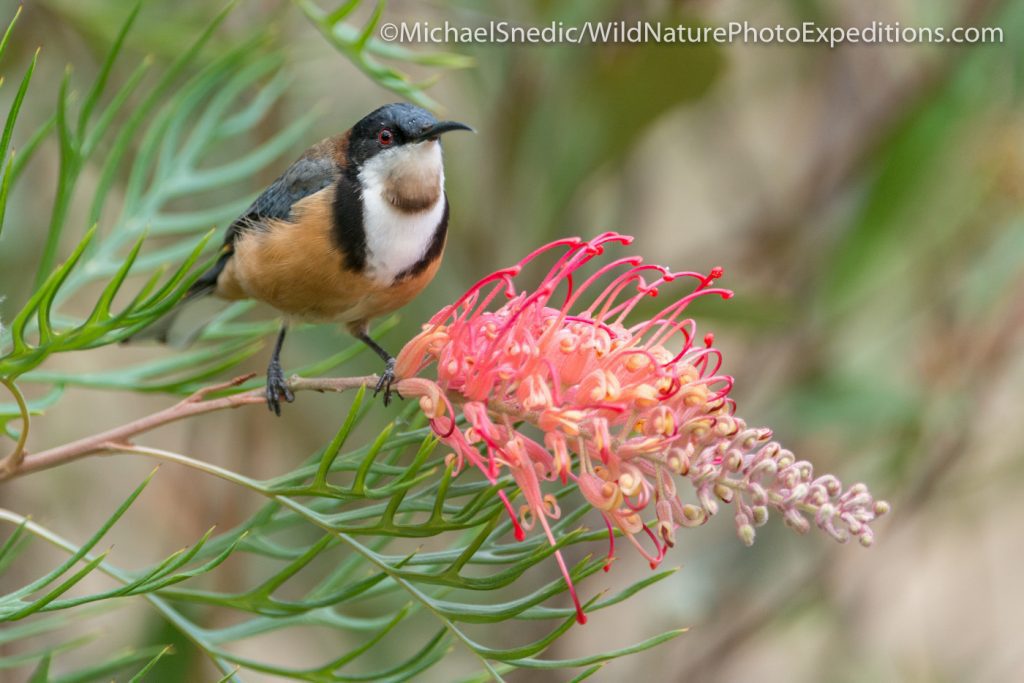
Eastern Spinebills
While you are our front of the reception area photographing the Satin and Regent Bowerbirds, you will regularly see the Eastern Spinebill hovering like a Hummingbird, feeding on the nectar of the native grevillea bushes. You need to make sure you use a shutter speed of at least 2000th of a second (or higher) especially if you wish to ‘freeze’ the Eastern Spinebill’s wings while it is hovering over the flowers.
Eastern Yellow Robins
The Eastern Yellow Robin is a common bird in Lamington N.P. and can be easily photographed along the various tracks within Lamington National Park, including the Border track, Python Rock track as well as around O’Reillty’s Retreat. The key thing to look out for with these birds is that they will regularly land vertically on the side of a tree, rather than horizontally on a branch. By turning your camera to portrait, you should be able to get some decent images of these birds, often with a blurred-out background.
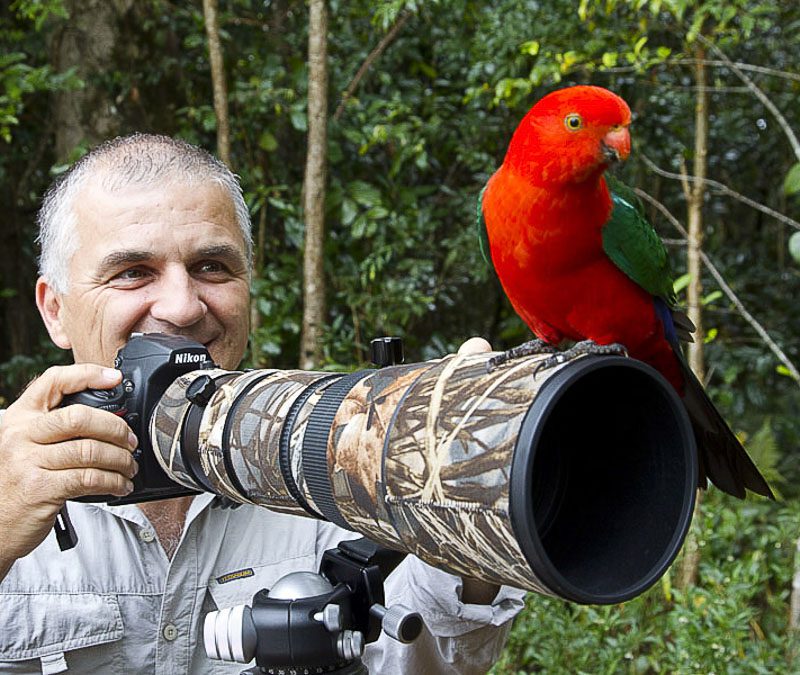
If you have a passion for wildlife, nature or travel photography and would love to go on a small-number, professional photography adventure, please get in touch with Michael Snedic at WildNature Photo Expeditions. You can call him on 0408 941 965 or fill in this Contact Form and he will get back to you ASAP.