15 Day ‘South Georgia/Antarctica Photo Expedition’ – January 2019
by Michael Snedic | Jun 28, 2018 | Workshops & Tours
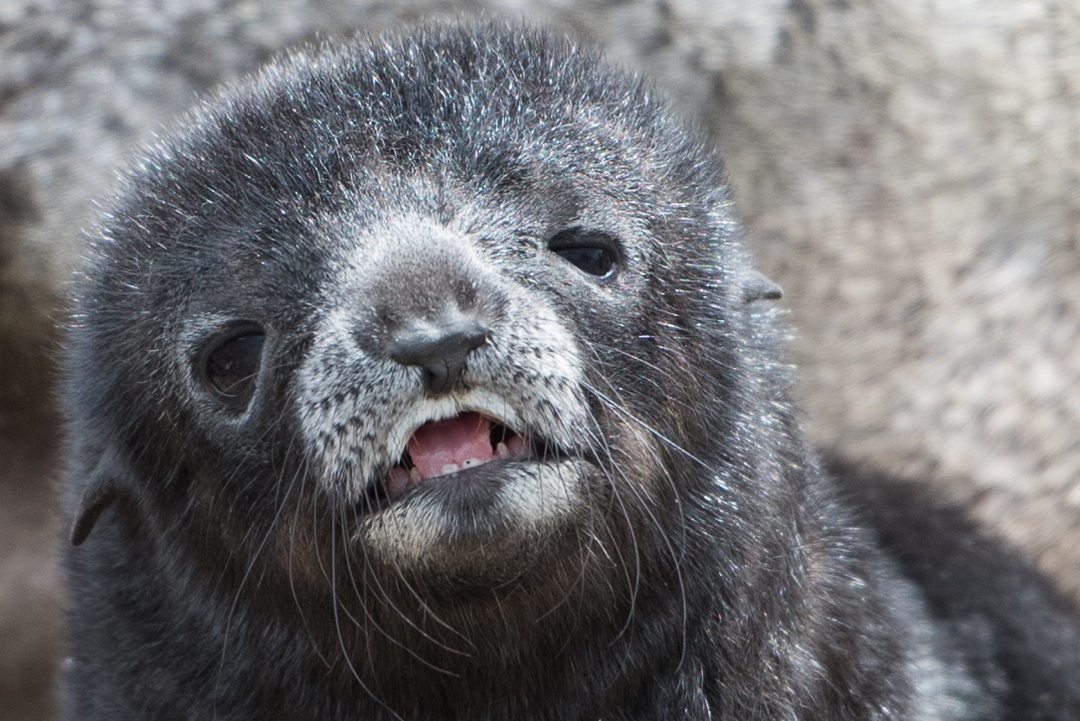
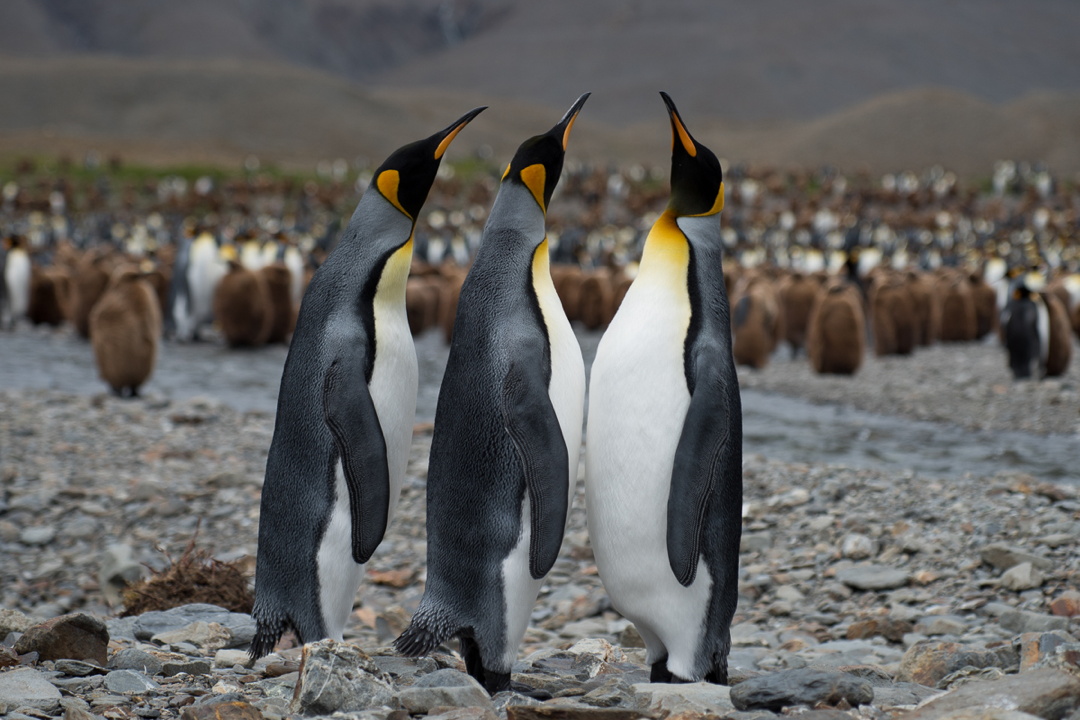

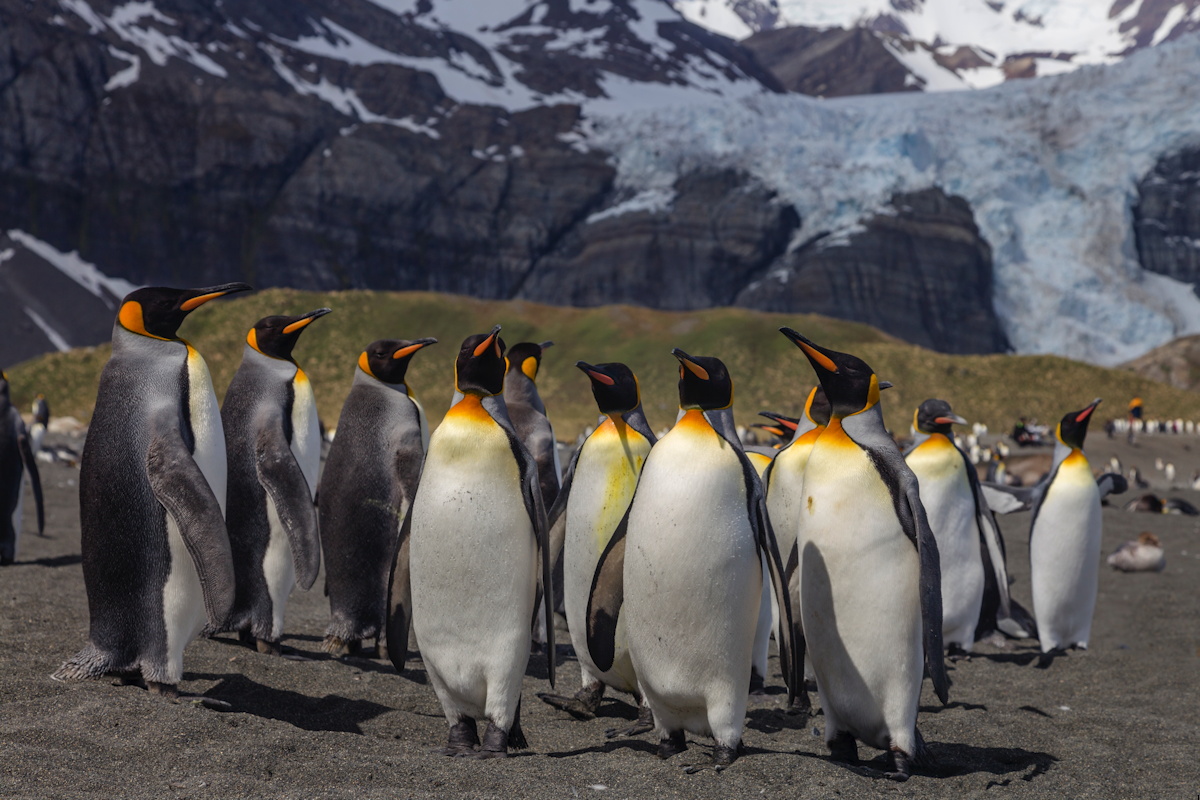

With Michael Snedic
27th January – 10th February 2019

On this 15-day photographic adventure we will explore the wildlife paradises of South Georgia before visiting the amazing Antarctic Peninsula.
We will have a maximum of 9 photographers on this expedition, being led by professional nature photographer and tutor, Michael Snedic. Photographers of all experience levels are welcome. Michael will be guiding you and supporting your photography during the expedition. Not just in taking photographs in the field, but also in reviewing and critiquing your photos along the way.
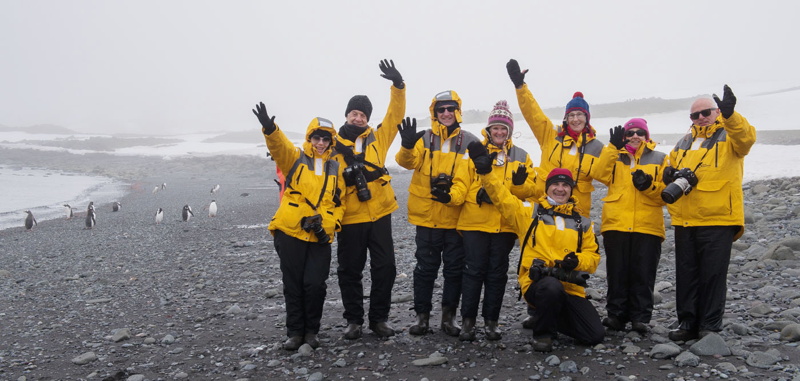
Michael in South Georgia with his photo expedition participants – December 2017
Contact Michael Snedic directly
on +61 408 941 965
Testimonial
“Mere words cannot express the grandeur, colour and spectacular scenery found in South Georgia . From the moment you set foot on Salisbury plain the wondrous sight of literally thousands of colourful, inquisitive, cute king penguins who actually greet you time stands still as your senses and you fall in love with these magnificent, playful creatures. Our trip to Antarctica, South Georgia and the Falkland Islands is a lifetime highlight. Quark a highly ethical and responsible tour operator arranged an outstanding trip to this untouched bottom of the globe! At all times passenger safety was a priority. Every opportunity was given for us to experience this pristine, wondrous environment…..whether it was from the ship, by zodiac or on land.
Our trip to this region was a Photographic Expedition led by Michael Snedic, owner of WildNature Photo Expeditions. Michael is an outstanding, enthusiastic tutor. We had regular meeting times to discuss techniques, composition and editing. I particularly enjoyed the group photographic critique sessions. As someone new to photography I felt Michael imparted his vast knowledge and patient teaching to me so as to ensure I could get the best shots possible.
Thanks Michael for a wonderful, wonderful holiday and for your excellent tuition!!”
Greg and Robyn Jacobs. Killarney Heights, Sydney, Australia
From Peregrine Adventures:
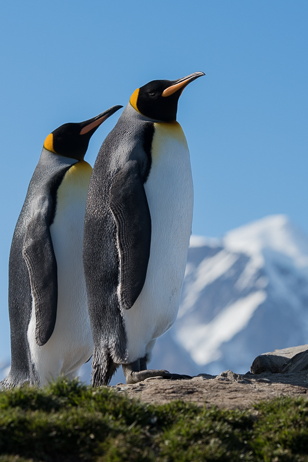
‘Embark on a once-in-a-lifetime trip to the remote shores of the Antarctic. Begin in Ushuaia and travel by comfortable expedition ship. Experience this rugged location in comfort and style as you learn about the area's history and wildlife, keeping your camera ready for any number of incredible photo opportunities. Visit South Georgia’s king penguin rookeries, take shore landings in Antarctica and spot multiple species of seals and whales along the way’.
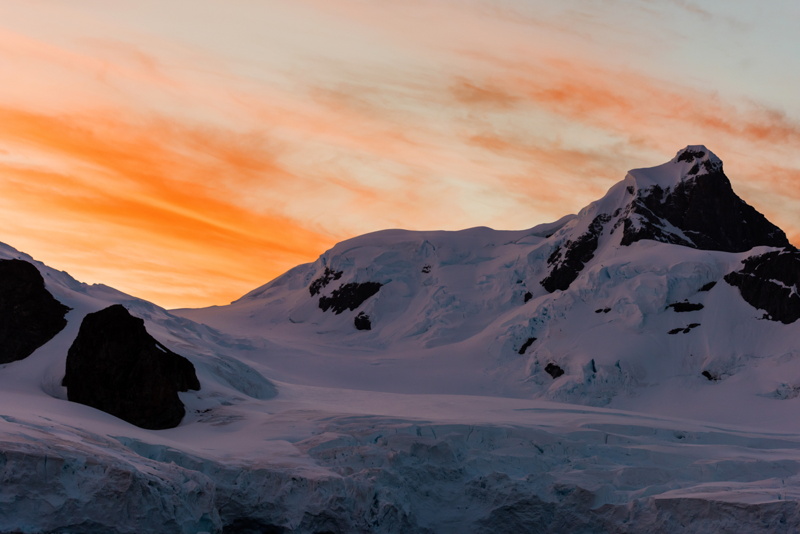
- Stand upon beaches teeming with thousands of king penguins in some of the largest rookeries in the world
- Visit abandoned whaling stations and the resting place of the great explorer, Sir Ernest Shackleton in the remote outpost of South Georgia
- Take a refreshing 'polar plunge' in the icy sea and experience the ultimate in Antarctic weather
- Optional activities such as sea kayaking among seals and icebergs can take your adventure to the next level. Book early, as these sell out fast
- See abundant species of whales, seabirds, seals and penguins on regular Zodiac excursions along the plunging coastline of the Antarctic Peninsula
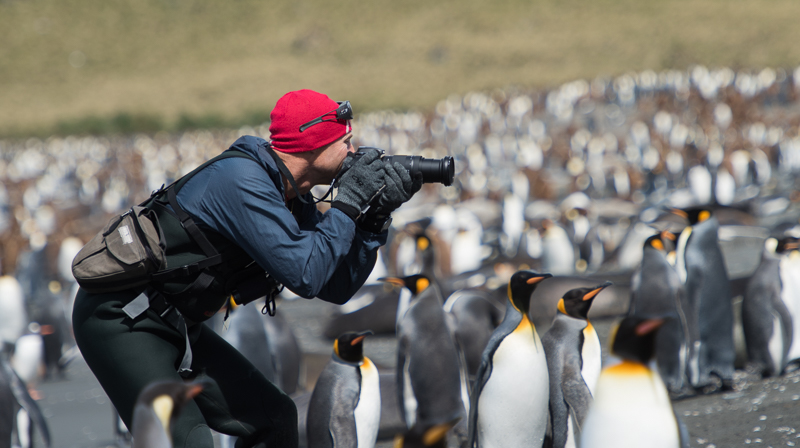
Your Experienced Photography Leader – Michael Snedic
On this expedition you will have access every day to professional nature photographer and instructor, Michael Snedic. He will be there to help you photograph the stunning scenery and wildlife we will encounter. He will be conducting a series of classes throughout the voyage, as well as being on-hand throughout the outings. As a full-time professional, Michael is an accredited member of the Australian Institute of Professional Photographers (AIPP). As well as being experienced an photographer, he is an experienced photographic tutor, with 15 years experience presenting photography expeditions and adventures across the globe.
He is also a widely-published photographer and writer. Michael’s photography articles and images have featured in numerous publications in Australia and across the world, and he has been a feature writer for Australia’s largest-selling photography magazine ‘Australian Photography’, since 2006.
Michael is also an Australian Ambassador for Lowepro, LensCoat and the Nature Conservancy Australia. Michael loves sharing his photographic knowledge and passion with workshop participants, helping them improve their photographic skills.

Photo Competition Ambassador 2015, 2016 and 2017

Australian Ambassador

Itinerary:
Day 1: Embarkation in Ushuaia
This morning, enjoy free time to explore this quaint port town before heading to the pier. Embarkation will occur in the late afternoon. The ship makes its way into the historic Beagle Channel, which transects the Tierra del Fuego archipelago. The channel takes its name from the HMS Beagle, which transported Charles Darwin through the region on his around-the-world voyage in 1833. Keep an eye out for various species of bird from the deck.
Days 2-4: At Sea
Your first days at sea will include plenty of time to relax, get to know your fellow shipmates and learn about the shore landings and Zodiac excursions that await you. Your expedition team will begin their educational lecture programme, teaching you about seabirds, penguins and the history of South Georgia. These few days also offer an opportunity to get comfortable with the motion of the sea.

Days 5-7 – South Georgia
On approaching South Georgia, have your camera ready to capture shags, prions and albatross in the water around you. Make your first potential landing in a protected bay of the island, which is one of the most fertile breeding grounds in the world for sub-Antarctic wildlife. The island’s king penguin rookeries are the world’s largest, with populations sometimes numbering into the hundreds of thousands. South Georgia is scattered with abandoned relics and evidence of human activity from centuries past. Visit old whaling stations, including the settlement of Grytviken, which is home to the remains of the famous Antarctic explorer, Sir Ernest Shackleton. Please note that each landing is determined by weather conditions.
DRYGALSKI FJORD
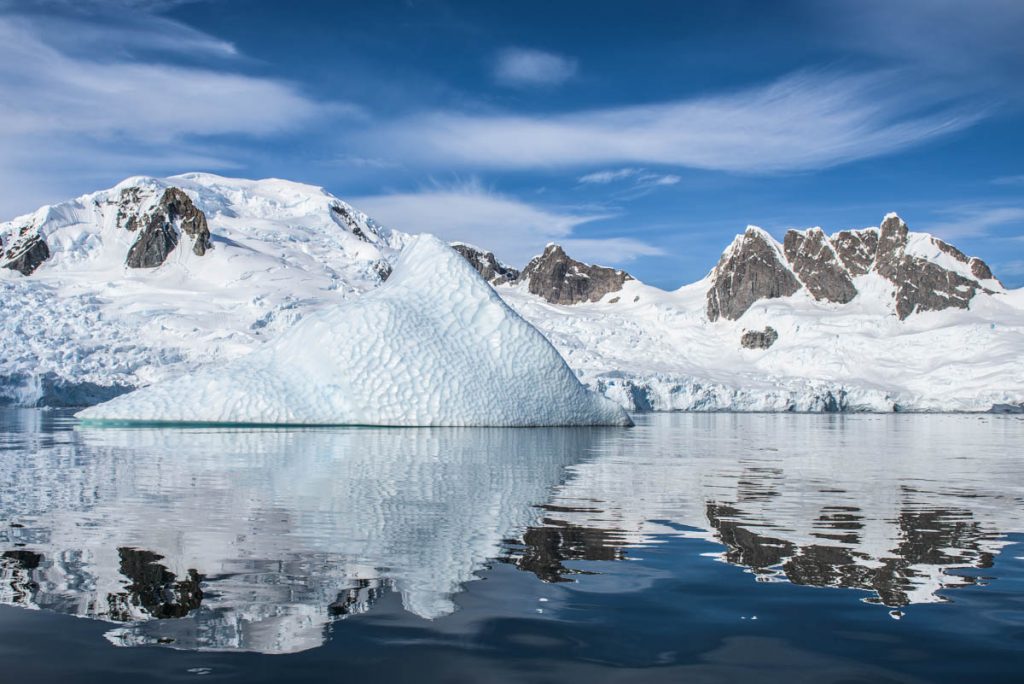
This is a photogenic and dramatic fjord, with sharp and jagged peaks rising out of the sea. Glaciation never reached the peaks of this fjord, giving it a unique landscape.
GOLD HARBOUR
The backdrop to this harbour is the hanging Bertrab Glacier. King and gentoo penguins call this home, as do rowdy elephant and fur seals.GRYTVIKEN
Only a handful of people live, albeit temporarily, on South Georgia, a United Kingdom overseas territory. Two of them are curators of the South Georgia Museum, located in the former whaling station manager’s villa. The church was built for the whaling community and is the only building in Grytviken that is still used for its original purpose.
PRION ISLAND
Robert Cushman Murphy named this island for the species of petrels seen on the island. Birders will be pleased to know that wandering albatross are also known to nest on the island.
SALISBURY PLAIN
One of the largest king penguin rookeries on the island is located on Salisbury Plain. The Murphy and Lucas Glaciers flank the plain, creating a perfect backdrop for photographers.
ST. ANDREW’S BAY
Thousands of breeding pairs of king penguin nest at St. Andrew’s Bay. It is the largest king penguin rookery on South Georgia and is a wildlife spectacle to behold. Reindeer introduced by Norwegian whalers are known to feed on the grass in the area.
STROMNESS
This abandoned whaling station was in full operation the day that Ernest Shackleton and his companions staggered in after a 36-hour trek across the island. There is a small cemetery here, with the graves of 14 whalers.
Days 8 – 9: At Sea
Antarctica awaits. While at sea, enjoy free time to relax and enjoy the scenery. Attend presentations by experts on the history and geology of the continent, and learn tips on how to identify different species of wildlife.

Days 8-11 – South Georgia
South Georgia is a wildlife haven, as the breeding site for animals from all over the Southern Ocean. King and Gentoo Penguins, nesting albatrosses, as well as fur seals and the huge Southern Elephant Seals are all examples which we will be meeting on land, with multiple landings per day. More than half of the world’s Elephant Seals breed here, along with more than 100,000 King Penguins.
As well as its amazing wildlife, there’s a lot of human history on the island, including the remnants of sealing and whaling industries. Visiting the grave of the explorer Sir Ernest Shackelton at Grytviken is a highlight for many people.
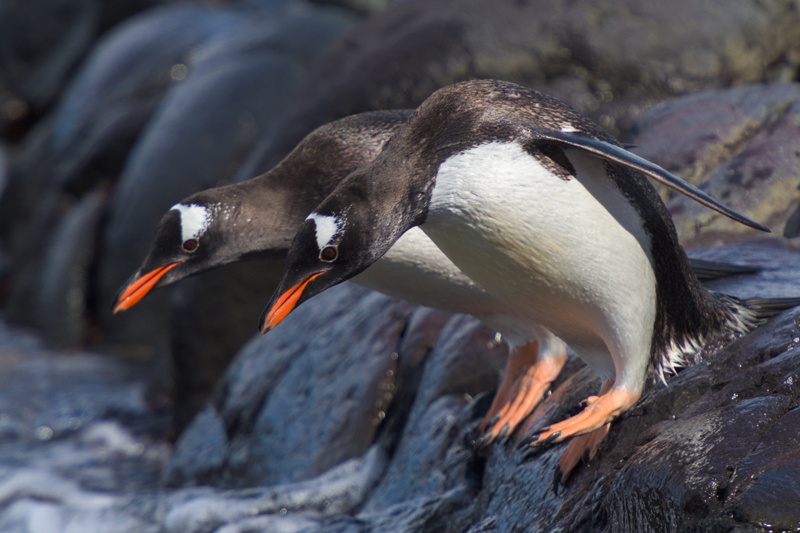
Days 10-14: Antarctic Peninsula
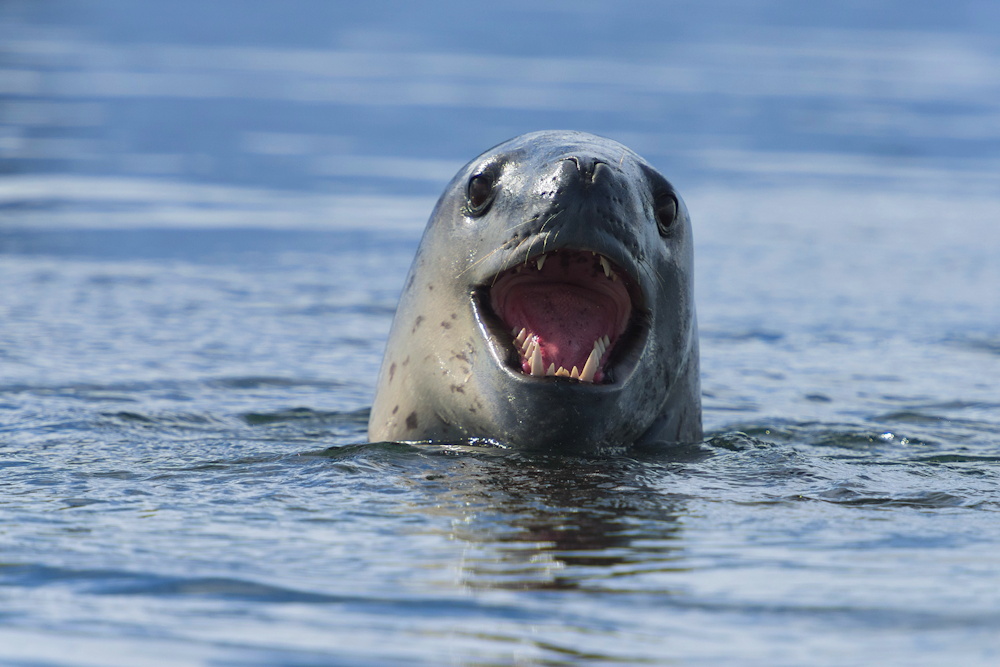
Enter another world as your ship approaches the mainland of the white continent. Weather permitting, make several excursions and Zodiak landings over the next few days. These could include glacier hikes, visits to research bases or opportunities to encounter seals and penguins. You may be lucky enough to catch sight of a leopard seal during its hunt for food, or meet a curious minke whale while out on a Zodiac cruise. You may also like to take part in the sea kayaking adventure option (reserve in advance when booking your trip) or awaken your senses with a polar plunge into the sea.
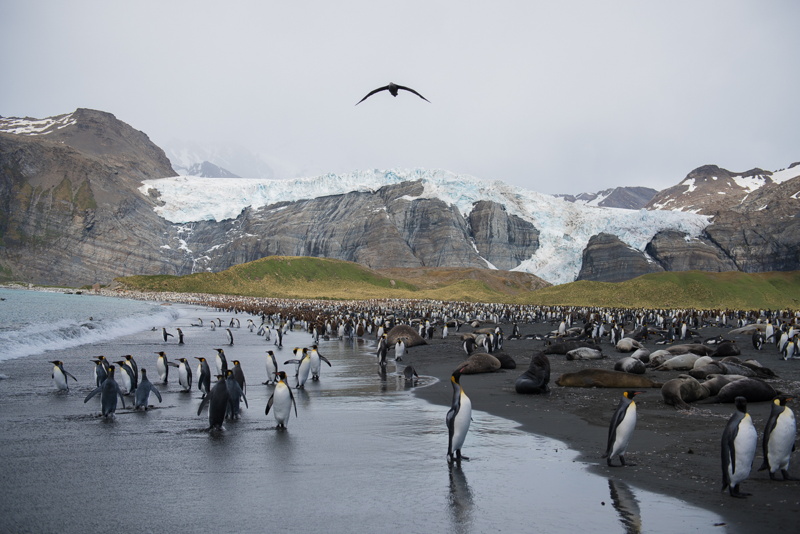
CUVERVILLE ISLAND
A gentoo penguin rookery is situated on the north end of the island on a rocky beach. Depending on the time of season you arrive, you may see them building nests or attending to their chicks. Giant petrels and kelp gulls breed on the island.
DAMOY POINT
If you are lucky enough to mail a postcard in Antarctica, you’ll likely pass through Damoy Point, the northern entrance to the harbour on which Port Lockroy is located.
DANCO ISLAND
This small island, one mile (1.6 km) in length, is easy to explore and home to gentoo penguins. You can visit the marker of a former British Antarctic Survey hut and watch for a variety of seabirds such as snowy sheathbills, kelp gulls and blue-eyed shags.
ENTERPRISE ISLAND
Located in Wilhelmina Bay, the island was used by whalers. A Zodiac cruise around the island passes a wrecked whaling ship.
LEMAIRE CHANNEL
This strait runs between Booth Island and the Antarctic Peninsula; you’ll see that this is one of the most scenic locations on the western coast, especially during sunrise and sunset. The 6.8 mile-long (11 km) Channel may become impassable when ice fills the narrow passageway, so we’ll hope for clear waters.
MELCHIOR ISLANDS
A group of low islands in Dallmann Bay, on which you may see male fur seals haul-out at the end of the breeding season to recuperate from their battles for supremacy.
NEKO HARBOUR
Little evidence remains that this bay was once used by the floating whale factory ship Neko. You might see some whale vertebrae used by resident gentoo penguins as shelter from the wind. There is an unmanned refuge hut here, erected by Argentina. Climb past the hut and up a steep slope for spectacular views of the glacier-rimmed harbour.
PETERMANN ISLAND
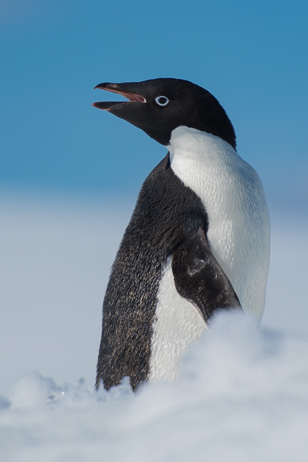
Here, near the Lemaire Channel, you can stand ashore and see the southernmost breeding colony of gentoo penguins. The dome of the island rises 650 feet (200 meters) above the sea, offering a challenging hike for panoramic views. Adélie penguins, shags and south polar skuas also inhabit the island.
PORT LOCKROY
A ‘fun’ destination of sorts, we always strive to journey to Port Lockroy if weather permits. The harbor is on the west side of Wiencke Island. A secret base was built on the harbor during the Second World War as part of Operation Tabarin. It is now designated as a historic site, where Port Lockroy is a museum and post office. Proceeds from your purchases here support the preservation of historic sites from the Heroic Age of Exploration.
WATERBOAT POINT
Of historic interest, you may venture to this unique point, which at low tide is connected to the Antarctic mainland. Zodiacs are used to explore the area when the tide is in. Two scientists studying penguin behavior lived in a water boat on the Point from 1921-22. The remains of their camp have been designated an Antarctic historic site.
AITCHO ISLANDS
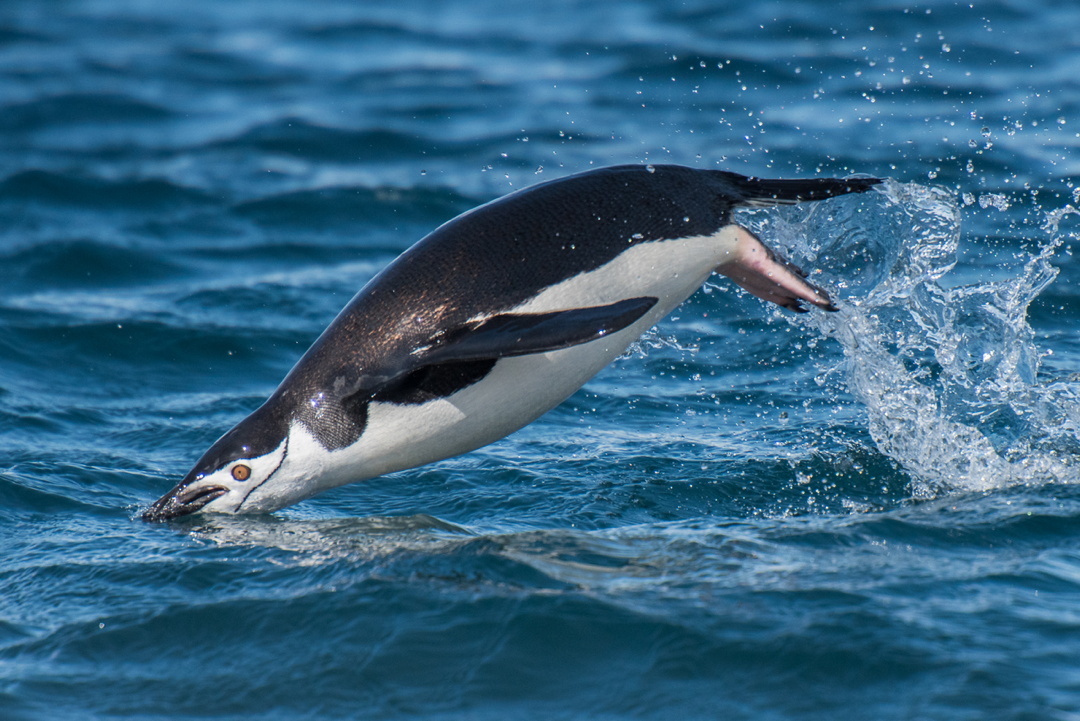
This is a group of small islands, some still unnamed, situated in the northern entrance of English Strait. You can often spot a great mix of wildlife here, with gentoo and chinstrap penguins having established rookeries. Southern elephant and fur seals are frequently hauled-out here too.
BAILY HEAD
Also known as Rancho Point, this area is a rocky headland on the southeastern shore of Deception Island. Chinstrap penguins build nests on slopes leading to a high ridge that dominates the natural amphitheater and provides a superb setting for landscape photography.
HALF MOON ISLAND
This crescent-shaped island was known to sealers as early as 1821. Unlike sealers who liked to keep their best locations secret, we’re happy to bring you ashore on this impressive island. Many Antarctic birds breed here including chinstrap penguins, shags, Wilson’s storm-petrels, kelp gulls, snowy sheathbills, Antarctic terns and skua.
HANNAH POINT
Macaroni, chinstrap and gentoo penguin rookeries are located on the point, which is on the south coast of Livingston Island. Due to the rather congested area available to the nesting penguins, you can only visit here from January 10 onwards.
PENDULUM COVE
Hot geothermal waters are found along the shoreline of this cove, named for observations made in 1829 by a British expedition. You may see yellow algae and boiled krill floating on the surface because of the scalding hot water!
PENGUIN ISLAND
Antarctica has two flowering plants, both of which you can find on Penguin Island: Deschampsia antarctica and Colobanthus quitensis. Chinstrap penguins, fur seals and southern elephant seals use the island for breeding purposes.
ROBERT POINT
A nice spot for Zodiac cruising, this point was known to sealers as early as 1820. Chinstrap penguins, kelp gulls and pintado breed here, and whales may be seen in the surrounding waters.
TELEFON BAY
Your Expedition Team will be happy to point out that it is here where the most recent evidence of volcanic eruption on Deception Island can be seen.
TURRET POINT
Chinstrap and Adélie penguin rookeries are found on this point, situated on the south coast of King George Island. The beaches here are often crowded with southern elephant, fur, and Weddell seals hauled-out on the rocks.
WHALER’S BAY
To reach Whaler’s Bay it is necessary to sail through a narrow passage called Neptune’s Bellows. The bay was used by whalers from 1906 to 1931 and is part of a protected harbour created by a circular flooded caldera, known as Deception Island. Along with waddling penguins and lounging seals, you’ll see rusting remains of whaling operations on the beach. Watch for steam that may rise from geothermally heated water springs along the shoreline.
Gentoo penguins have established a rookery on this harbor, situated on the southwest side of Greenwich Island. Here you can see an abandoned Argentine refuge hut and a large glacier that stretches along the east and north sides of the bay. An abandoned sealing try pot is all that remains of the activity that brought men thousands of miles in tall ships to seek their fortune.
Day 15 – Disembark in Ushuaia
Health and Fitness
Anyone in normal good health can join us on this adventure. There are no special tness requirements, although we will be often climbing into and out of the in atable Zodiac boats, and walking on shore.
The ship has a doctor and basic medical facilities on board. If you have specific health concerns or dietary requirements these should be discussed with our booking sta .
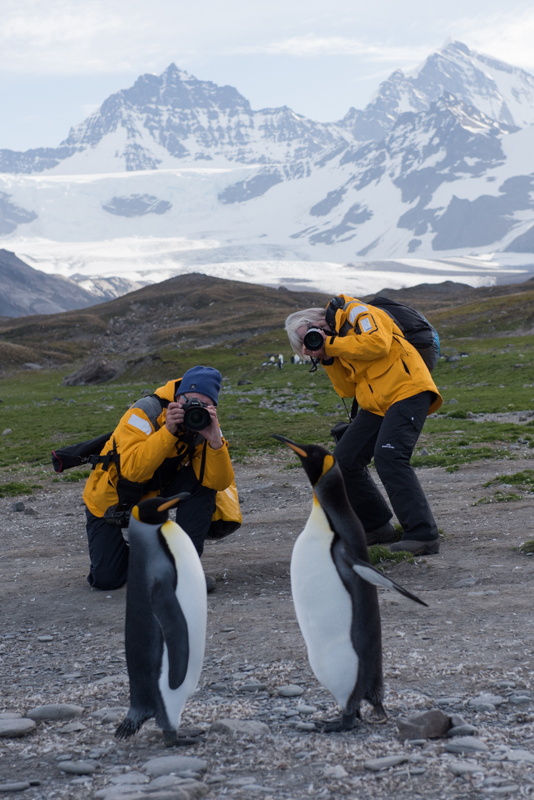
Our Ship
The Ocean Endeavour is a great expedition ship, with plenty of vantage points for scenic and wildlife photography from all around the ship. Along with our group the voyage will also have non-photographer passengers and while we will be mingling with them and sharing the ship and the general Antarctic experience, the photographic advice/instruction will be for our group.
On Zodiac outings we usually operate as a group with our own boat, where Michael will always be with you to provide photographic guidance. We work closely with the Quark expedition team throughout (and before) the voyage to optimise operations on both sides to help everyone.
The ship is quite spacious, and is very well appointed. You won’t be roughing it!

Regular Price:
| Cabin | Cost |
|---|---|
| Triple: | $14,100 |
| Inside Single: | $24,100 |
| Twin Porthole: | $20,300 |
| Twin Window: | $21,100 |
| Upper Decks: | $21,900 |
| Twin Porthole Suites: | $22,700 |
| Superiors: | $23,500 |
| Top Deck Double: | $24,400 |
| Twin Window Suites: | $25,300 |
| Junior Suite: | $26,200 |
| Owner’s Suite: | $27,200 |
These prices are in AU dollars per person. A 20% deposit is required to secure your place.

Prices
The trip is being put together with our partners at Peregrine Expeditions, and they take care of the bookings and travel arrangements for us, while we run the photography program. The ship has a wide variety of cabin classes, and your choice of berth type directly impacts the price of your ticket.
A $500 discount is available for non-photographer partners.
When you book a single berth in a twin cabin, we do try to allocate cabins so you share with another member of our photography group.

Inclusions
- Photography tuition throughout the expedition.
- Hotel accommodation in Ushuaia on day 1.
- Shipboard accommodation.
- All breakfasts, lunches and dinners onboard.
Coffee, tea, cocoa available around the clock. - All ship-based excursions.
- Pre- and post-departure materials.
Exclusions
- Airfares and other travel expenses to/from Ushuaia.
- Passport/visa expenses.
- Personal/travel insurance coverage.
Peregrine will discuss with you the required insurance coverage (due to the remoteness of our destination). - Onboard bar, laundry, and telecommunications charges. Limited internet access is usually available onboard.
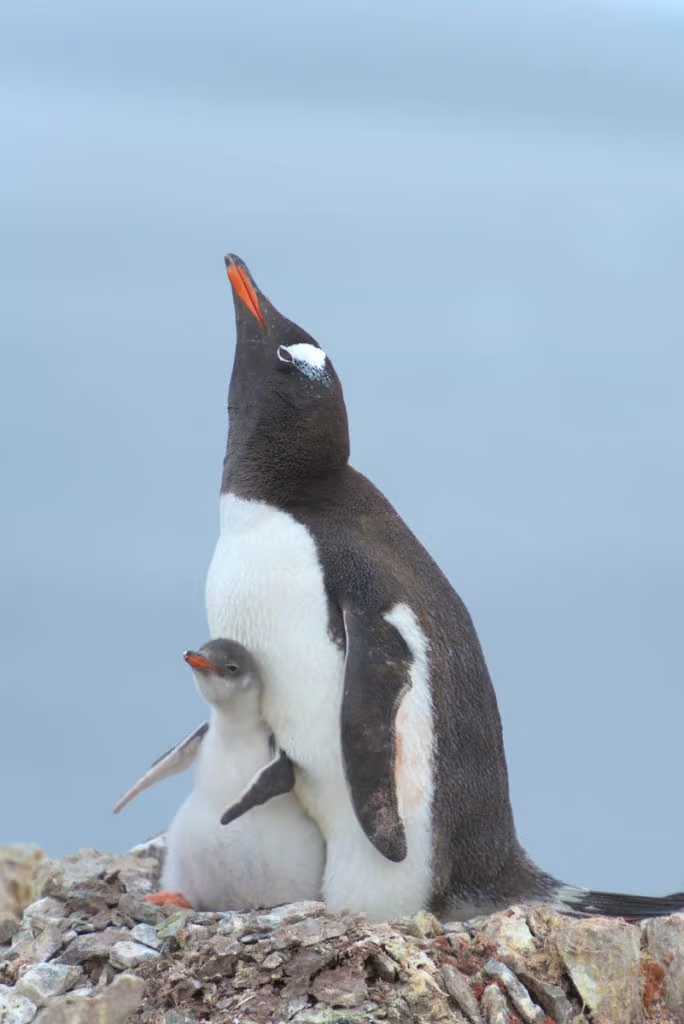
How to book
To reserve your place, or just to ask more questions about the workshop, please contact Michael Snedic either via his Contact Form or by calling +61 408 941 965.