2 Day Brisbane Adobe Lightroom Workshop with David Burren

TBA

Where:

TBA

When:

TBA

Time:

TBA

Price:

TBA

lightroom

Contact Michael Snedic directly
on +61 408 941 965

Do you struggle with Lightroom? Need to learn tips and techniques on how to use Lightroom more efficiently? This weekend Lightroom Workshop may be just what you need!

David Burren, from Melbourne, is an Adobe Certified Expert and has spent years teaching Lightroom at a tertiary level and to individuals and groups. There are others professing to be ‘experts’, but David is one of the most experienced Lightroom tutors around.
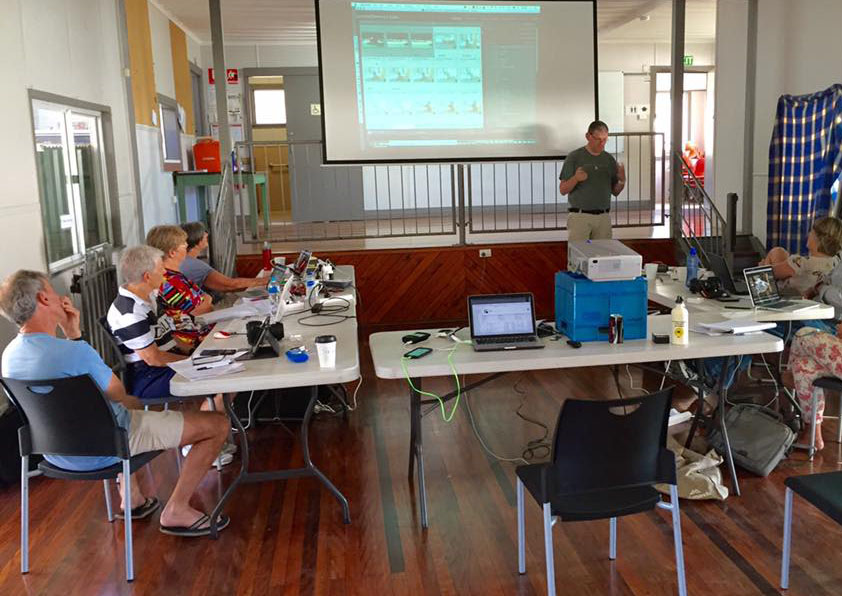
David Burren teaching Lightroom to workshop participants

Topics Covered Include

  • Setting up a new catalog/library
  • Structuring libraries for efficient workflows
  • Organising Lightroom libraries across multiple computers
  • Previews
  • Importing
  • Setting up basic metadata
  • Keywords
  • Basic and advanced Develop techniques
  • Setting up camera defaults to optimise your work
  • Importing/exporting photos (e.g. as JPEGs)
  • Using Lightroom to manage your Photoshop workflow
  • HDR, panos

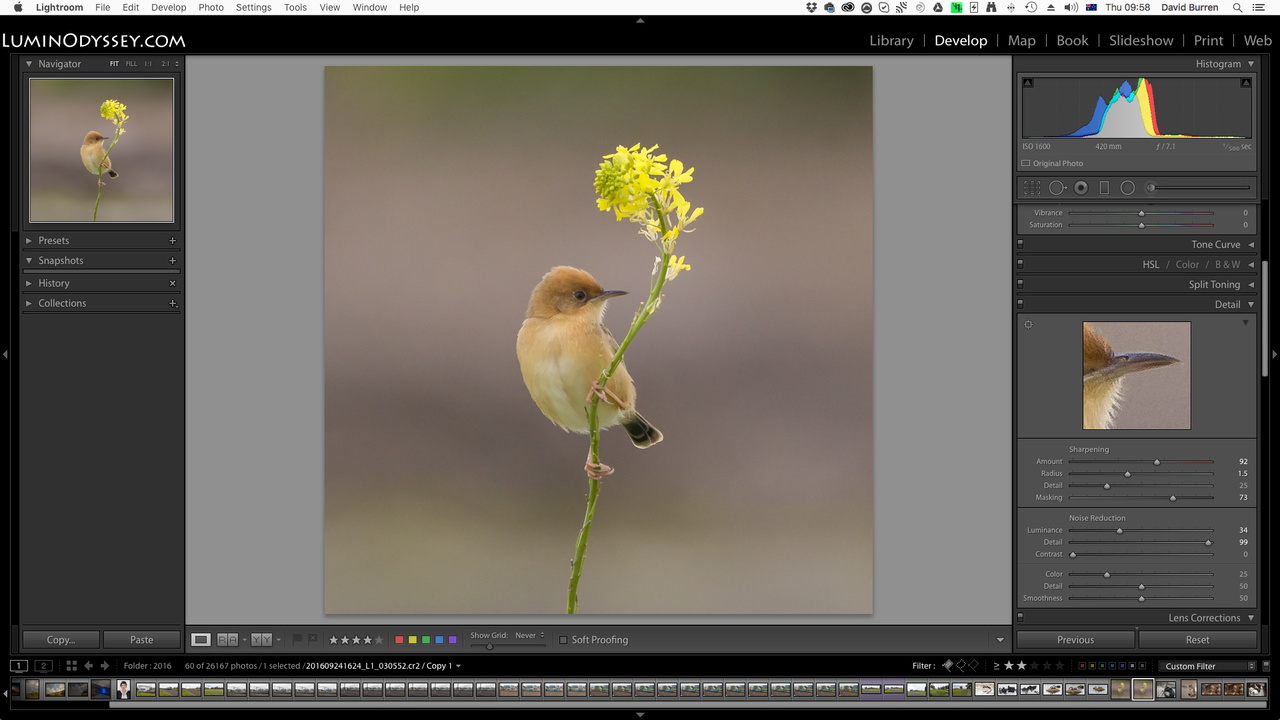
lightroom screenshot

How to book

For more information on this workshop or to book your place, please contact Michael on +61 408 941 965 or by using the contact form.

Certified Expert Photoshop Lightroom

Recommended Wildlife Photography Locations: Svalbard – Arctic

Recommended Wildlife Photography Locations: Svalbard – Arctic

Photographing in Svalbard, the Arctic

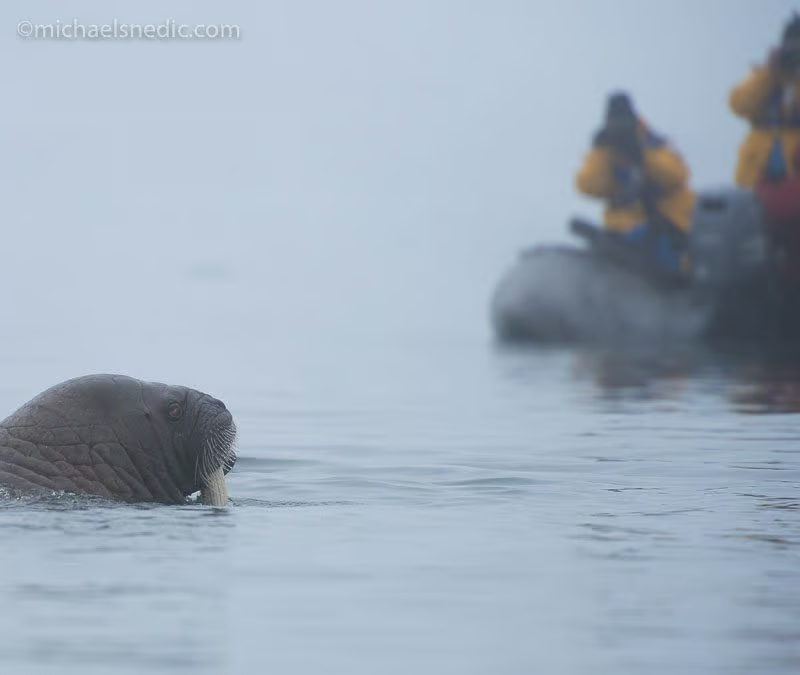
There are a handful of places on earth that are absolutely spectacular to visit with your camera, for their stunning landscapes and diversity and numbers of wildlife. Many parts of Africa, Antarctica and the Galapagos Islands are all very high on the list. Another incredible photographic location, especially for wildlife photography, is Svalbard in the Arctic.

On the last fully-booked photo expedition I presented there, every participant raved about the trip and it was definitely a lifetime highlight for many. The best way to see this natural beauty is to fly into Logyearbyen, Norway and then board an expedition ship. The most renowned trip for wildlife sightings and mind-blowing scenery, is Svalbard. On the photo expeditions I organise and lead there (with another released for June 2018), I make sure that every expedition participant in my group is familiar with their camera(s) and the various photographic settings needed to get great shots. I am also in the zodiac each time with my photo expedition participants, so that if there are any ‘hiccups’ with cameras, settings or techniques, I am on hand to help straight away.

Svalbard has a lot of beautiful landscapes and wherever you go, there is something to photograph. Lots of truly-stunning scenery, including ice-capped peaks, glaciers, incredible waterways and much more. In and out of the water, you will find iconic animals such as polar bears, walruses, Arctic foxes, reindeer, whales, seals and lots of different birds, including the iconic Puffin. You never know what animals will be there or when, which makes these types of journeys all the more exciting.

If you are after a once-in-a-lifetime wildlife photography experience, I can’t recommend visiting Svalbard, in the Arctic, highly enough!

If you have a passion for African wildlife, nature or travel photography and would love to go on a specialised small-number, professional African photo safari, please get in touch with Michael Snedic at WildNature Photo Expeditions. You can call him on 0408 941 965 or fill in this Contact Form and he will get back to you ASAP.

Best Techniques For Keeping A Heavy Lens Steady

Best Techniques For Keeping A Heavy Lens Steady

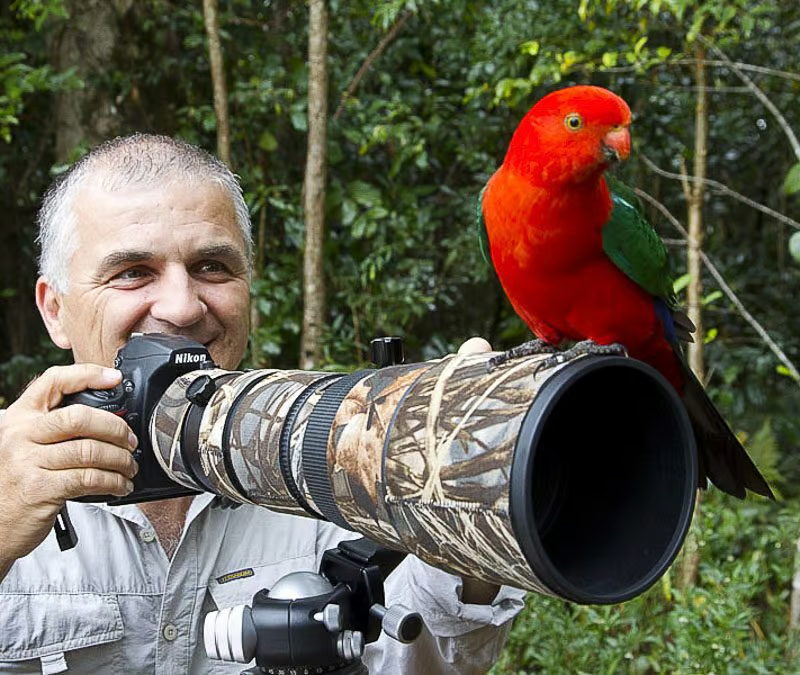
Michael Snedic using a heavy lens

In order to photograph wildlife, including birds, lenses with long focal lengths are preferred, especially if these subjects are far away. The only problem is that in many cases, longer focal lengths mean heavier lenses. These lenses can be too cumbersome to lift and carry for many people and they are often too big to take onboard in your carry on luggage. The heavier lenses can also make hand-holding quite difficult as well, especially if your aim is to get pin-sharp shots, without movement. Below are some suggestions to make life easier when using large, heavy lenses:

  1. If photographing wildlife/birds that remain in one spot for a while, such as bathing areas, feeding spots or courtship areas, the best way to keep a heavy lens steady is to use a gimbal on a tripod. Gimbals, such as the popular Wimberley brand, make it very easy to move your camera and lens in all directions.
  2. For situations where you need to move around to find subjects, or follow them due to their movement, a monopod with a dedicated monopod head is something I have used successfully for many years. This combination is much lighter to carry around than a gimbal and tripod, but still allows for decent stability.
  3. When photographing from a moving vehicle, such as from 4 wheel drives during the many African Photo Safaris I have presented over the years, a beanbag is a priceless piece of equipment to use. Beanbags help stabilise the camera and lens amazingly well. They are either supplied for use by the tour operator or you can purchase different styles and fill them with seed, rice or beans.
  4. If there are situations where you don’t have, or are unable to use a gimbal, monopod or bean bag, hand-holding can be made easier by leaning the lens against a post or tree.
  5. If out in the field and hand-holding a big lens is the only option, using the correct technique is very important if you want to get sharp shots. One method I have taught for the last 15 years on my photography workshops and tours, is to breath in, then out and at the end of the out breath, take your shots. Your body will be steady and not moving up and down due to your breathing.

If you have a passion for African wildlife, nature or travel photography and would love to go on a specialised small-number, professional African photo safari, please get in touch with Michael Snedic at WildNature Photo Expeditions. You can call him on 0408 941 965 or fill in this Contact Form and he will get back to you ASAP.

Tips for Taking Better Photos from Boats and Ships

Tips for Taking Better Photos from Boats and Ships

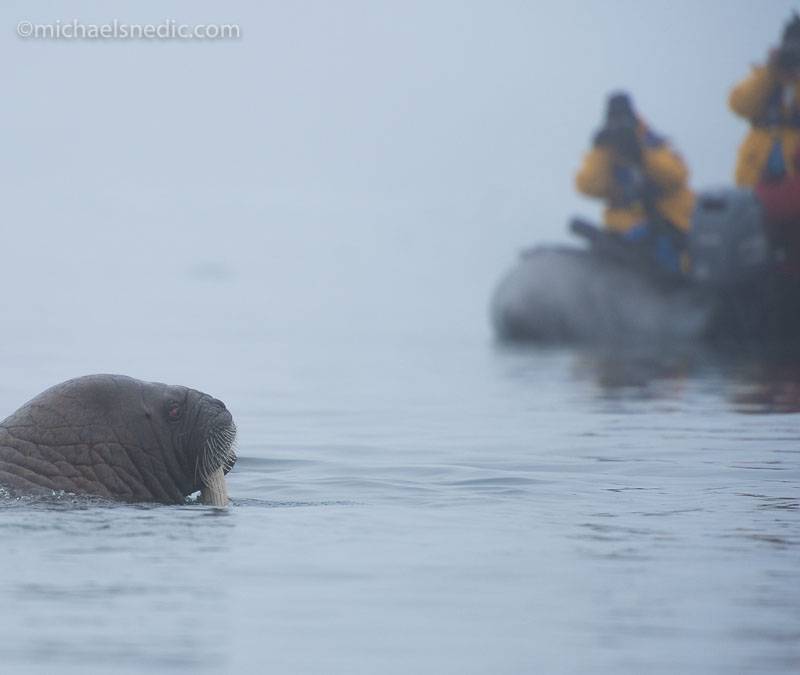
Humpback Whale breaching

Over many years, I have presented numerous photographic tours and expeditions onboard boats and ships. It can be quite challenging to get great photos due to various factors, so below are some tried-and-tested photographic techniques that will improve your chances of getting great shots.

  1. When in a zodiac or motor boat, especially travelling and speed and during unpredictable weather, the chances of water splashing over your gear an be quite high. My advice is to purchase a waterproof backpack, such as a Lowepro Dryzone, where you can store your camera and lenses and protect them from the elements This way, even if a rogue wave comes over the zodiac or boat, you aren’t risking ruining your gear.
  2. When travelling at slower speeds or stopping, and the water is calm, I still recommend using some sort camera-lens ‘rain jacket’. The best type to use is one where you can still easily control all of your camera’s functions easily.
  3. ALWAYS use a lens hood when photographing from a boat, ship or zodiac. It’s quite common to get water spray, salt spray or even rain on the front of your lens, so using a lens hood minimises the chance of your photos being ruined.
  4. When a boat is rocking back and forth, especially when lightning conditions are quite dark, using image stabilisation on your lens (if available) is something I strongly suggest.
  5. Photographing subjects such as whales or dolphins, for example, into the water and from a boat, can be quite difficult due to the glare. By using a circular polarising filter, on your lens glare can be reduced quite dramatically.
  6. During photo expeditions I have presented to locations such as Antarctica, the Arctic, the Sub Antarctica and Sub Arctic (Russian Far East), taking photos during the daily zodiac cruises can be quite challenging due to getting cold fingers. This makes it either impossible or at least very difficult to change the camera’s settings. I use a pair of cotton liner gloves, followed by a pair of fingerless gloves (which have mittens which fold over when you aren’t needing to use your fingers). This way I’m able to operate my camera while keeping my hands warm.

If you have a passion for African wildlife, nature or travel photography and would love to go on a specialised small-number, professional African photo safari, please get in touch with Michael Snedic at WildNature Photo Expeditions. You can call him on 0408 941 965 or fill in this Contact Form and he will get back to you ASAP.

The Importance Of Diffused, Subtle Lighting When Taking Photos

The Importance Of Diffused, Subtle Lighting When Taking Photos

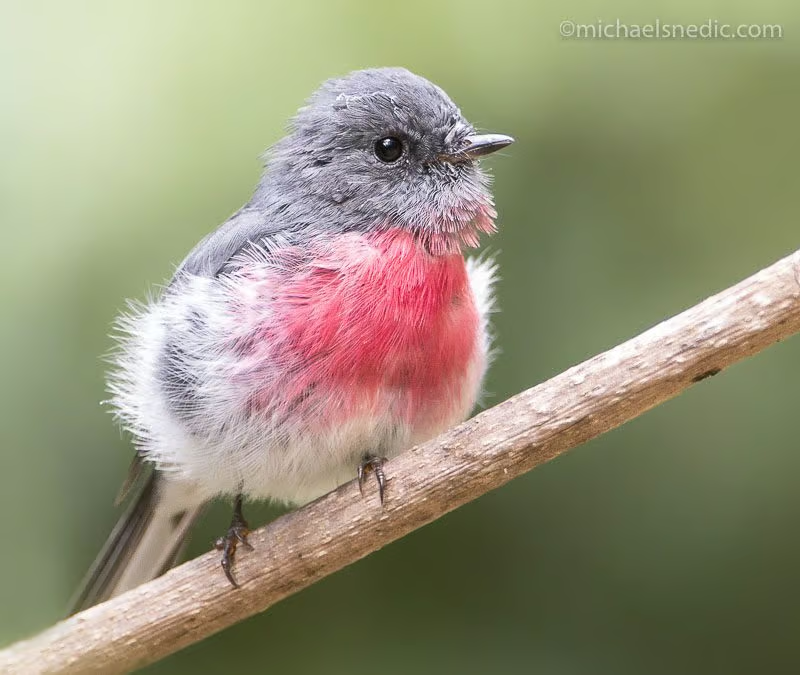
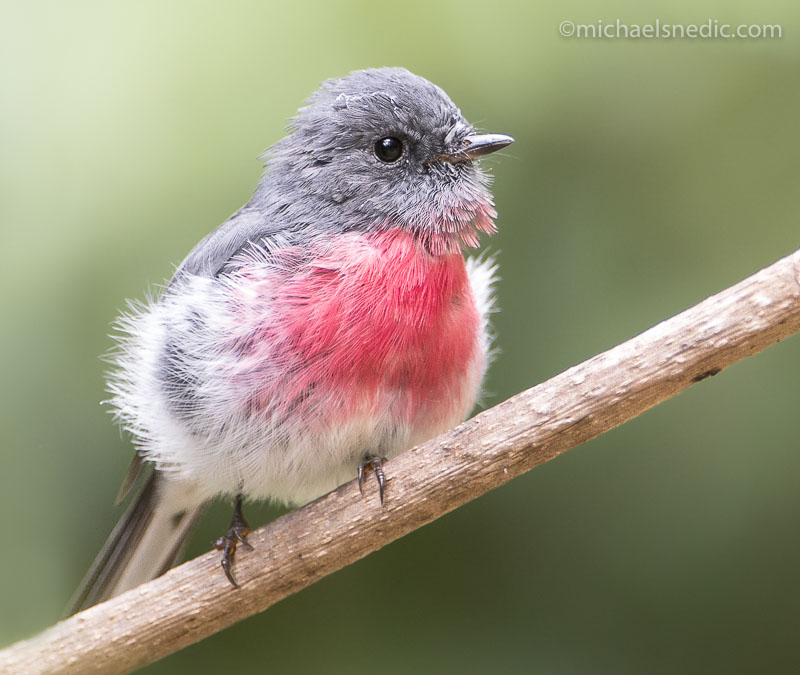
Rose Robin

Harsh lighting conditions, such as during the middle of a sunny day or when using direct flash, can result in overblown photos without details. Diffused lighting conditions make for much more pleasing images.

  1. Sometimes you simply have no choice in the conditions nature provides when taking photos. You could be on a once-in-a-lifetime photo tour to the Arctic and a polar bear is right in front of your ship. It’s ready to be photographed but it’s midday and the sky is blue and light harsh. What do you do? You take shots, of course! By using exposure compensation (when using aperture priority) or increasing the camera’s shutter speed (when using manual mode), the light on the subject will be reduced.
  2. Rainforests are wonderful subjects to photograph. Sometimes you have no choice, but if you have an option, choose a cloudy day to take your images. Photos of rainforests look so much more pleasing to the eye on a cloudy day, when the lighting is subtle and diffused.
  3. Photographing with flash is something I generally avoid due to the harshness that can be created to an image. There are rare occasions, however, where flash can help bring detail to a subject and create a catchlight in the eyes of wildlife. In this case, I recommend using a portable diffuser on the flash, to help create balanced, even lighting.
  4. For macro subjects including fungi or flowers, a portable hand-held diffuser, held over the subject on a bright, sunny day, will create beautiful diffused lighting in your photo.
  5. The best time of the day to take photos, in many situations, is around sunrise and sunset. This is because of the beautiful light that often appears at those times of the day. This is the same for landscape, wildlife or macro subjects.

If you have a passion for African wildlife, nature or travel photography and would love to go on a specialised small-number, professional African photo safari, please get in touch with Michael Snedic at WildNature Photo Expeditions. You can call him on 0408 941 965 or fill in this Contact Form and he will get back to you ASAP.

Would you like a FREE copy of my new Ebook?

Download Button

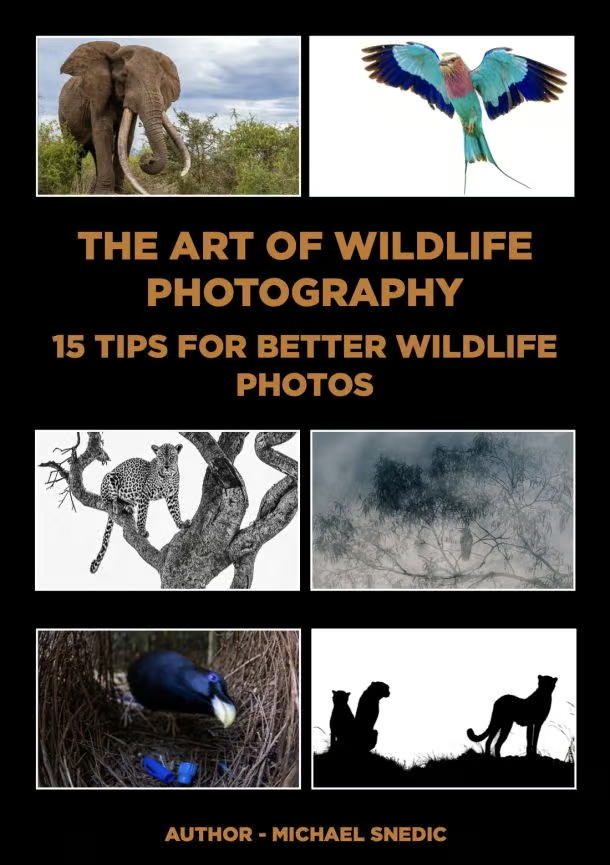
ebook The Art of Wildlife Photography by Michael Snedic July 2026 cover

You have Successfully Subscribed!